

Step-by-Step Guide
By the end of this guide, you will have an account, a connected brand, and your first video or ad ready to go.Part 1: Setting Up Your Account
Step 1: Enter Your Website URL Start by entering your website address. HeyOz scans your site to learn about your brand. This scan pulls your logo, colors, product images, and messaging so you do not have to enter any of it by hand. Step 2: Tell Us How You Heard About Us Select where you first found HeyOz. This is a quick question that helps the team understand how new users arrive. Step 3: Choose What You Want to Achieve Pick your main goal for using HeyOz. Your answer shapes the kind of content the platform suggests for you later. Step 4: Define Your Goals Add more detail about what you want to get out of HeyOz. The clearer you are here, the better the platform can match content formats to your needs. Step 5: Watch the Animation Showcase HeyOz shows a short preview of what the platform can create. This gives you a feel for the output quality before you start building. Step 6: Review Your Brand Identity HeyOz presents the brand details it pulled from your website scan. This may include your brand name, industry, tone of voice, tagline, core messaging, and audience positioning. Review each field and edit anything that needs adjustment. Accurate brand details here mean more accurate content later. When everything looks correct, click Continue. Step 7: Review Your Brand Visuals HeyOz displays the visual assets it found during the scan. These become your Media Library, the pool of images your content draws from. Review what was pulled, remove anything off-brand, and keep the assets you want to use. Step 8: See How Ads Are Made HeyOz walks you through a quick preview of the ad-making process. This shows you what to expect once you reach the Content Studio. Step 9: Choose Your Plan Select a plan on the subscribe page. Your plan sets your content limits and unlocks the formats you can use. Step 10: You Are In Your account is ready. HeyOz drops you into your dashboard, set up with your brand identity and visuals already in place.Part 2: Creating Your First Content
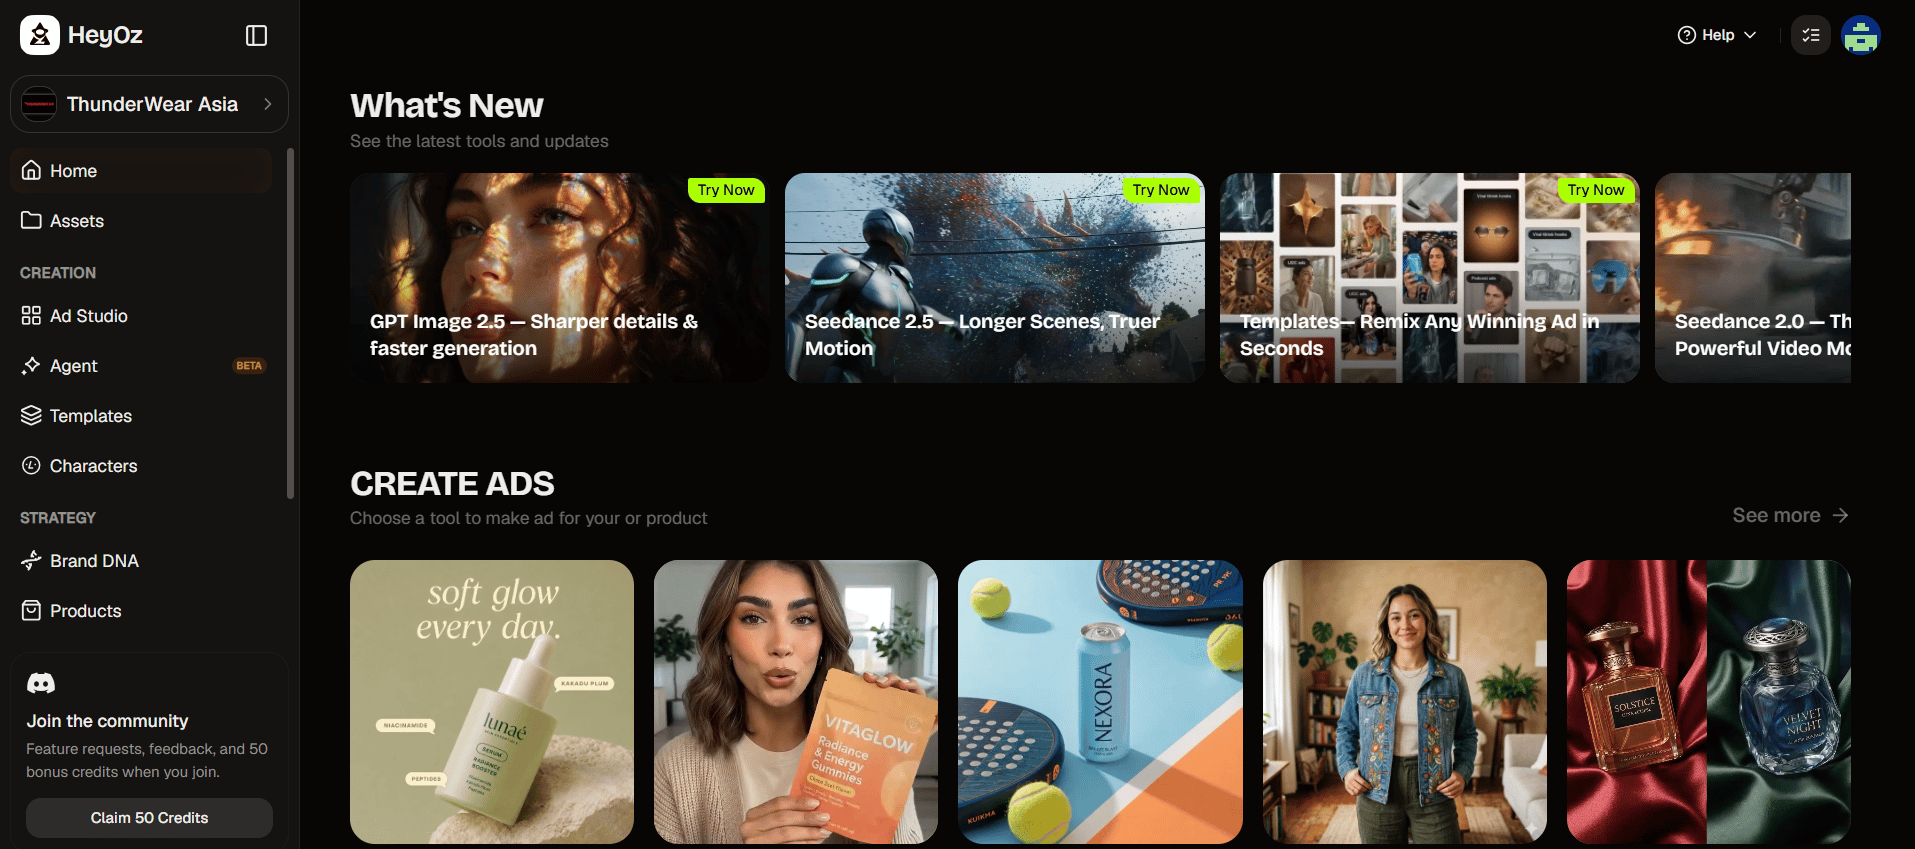
Step 11: Add Your First Product Open the New Product page and paste your product link, then click Analyze. HeyOz scans the page and pulls in your product images, descriptions, and brand colors. Review what it found, edit anything that needs fixing, and save. This product becomes the anchor for every ad and video you create. Step 12: Open the Content Studio Open the Content Studio from your dashboard. This is the hub where every format lives. Browse the grid to see what you can make, from realistic actor videos to static ads to carousels. Step 13: Pick a Format and Create Choose a format that fits your goal. Realistic Actor Video and the Template Library are the fastest ways to a finished piece. Select your product, add your details or script, and generate. Your content is ready to review in minutes. Step 14: Connect Your Publishing Accounts Click Publish to open the dropdown, then select Accounts. Click the + Connect button in the top right corner and link your TikTok, Instagram, or YouTube account. Connecting early means you can post the moment your content is ready. Step 15: Publish or Schedule Publish your content directly, or open the scheduler to line it up for later. Pick a date, click + Add Content, and choose what to post. HeyOz handles the posting for you.Tips
- Let the website scan do the heavy lifting. Review what HeyOz pulls instead of entering brand details by hand, and only edit what looks wrong.
- Add at least one product before you open the Content Studio. Every format works better when it has a real product to build around.
- Start with Realistic Actor Video or a template for your first piece. These give you a finished result fast and help you learn the flow.
- Connect your social accounts during setup, not after. Having them ready lets you publish without leaving HeyOz.
- Keep your brand identity and visuals updated as your brand changes. Accurate inputs keep every piece of content on-brand.