How to Get There
Click “Template Library” in the left menu to open the Browse Templates screen. In the top right, switch the toggle from Image to Video. The grid now shows every available video template.Step 1: Browse and Pick a Video Template
On the Browse Templates screen, click the “Video” toggle in the top right to view video templates. Scroll through the options and find one that fits your product and the story you want to tell. You can filter by category using the “Categories” dropdown. Each template shows a preview of the format it produces, such as a street interview, an ASMR ritual, or an order packing clip. Click the template you want to recreate to open it.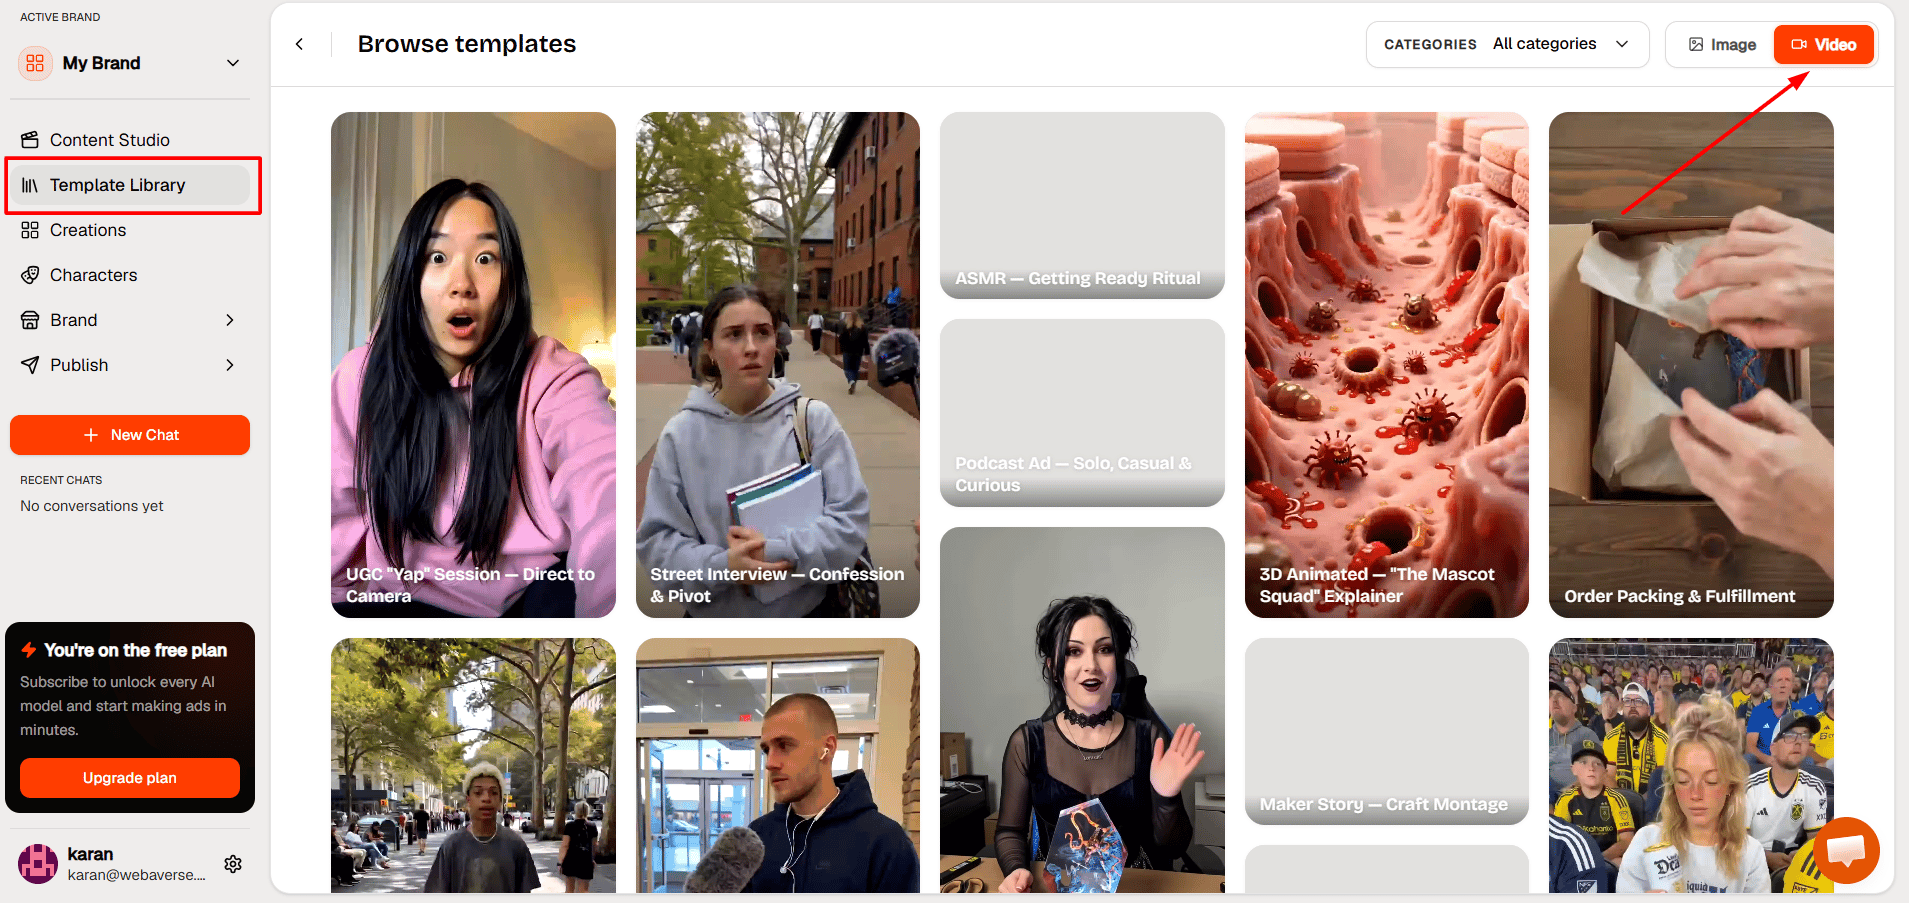
Step 2: Select the Product for Your Video
The first setup screen asks which product the video features, for example “Which product is being packed?” If you already have products saved, select one and click “Continue.” If you see “No products found,” click “Add product” to create one first.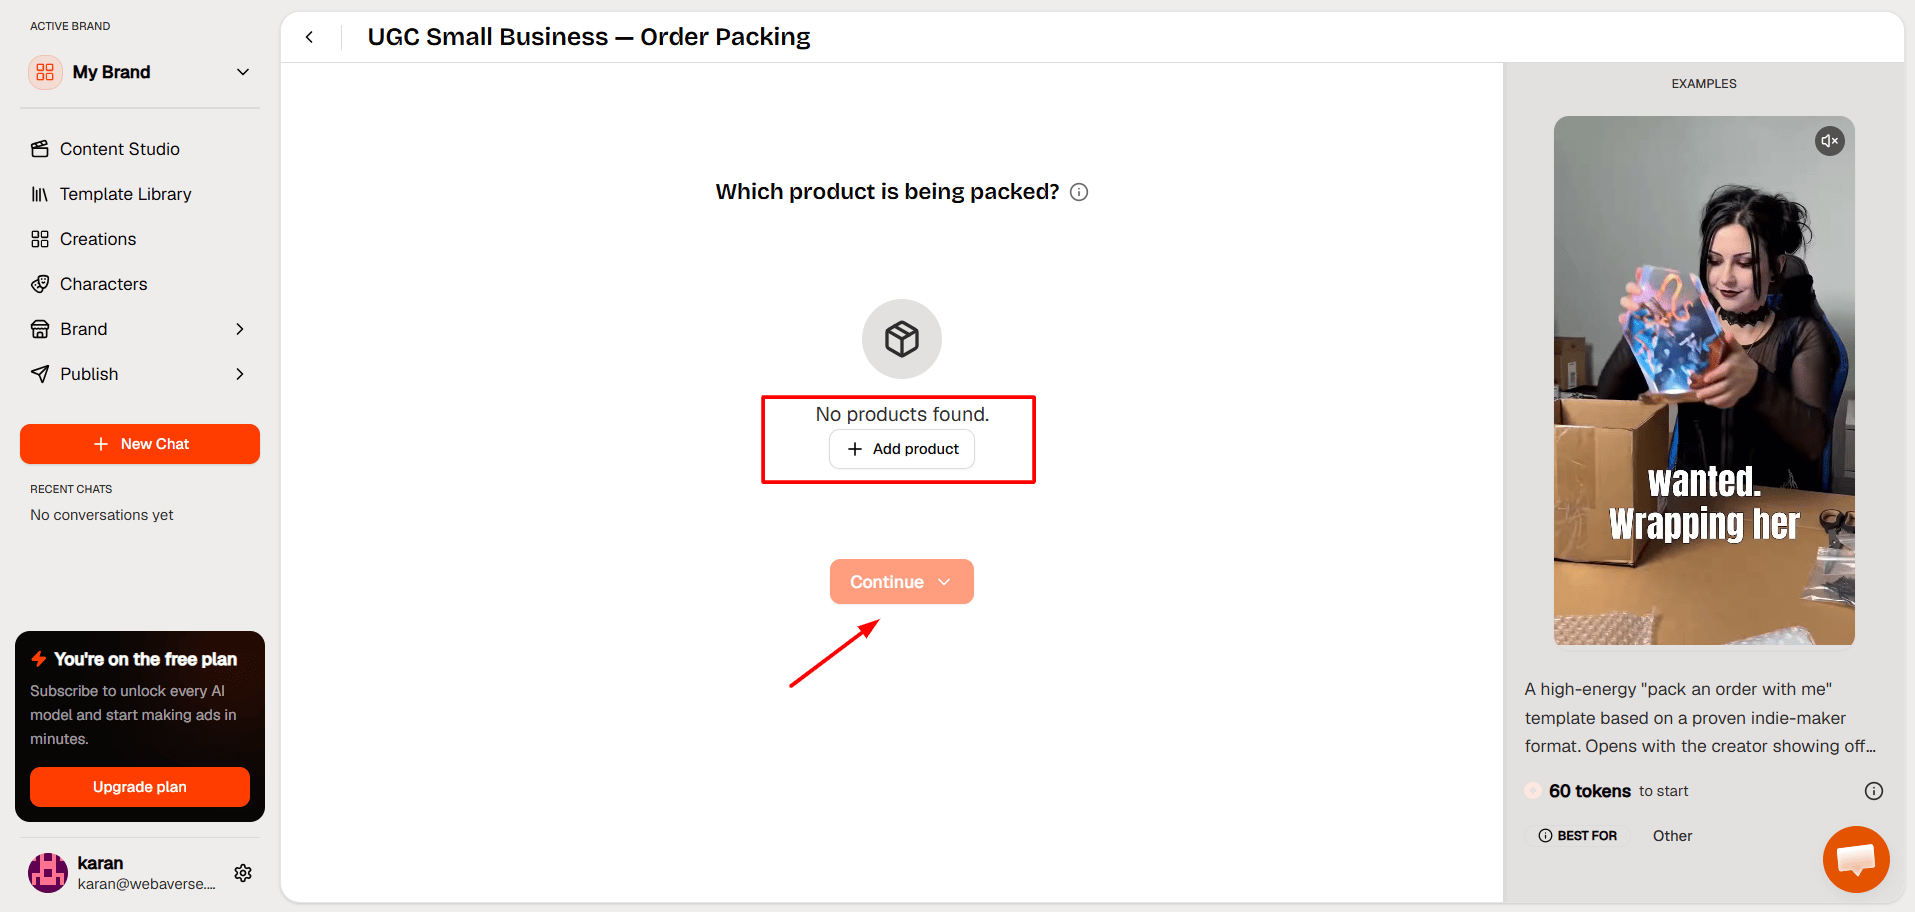
Step 3: Add a New Product
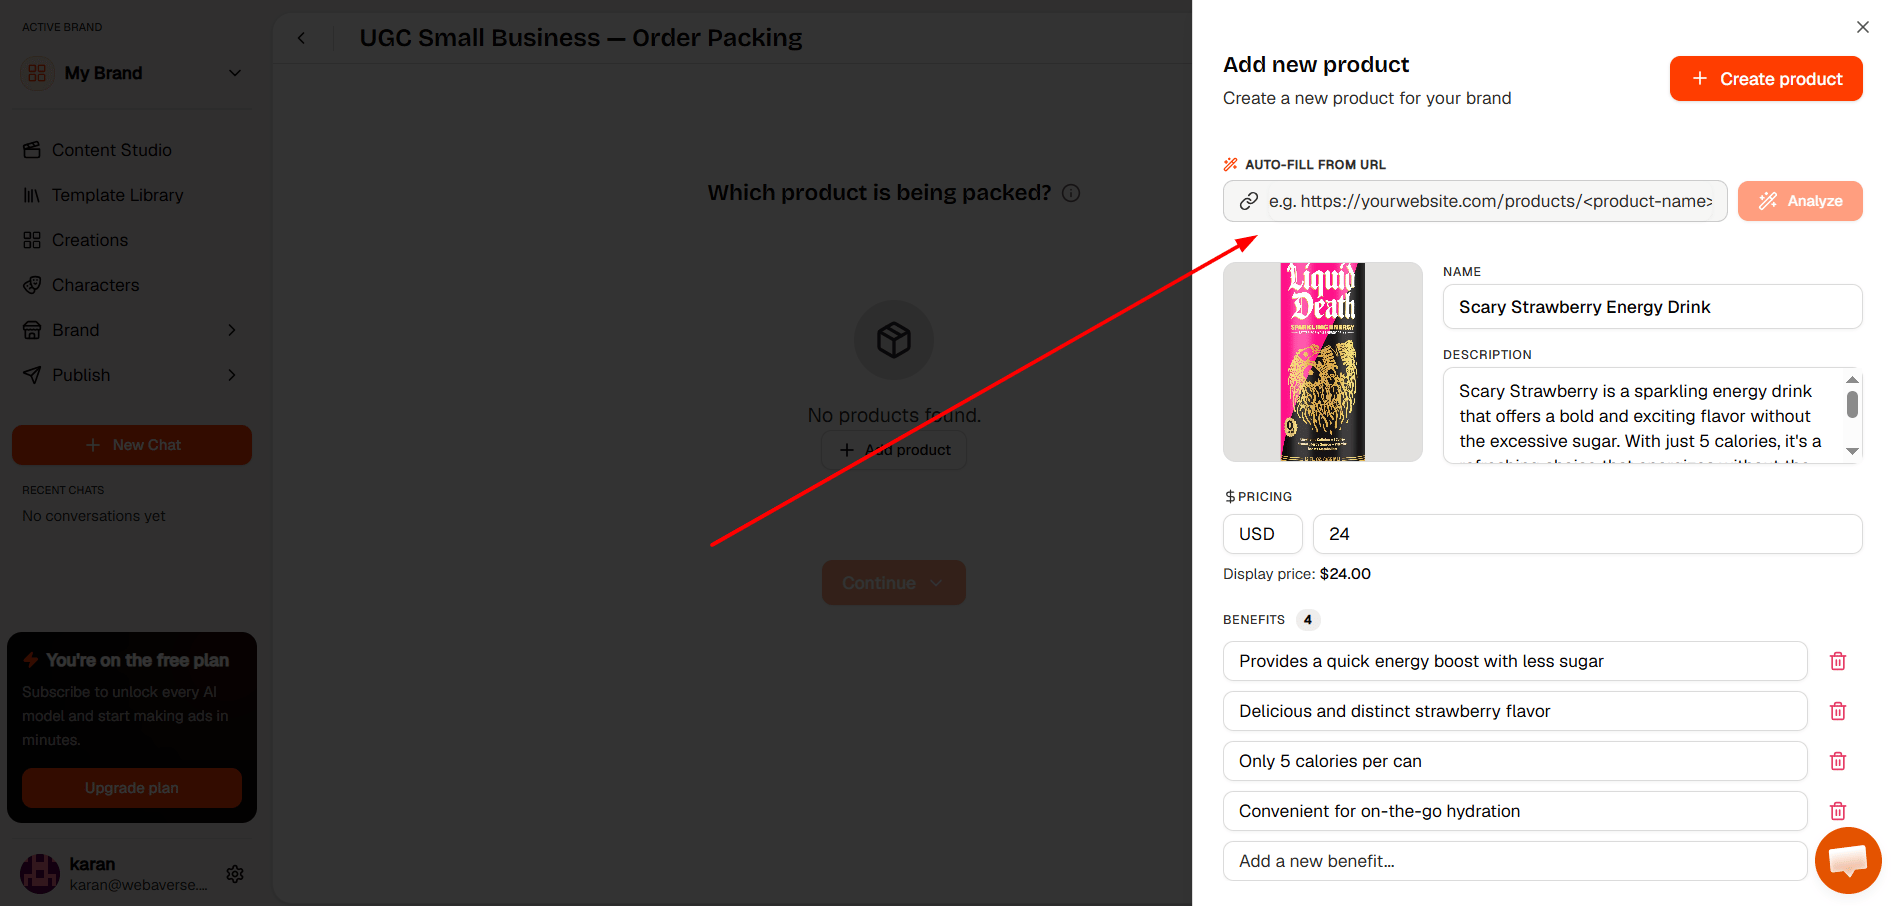
The “Add new product” panel opens on the right. The fastest way to fill it is to paste your product page link into the “Auto-fill from URL” field and click “Analyze.”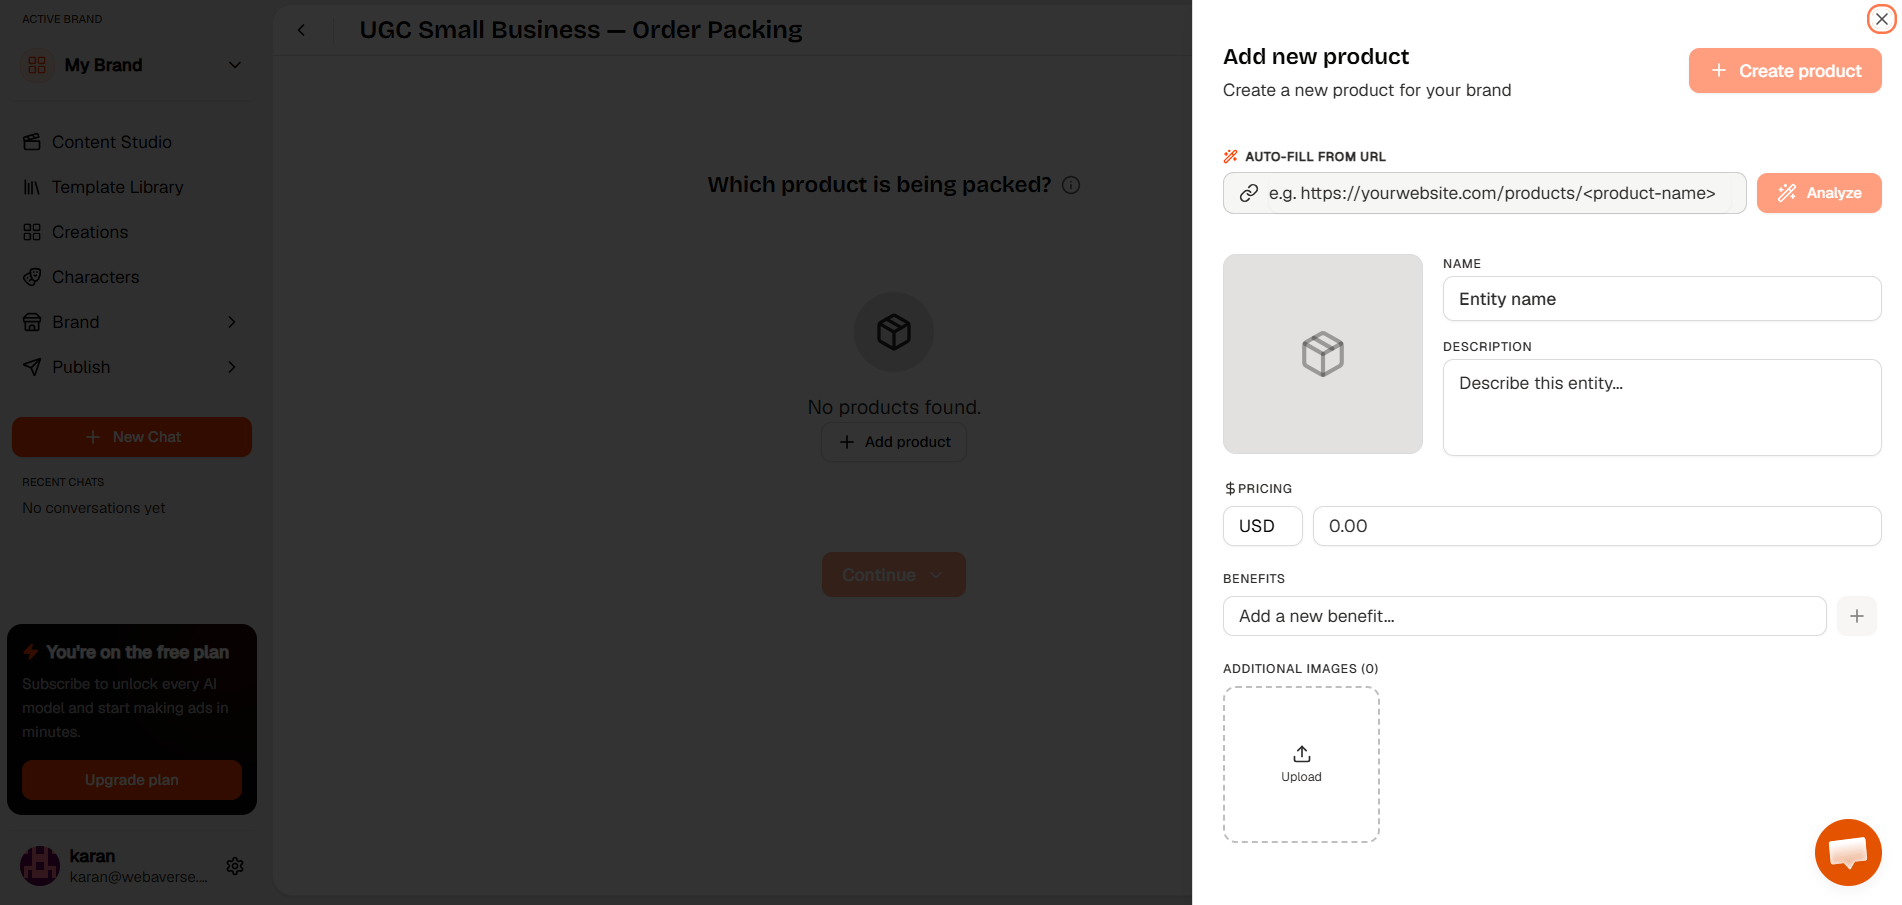
HeyOz reads the page and fills in the product name, description, price, and a set of benefits. Review what it pulled, edit anything that needs a change, then click “Create product.” You can also fill the fields by hand or upload product images if you prefer.
Step 4: Confirm Your Product Selection
Your new product now appears as a card on the selection screen with a checkmark. Confirm it is selected, then click “Continue.”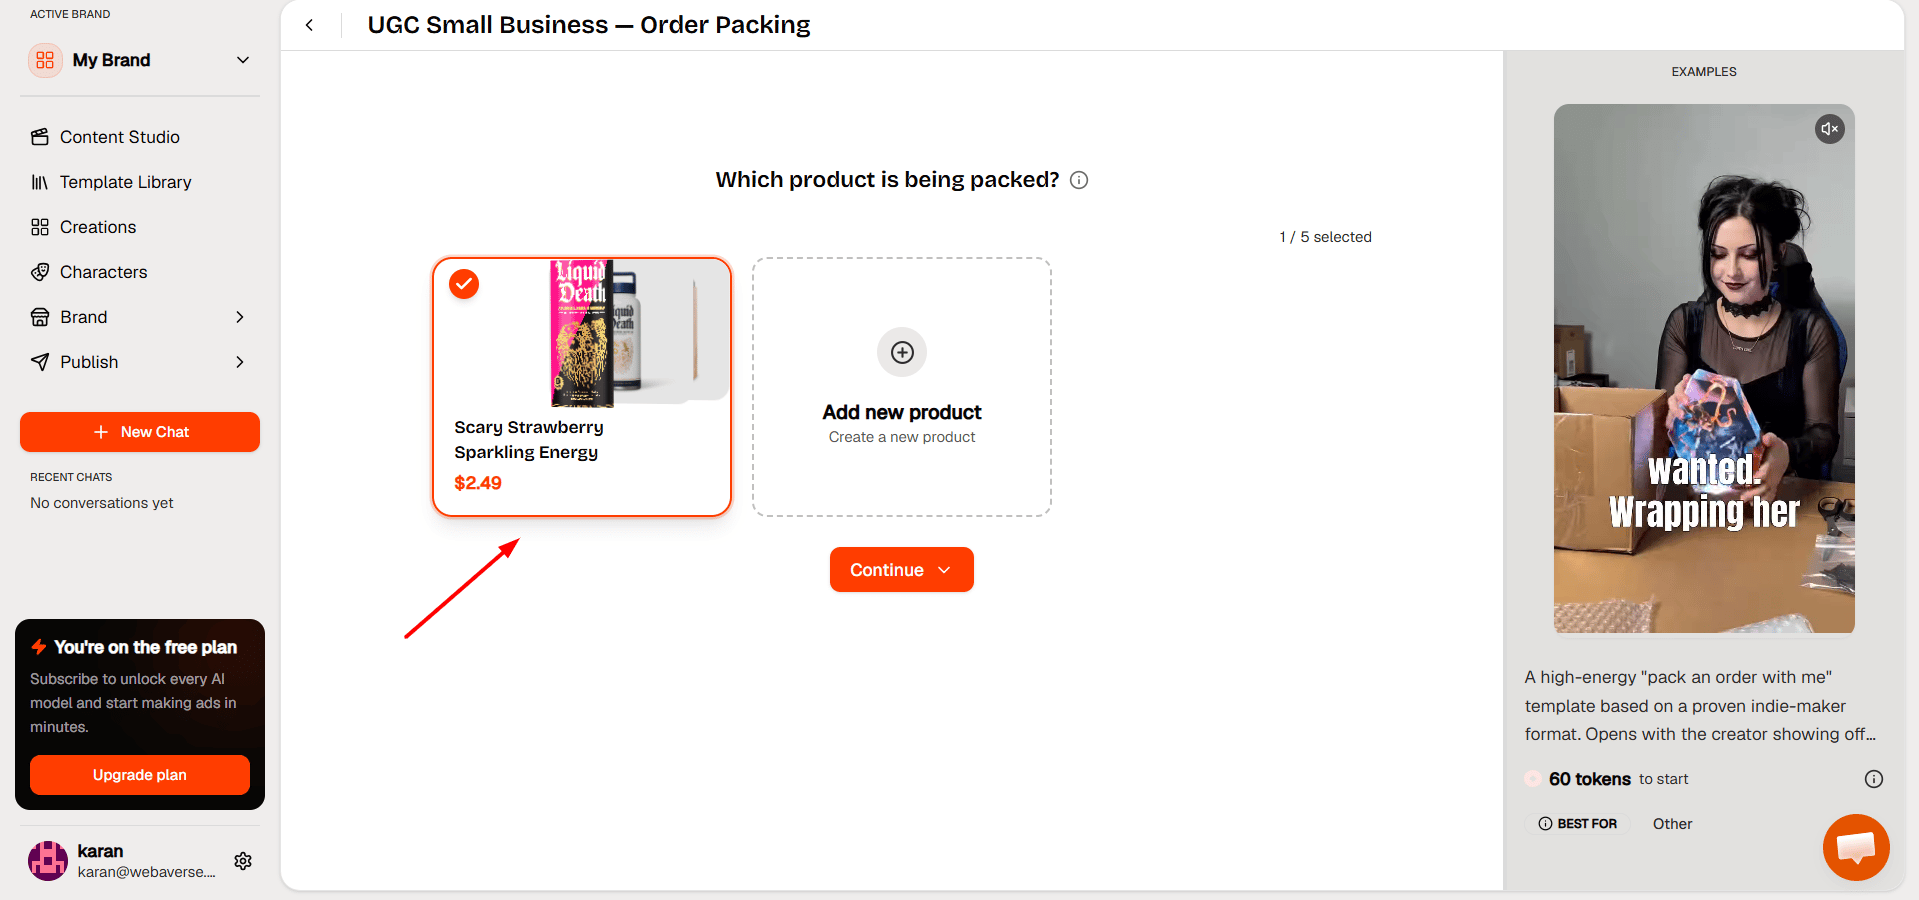
Step 5: Add a Product Photo
The next screen asks for a product photo. Click “Add from library” to open your assets.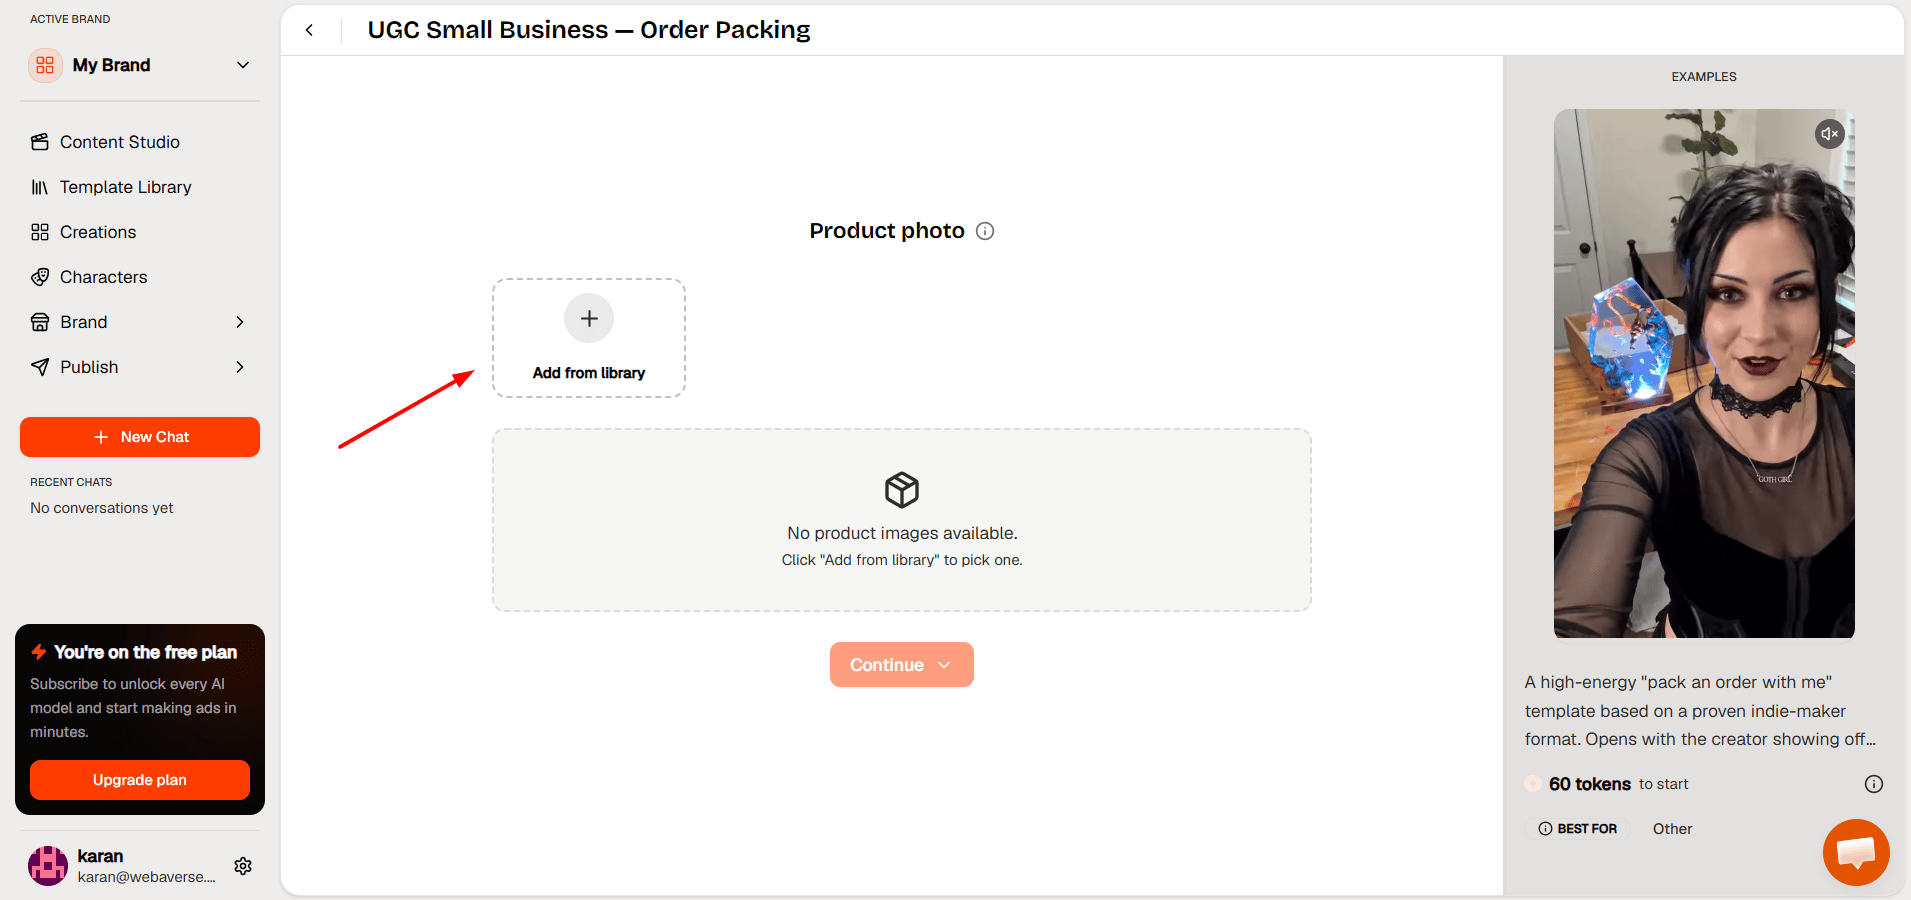
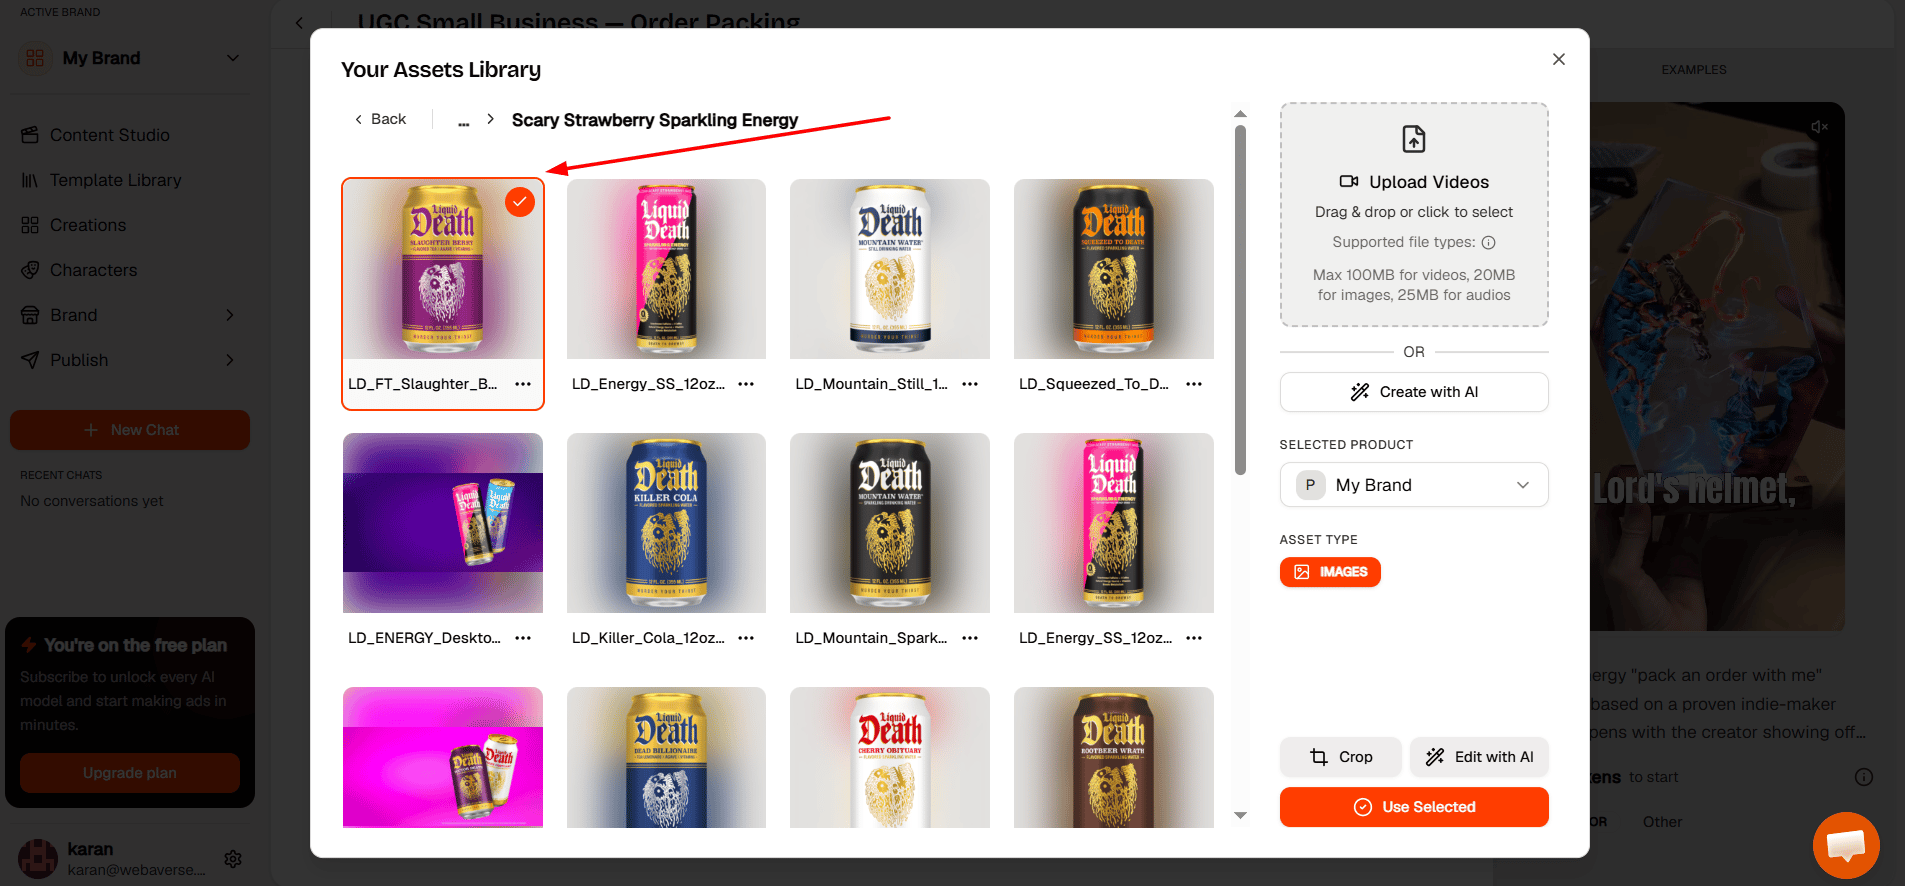
Your Assets Library opens. Browse your product images, click the one you want, and then click “Use Selected.”
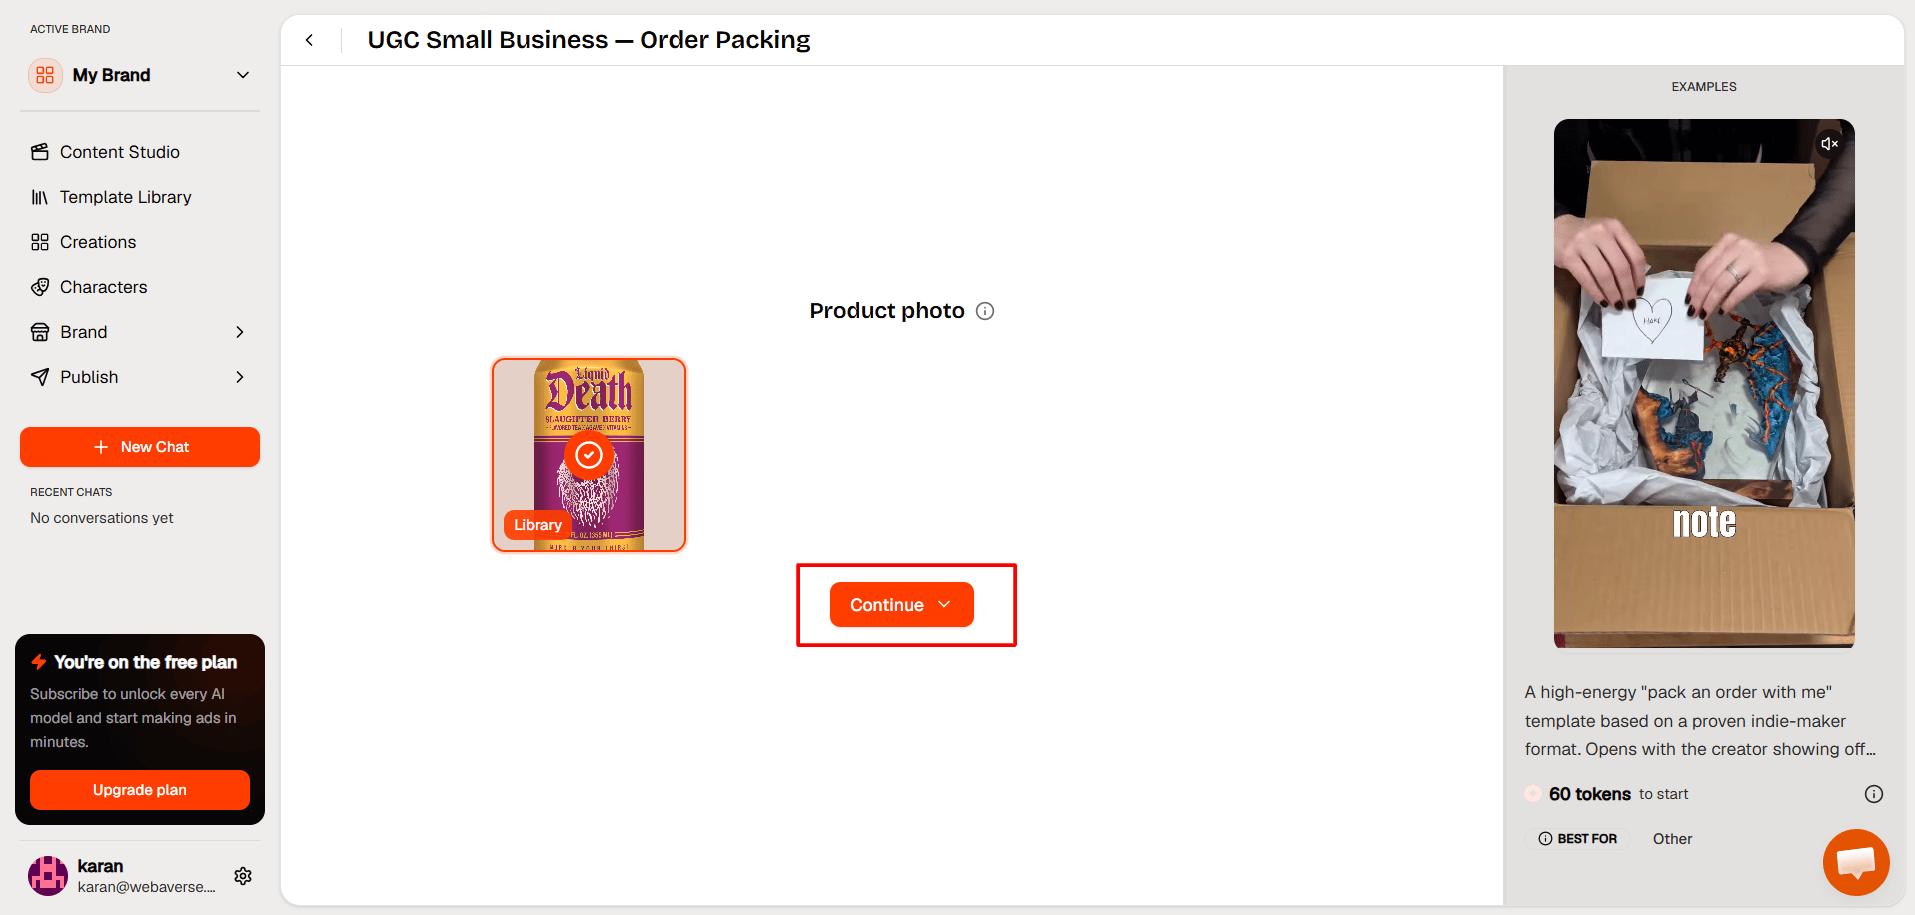
The chosen photo now shows on the product photo screen with a checkmark. Click “Continue” to move on.
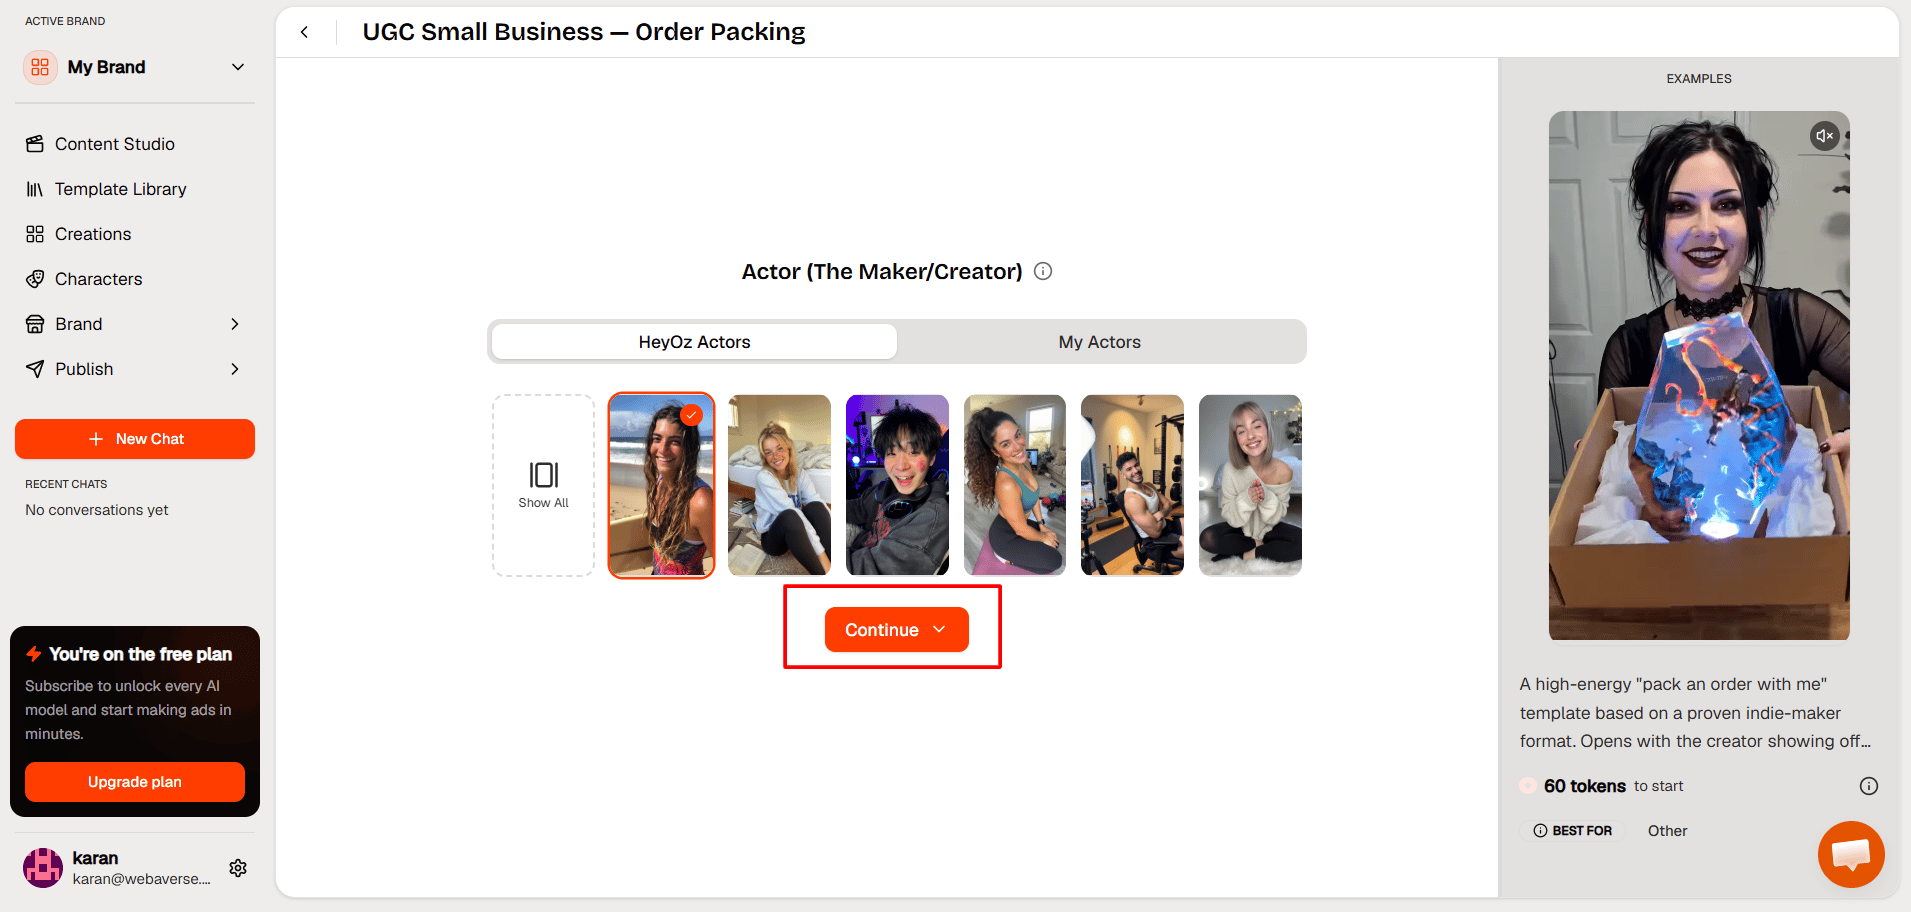
Step 6: Choose Your Actor
This screen lets you pick the on-camera actor for the video. Use the “HeyOz Actors” tab for the built-in library, or the “My Actors” tab for actors you have added. Click “Show All” to see the full set.
Click the actor that fits your brand. The selected actor shows a checkmark. When you are happy with the choice, click “Continue.”
Step 7: Review and Generate
The final screen summarizes your video: the product, its description, and the actor you picked. Below that, the estimated cost shows how many tokens the video uses based on its length, from a 15 second single clip up to a 60 second four clip ad. Check the details, then click “Generate.” HeyOz writes the script, produces the clips, and assembles your finished video. Once it is ready, you can review it in your Creations, download it, or publish it directly to your connected accounts.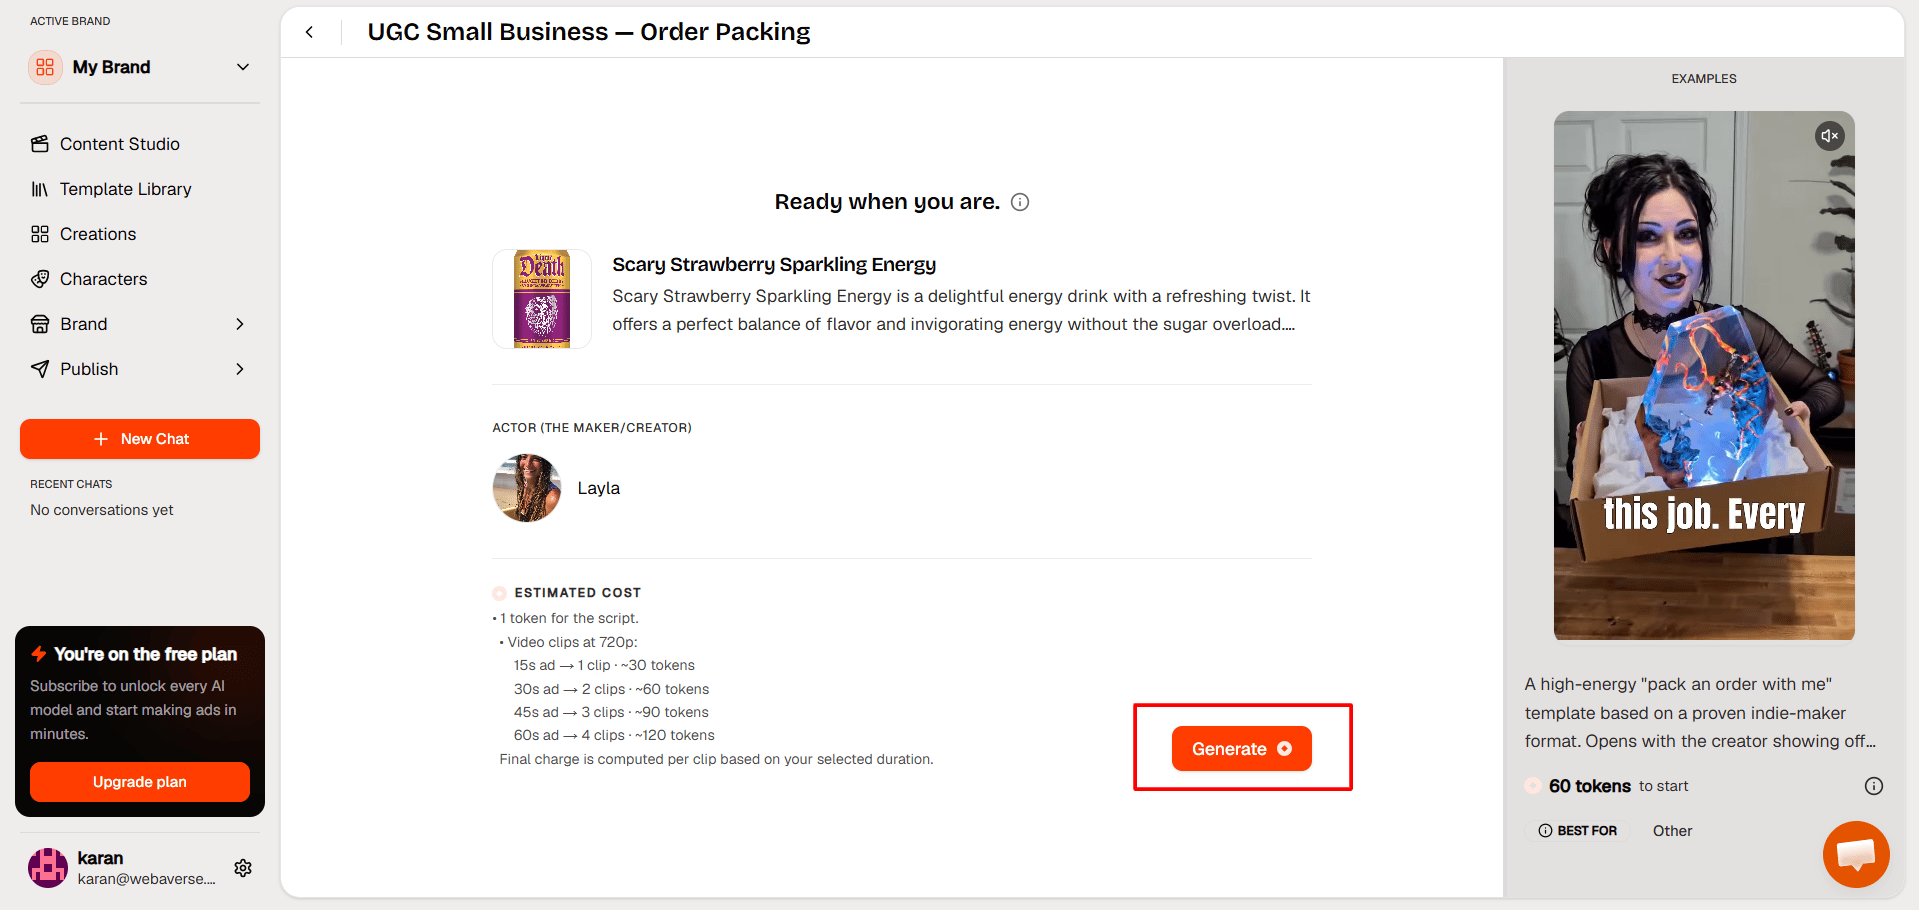
Tips for Better Results
- Pick a video template whose format matches your goal. An order packing clip suits small business and fulfillment stories, while a street interview suits social proof and reactions.
- Use Auto-fill from the URL to build the product fast, then tighten the description and benefits by hand. Clear, specific product details lead to a sharper script.
- Choose a clean product photo with a simple background. The clearer the input image, the more natural the product looks in the generated video.
- Match the actor to your audience. The on-camera presence sets the tone of the whole ad, so pick a face that fits how your brand speaks.
- Check the estimated cost before generating. Longer videos use more clips and more tokens, so select a length that fits both your message and your budget.