
The library currently has multiple memes across multiple pages, with animals, reaction clips, and internet-famous moments covering most niches.Documentation Index
Fetch the complete documentation index at: https://docs.heyoz.com/llms.txt
Use this file to discover all available pages before exploring further.
How to Get There
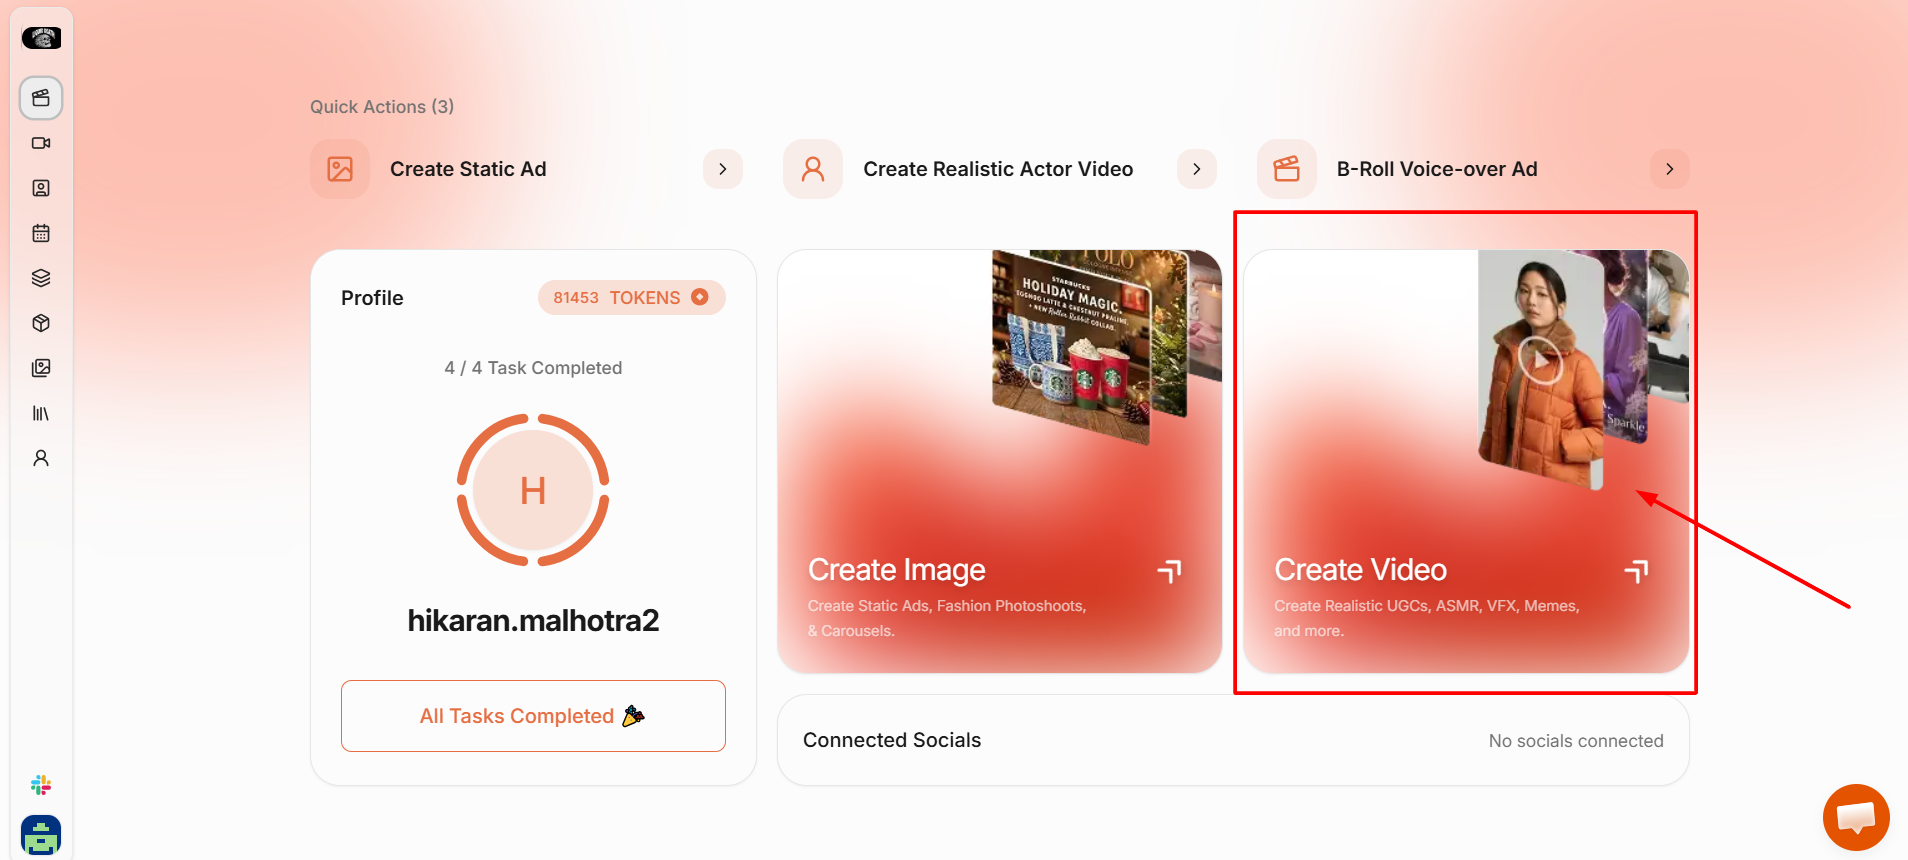
Click “Content Studio” in the left menu. Scroll down on the “What will you create?” screen and select “Green-Screen Meme.”Step 1: Choose Your Meme
The first screen shows a grid of green screen meme clips. The library is paginated, showing 12 memes at a time across 5 pages (113 total). Use the page numbers at the bottom to browse through all of them. Click any meme thumbnail to select it. A preview will appear on the right side of the screen, playing the clip so you can see what the meme actually does before committing to it. Take a moment here. The meme you pick sets the tone of the whole video, so it’s worth scrolling through a few pages rather than grabbing the first one that looks decent.Step 2: Upload Your Background
Below the meme grid, you’ll see a section asking “Which background would you like?” This is the image or video that will sit behind the meme once the green screen is removed. Click “Upload media” to open your file browser and upload an image or video from your device. You can also pull from your Media Library if you prefer to use an existing brand asset. Your background is what grounds the meme in your brand context. A product image, a lifestyle shot, or even a campaign visual all work here depending on the tone you’re going for. Once you’ve selected both a meme and a background, the “Create Video” button activates. The token cost is shown on the button. Click “Create Video.”Step 3: Edit in the Video Editor
HeyOz generates the video and opens it directly in the Video Editor. The meme clip is placed over your background with the green screen removed, and the full timeline is visible at the bottom of the screen. From the left panel you can:- Add Audio to layer in a voiceover or sound clip.
- Add Text to drop in a caption, headline, or call-to-action.
- Add Subtitles to include auto-generated or manual subtitle tracks.
- Generate Music to add a background track.
- Generate Sound Effects to add audio layers to specific moments.
- Adjust Timeline Settings to fine-tune clip length, pacing, or order.
Step 4: Export and Share
When the video is ready, click “Re-export” in the top right corner. From the export panel you can download the file or post it directly to your connected social accounts.Tips for Better Results
- Background choice matters more than it might seem. A busy or cluttered background competes with the meme and makes the video harder to read. Clean product shots or solid-ish backgrounds tend to work better.
- Preview each meme before selecting it. Some clips are very short, some loop awkwardly, and some land better in specific contexts. Watching the preview first saves a round trip.
- Add a text caption that ties the meme to your product or message. Without it, the connection between the meme and your brand is easy to miss. Keep it short and punchy.