
How to Get There
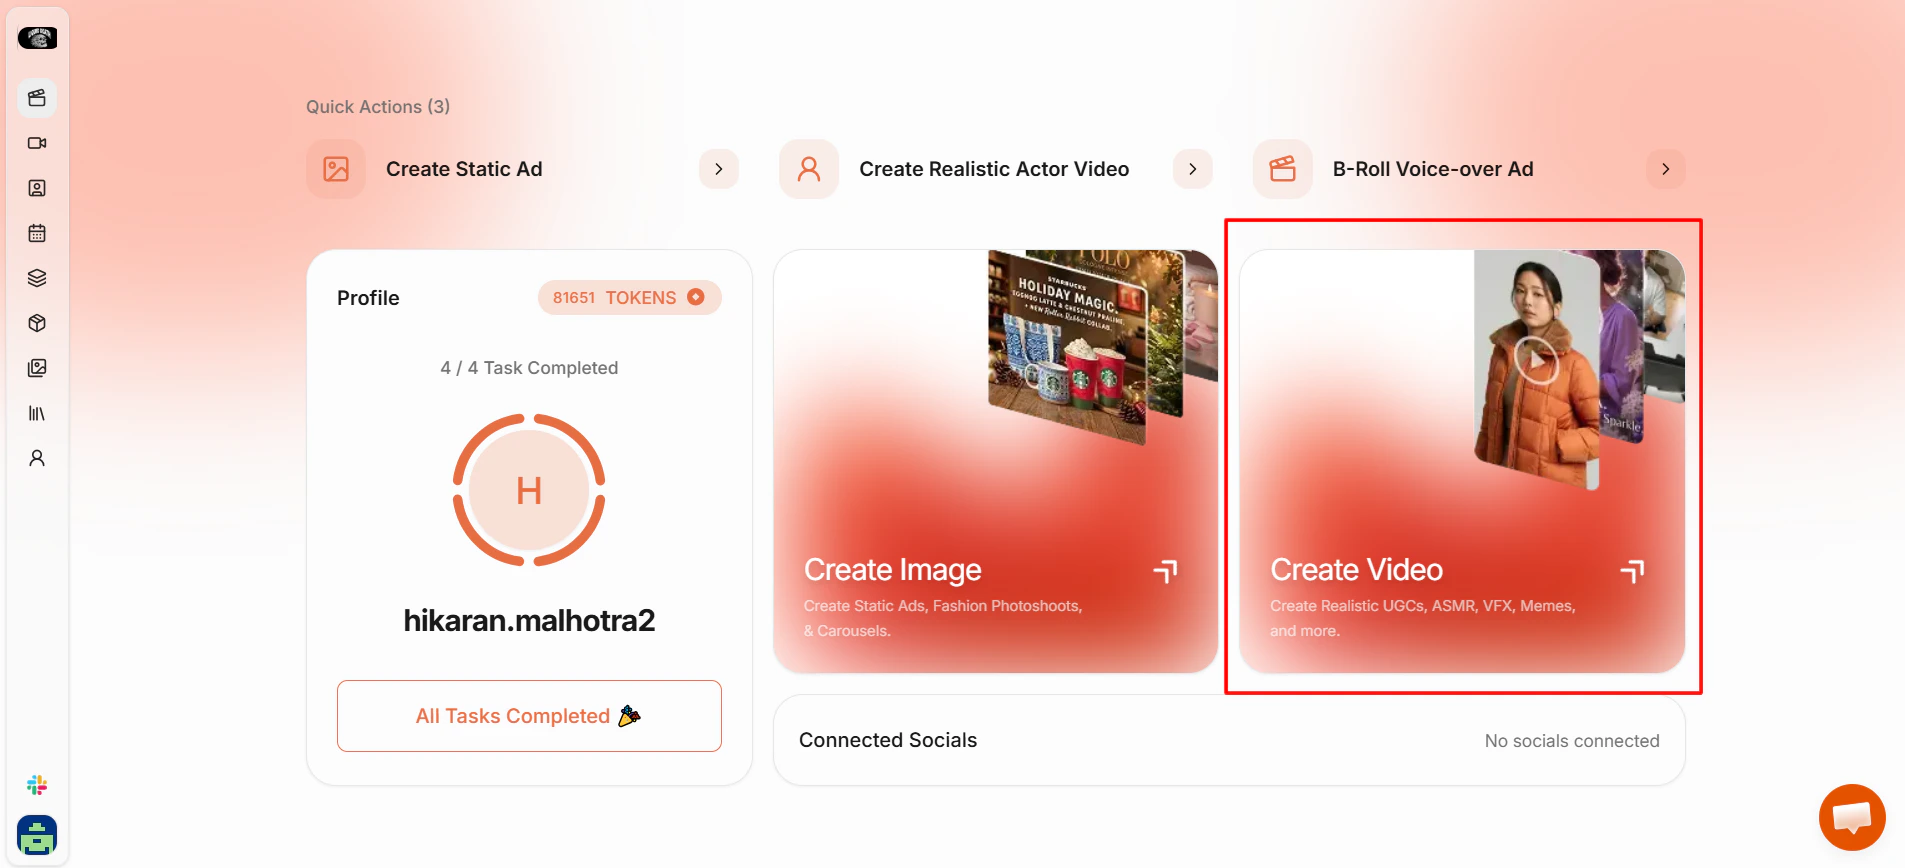
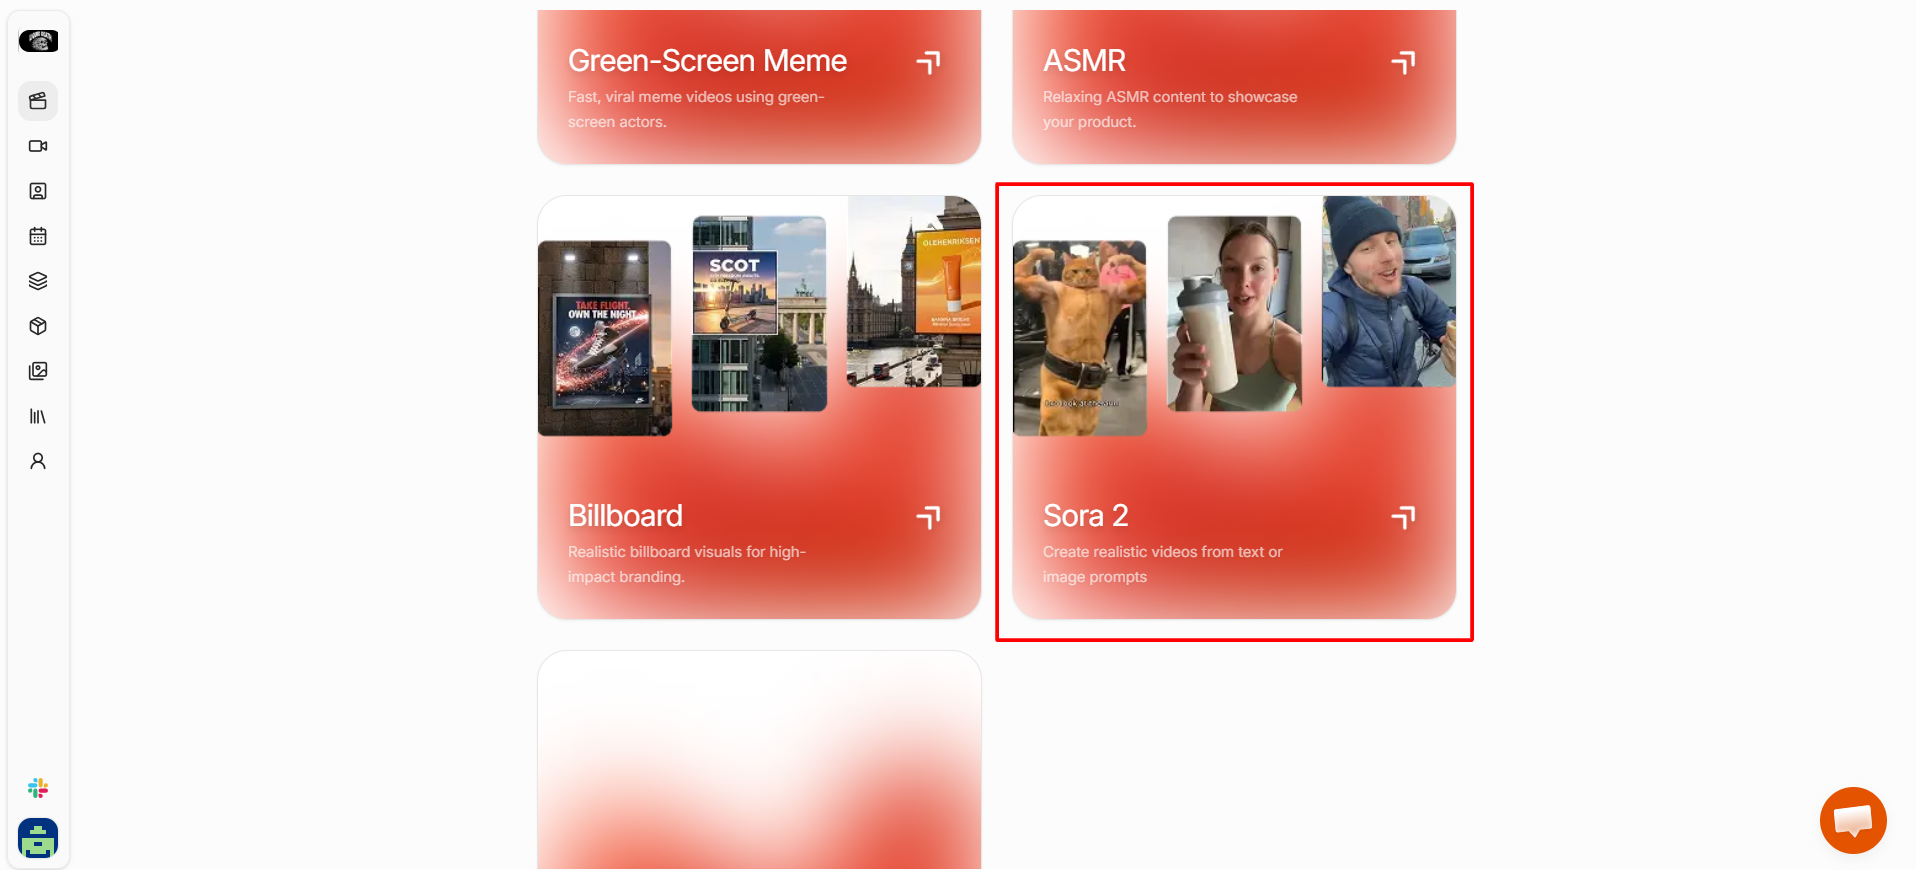
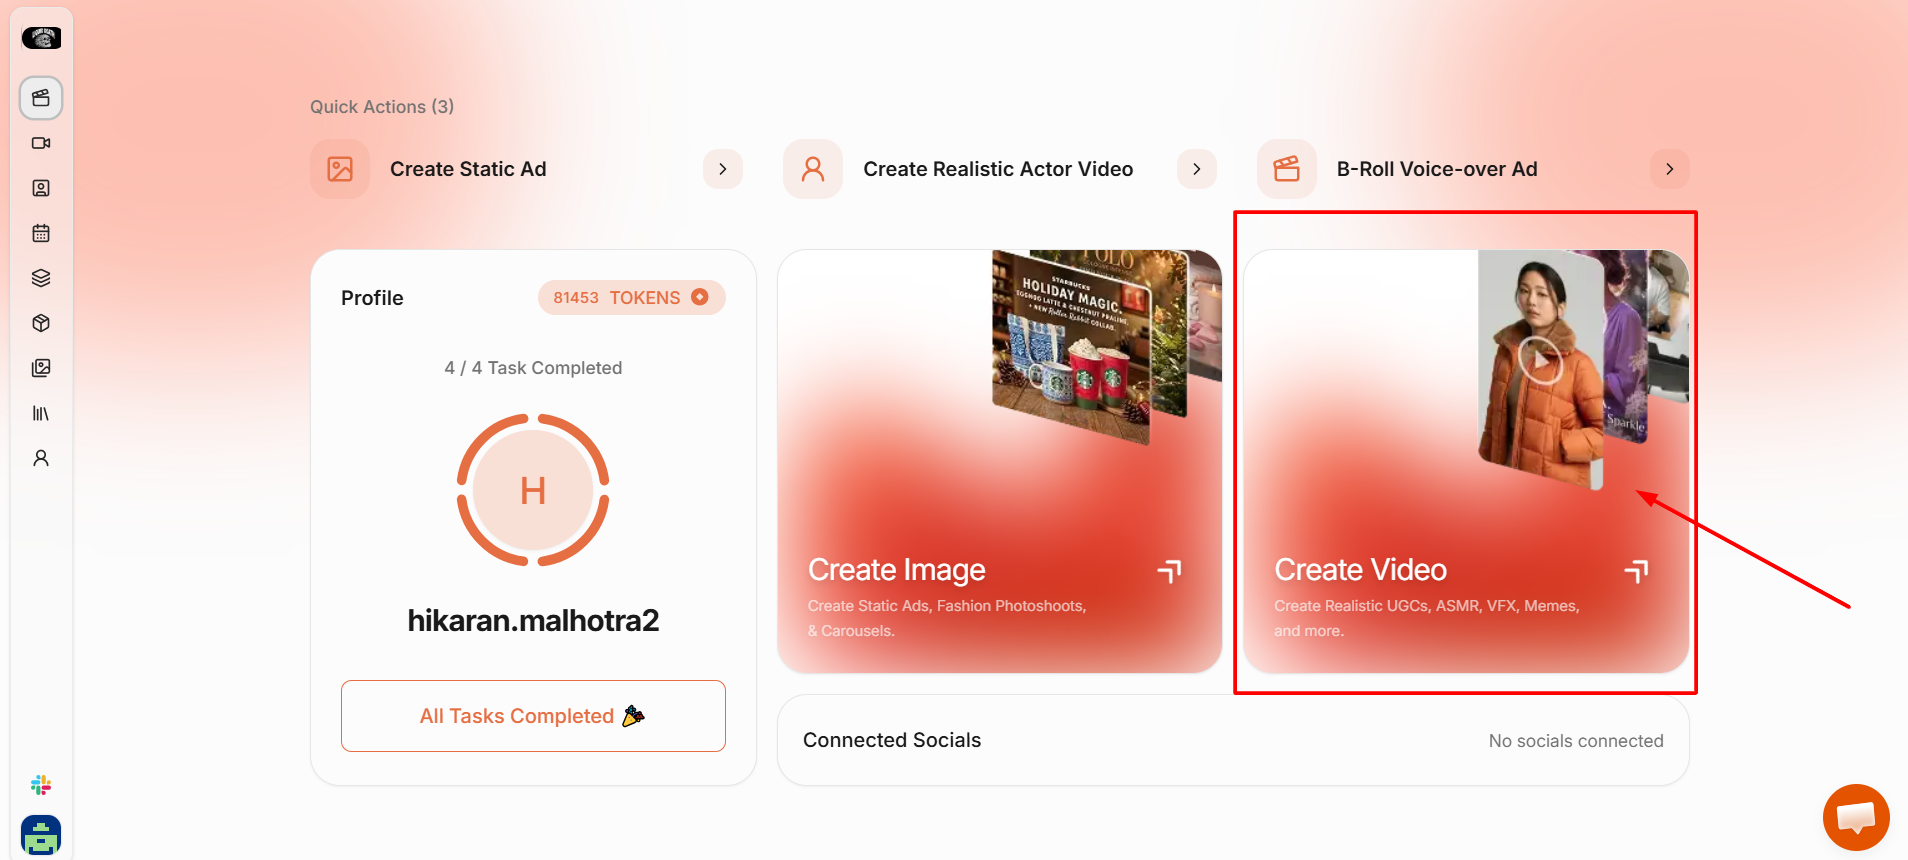
Click “Content Studio” in the left menu. Under the video formats section, select “Video Effects.”Step 1: Choose an Effect
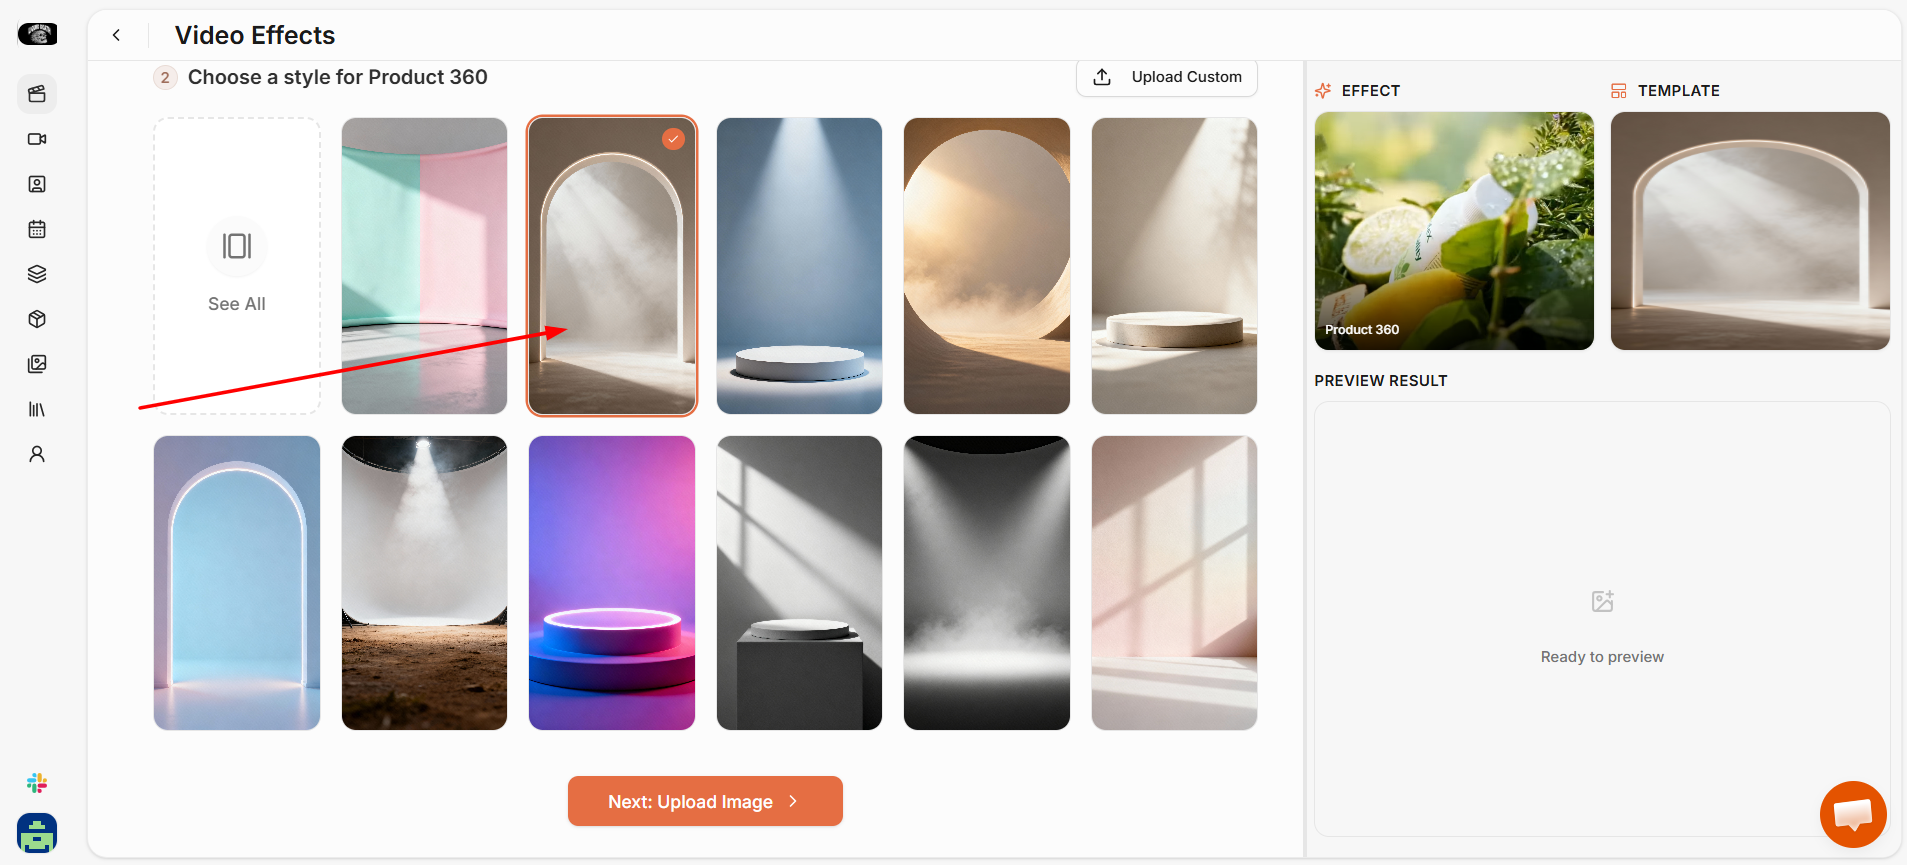
Browse the available effect styles and select the one that fits your campaign or product best. Each effect creates a distinct visual style: Product 360 rotates your product in a full circle for a clean showcase view. Miniature shrinks the scene into a tilt-shift style world. Wireframe overlays a technical, blueprint-style mesh on your product. Fluid Drip applies a liquid, dripping visual treatment. Click the effect you want to use.Step 2: Select a Template or Environment
After choosing an effect, you’ll be asked to pick a background or environment template for the final video. Click “See All” to browse the full range of available environments, which are organized by product type and visual style. Pick the one that best matches your product’s aesthetic or the mood of your campaign.Step 3: Upload Your Product Image
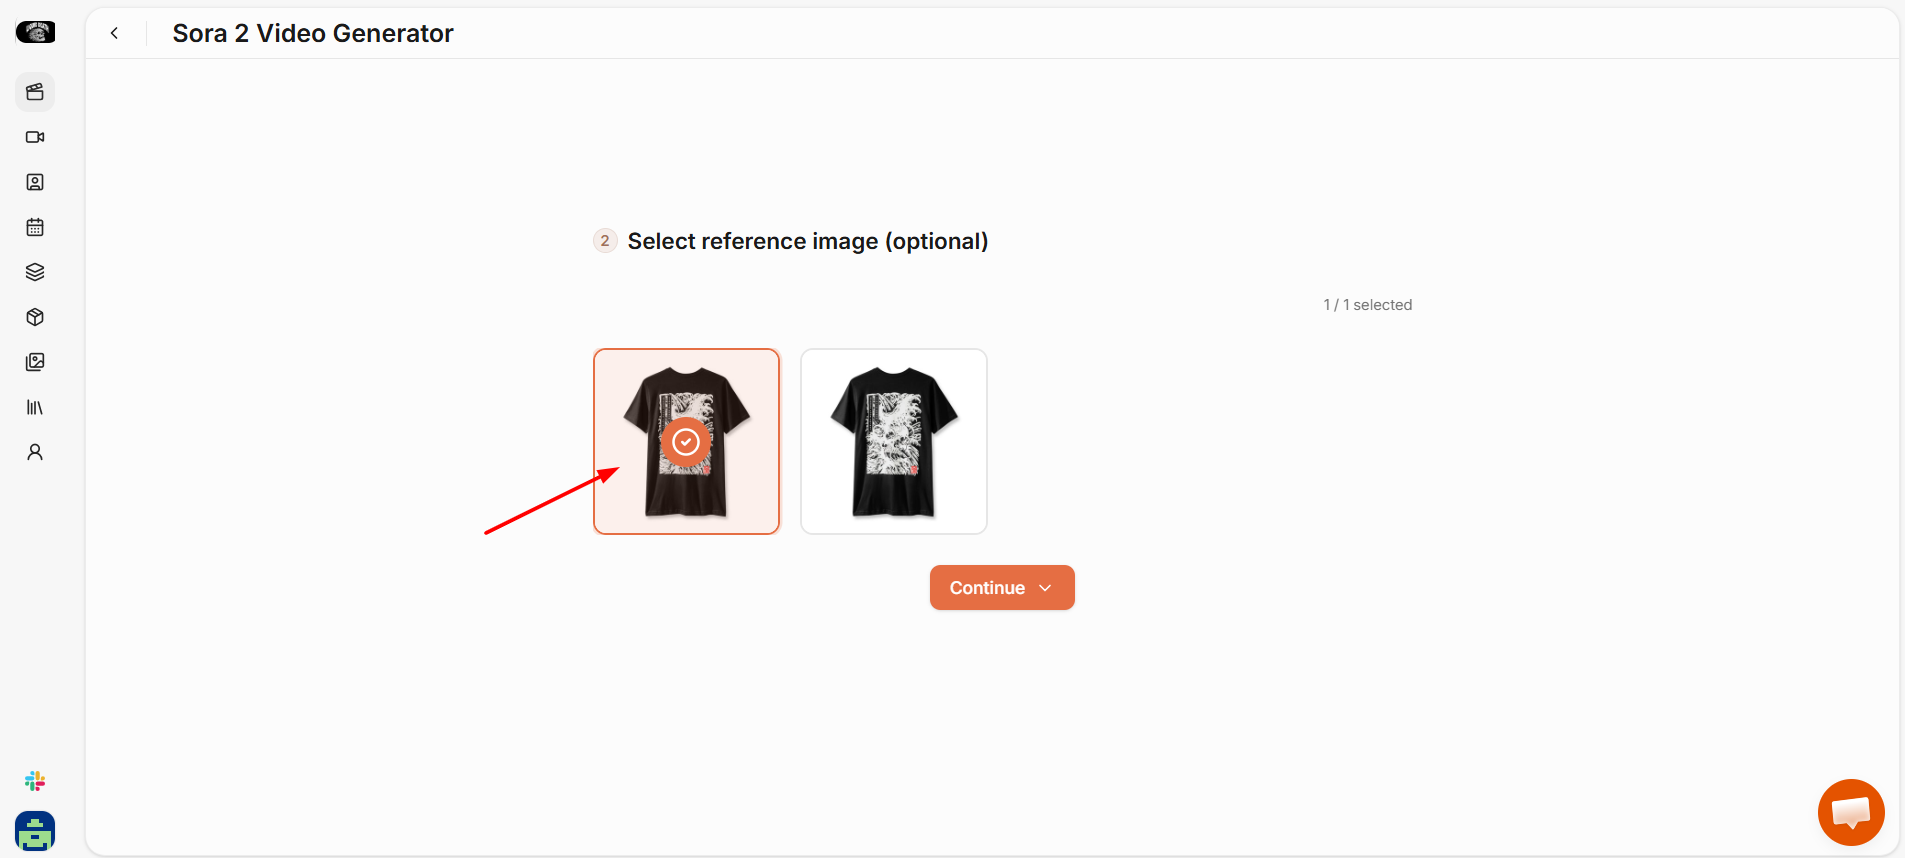
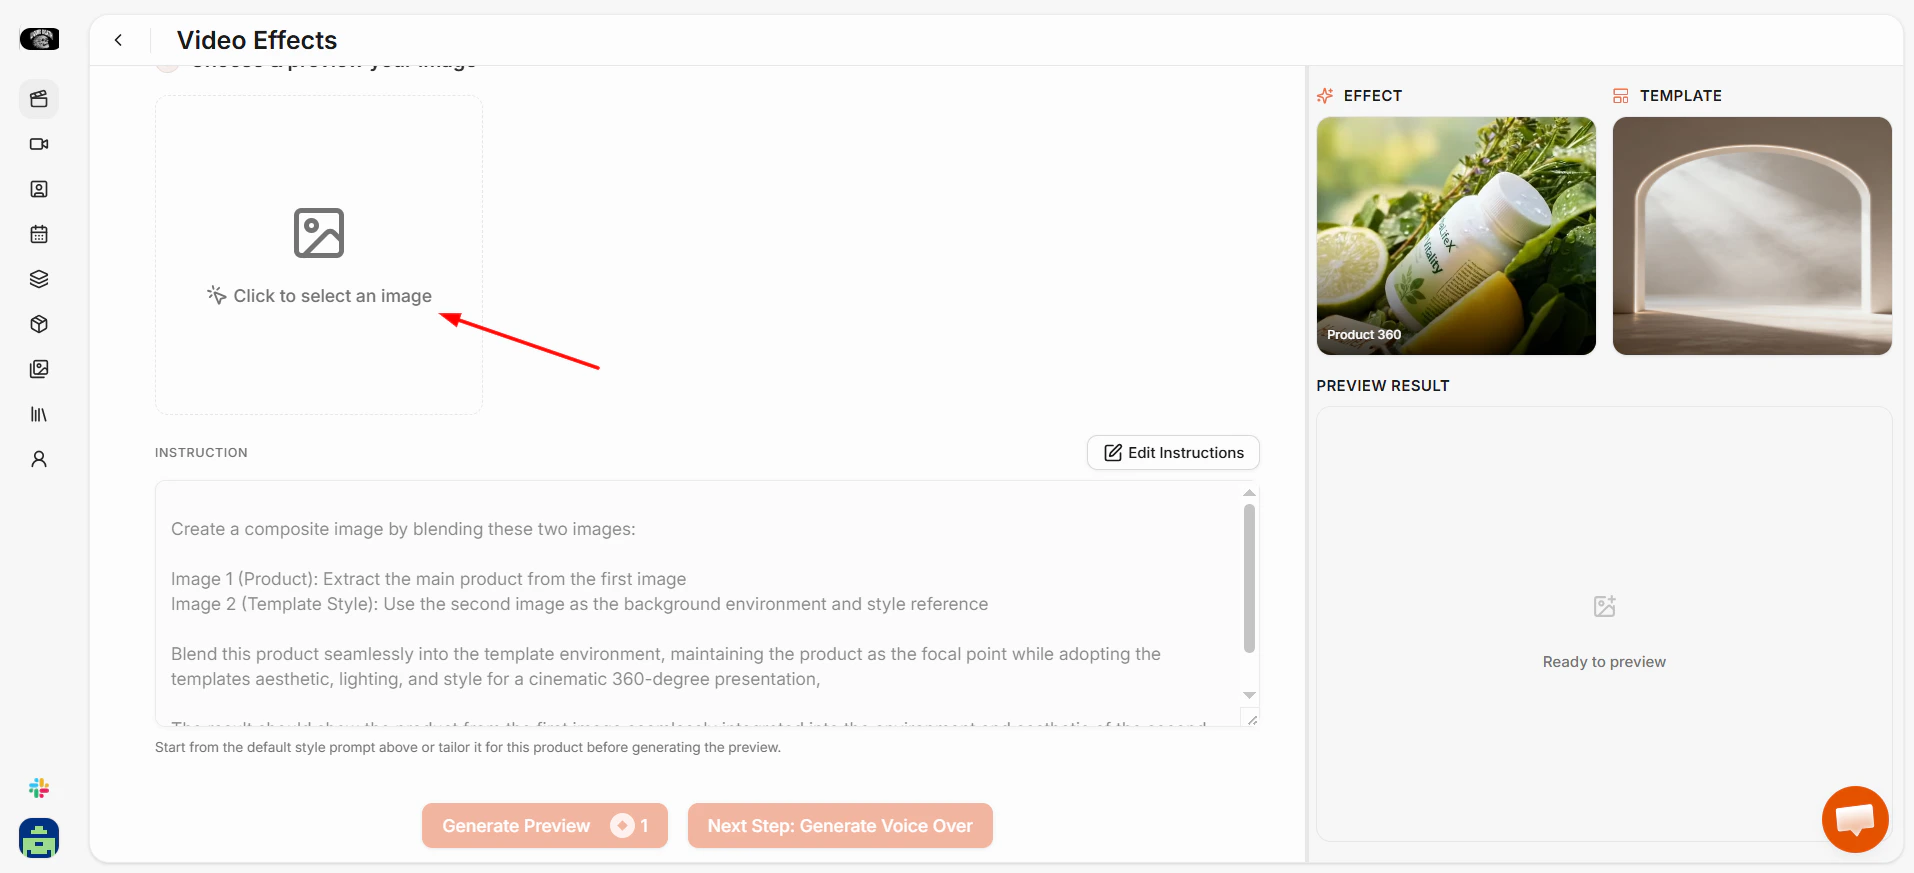
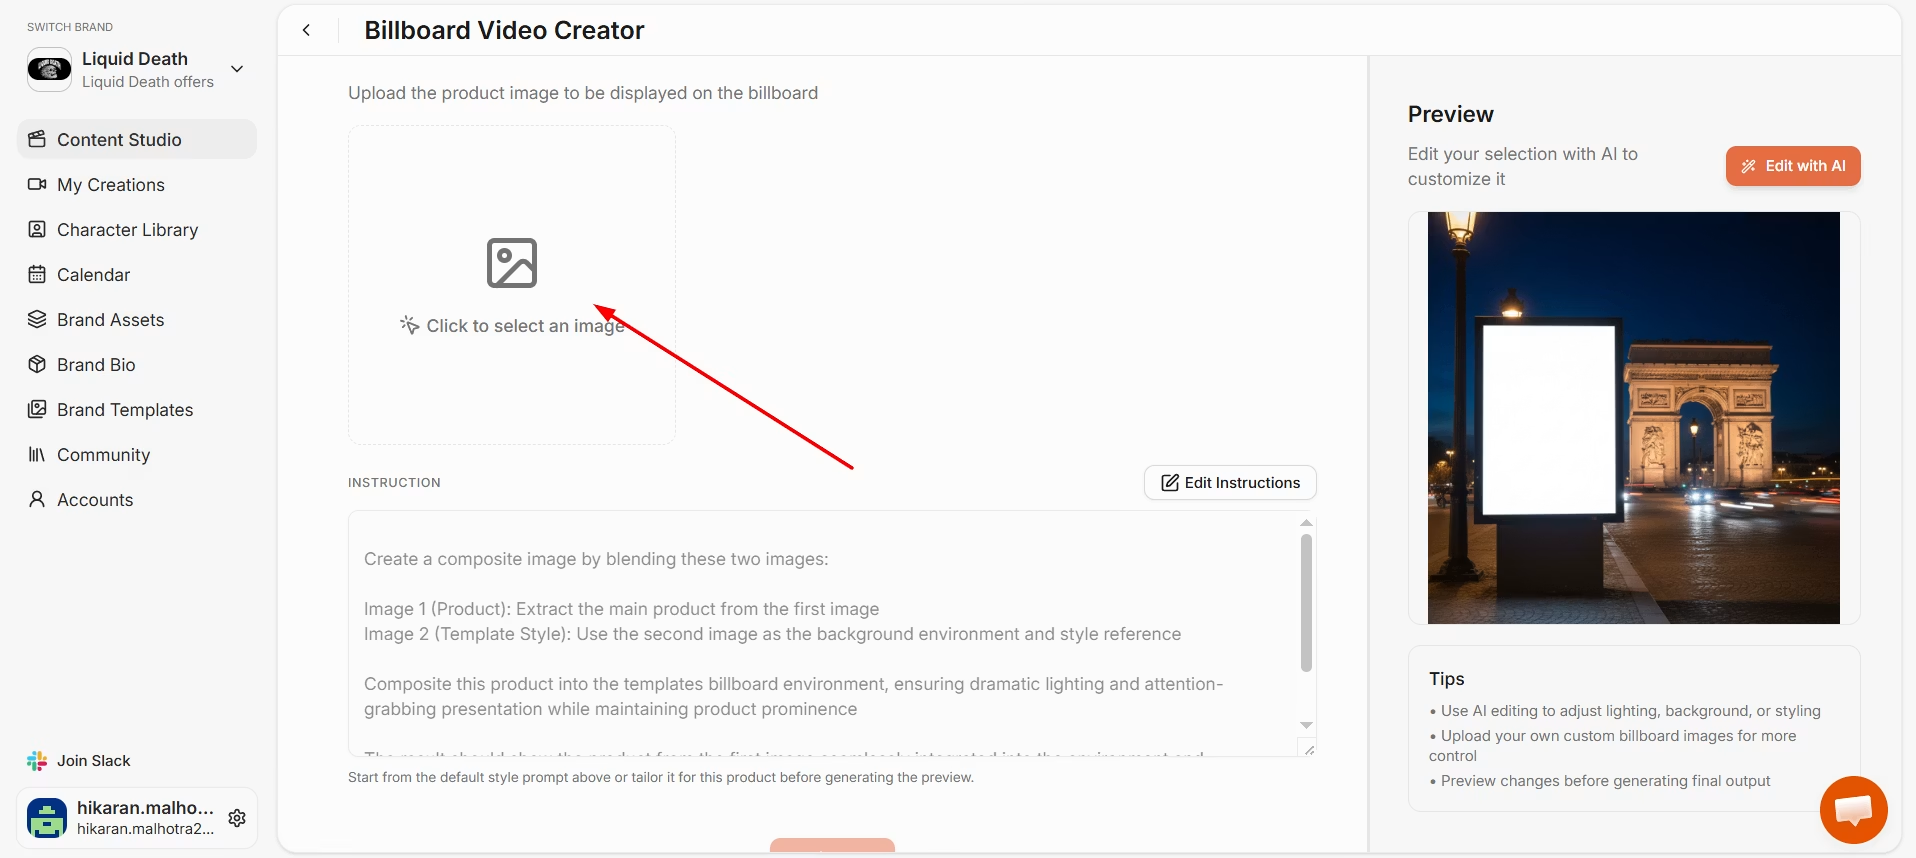
Upload your product image or select one from your Assets Library. Your existing brand assets will already be there from onboarding. Before moving on, you can edit the image using the built-in AI tools: background removal, resizing, or other adjustments. This step is optional but can improve how cleanly the product sits inside the effect.Step 4: Review the Instructions
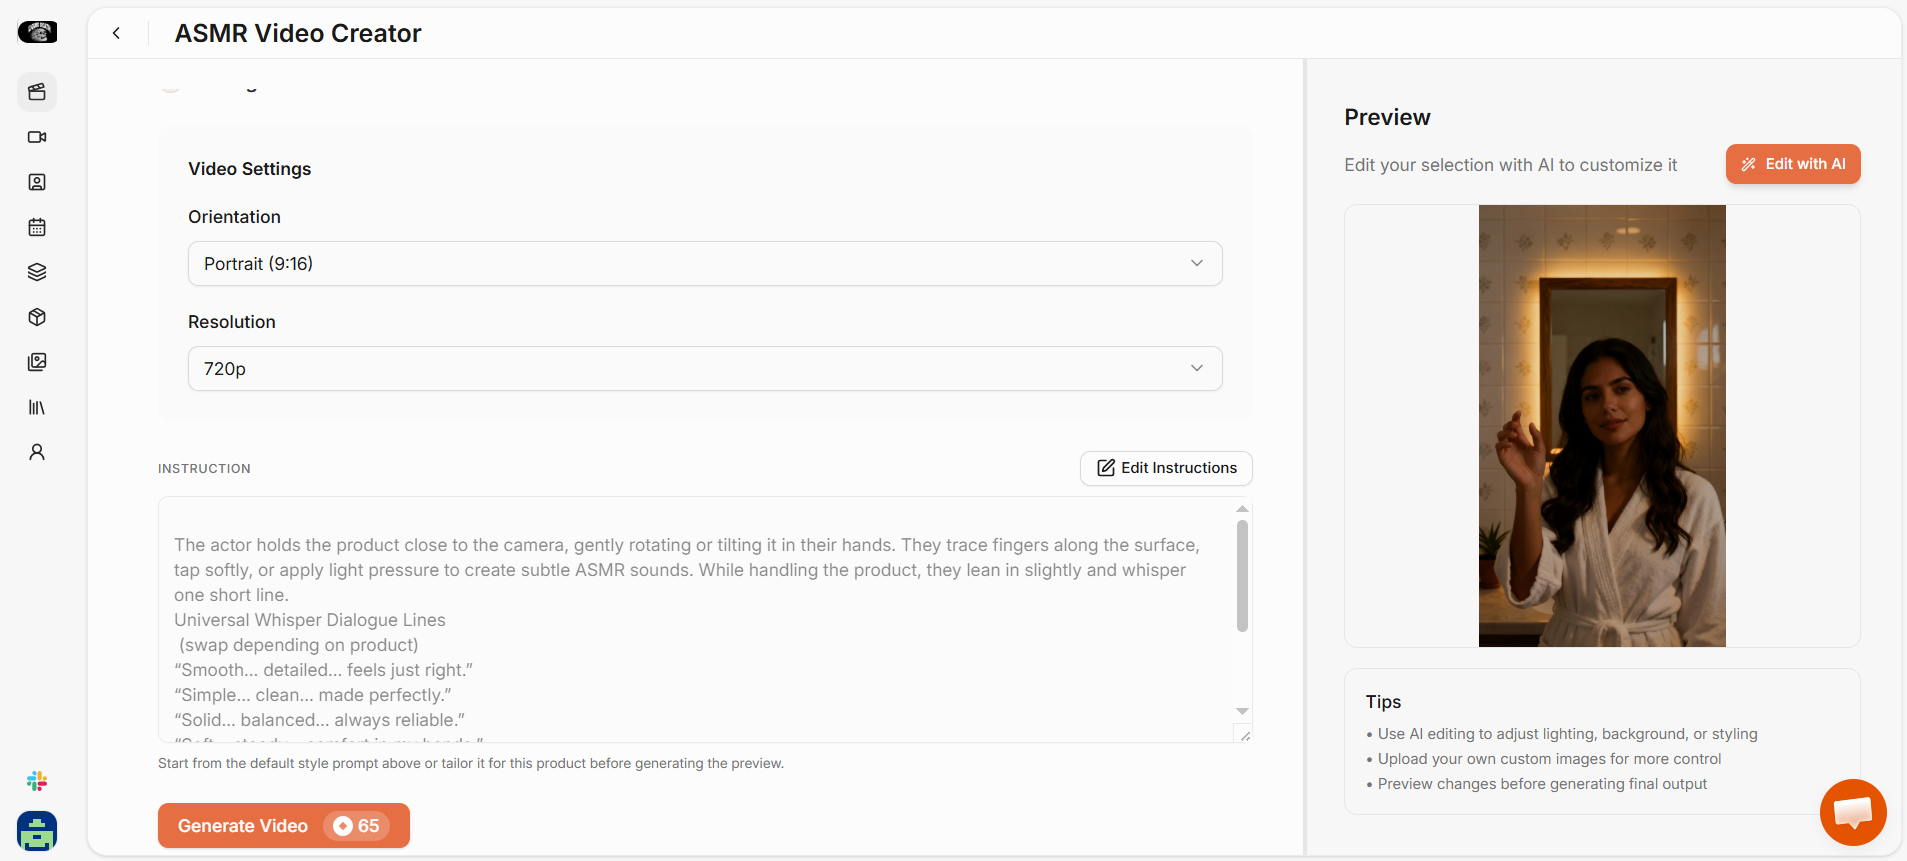
HeyOz provides default instructions for each effect, pre-written to get solid results for that specific style. You can leave them as they are or edit them if you want to steer the visual outcome in a specific direction.Step 5: Generate a Preview
Click “Generate Preview” to see how your product will look inside the selected effect and environment before the final video is created. Check the positioning, scale, and overall composition here. If something looks off, adjust the image or instructions before generating the full video.Step 6: Set Up Optional Features
Two optional settings are available at this stage. Voice Over: Toggle this on if you want an AI-generated narration added to the video. Once enabled, you can select a voice from the library. Use Product Information: Toggle this on to let HeyOz pull in your saved product details (name, description, benefits) to inform the audio or visual storytelling. Neither is required. Both can add context to the final video if the format calls for it.Step 7: Configure Video Settings
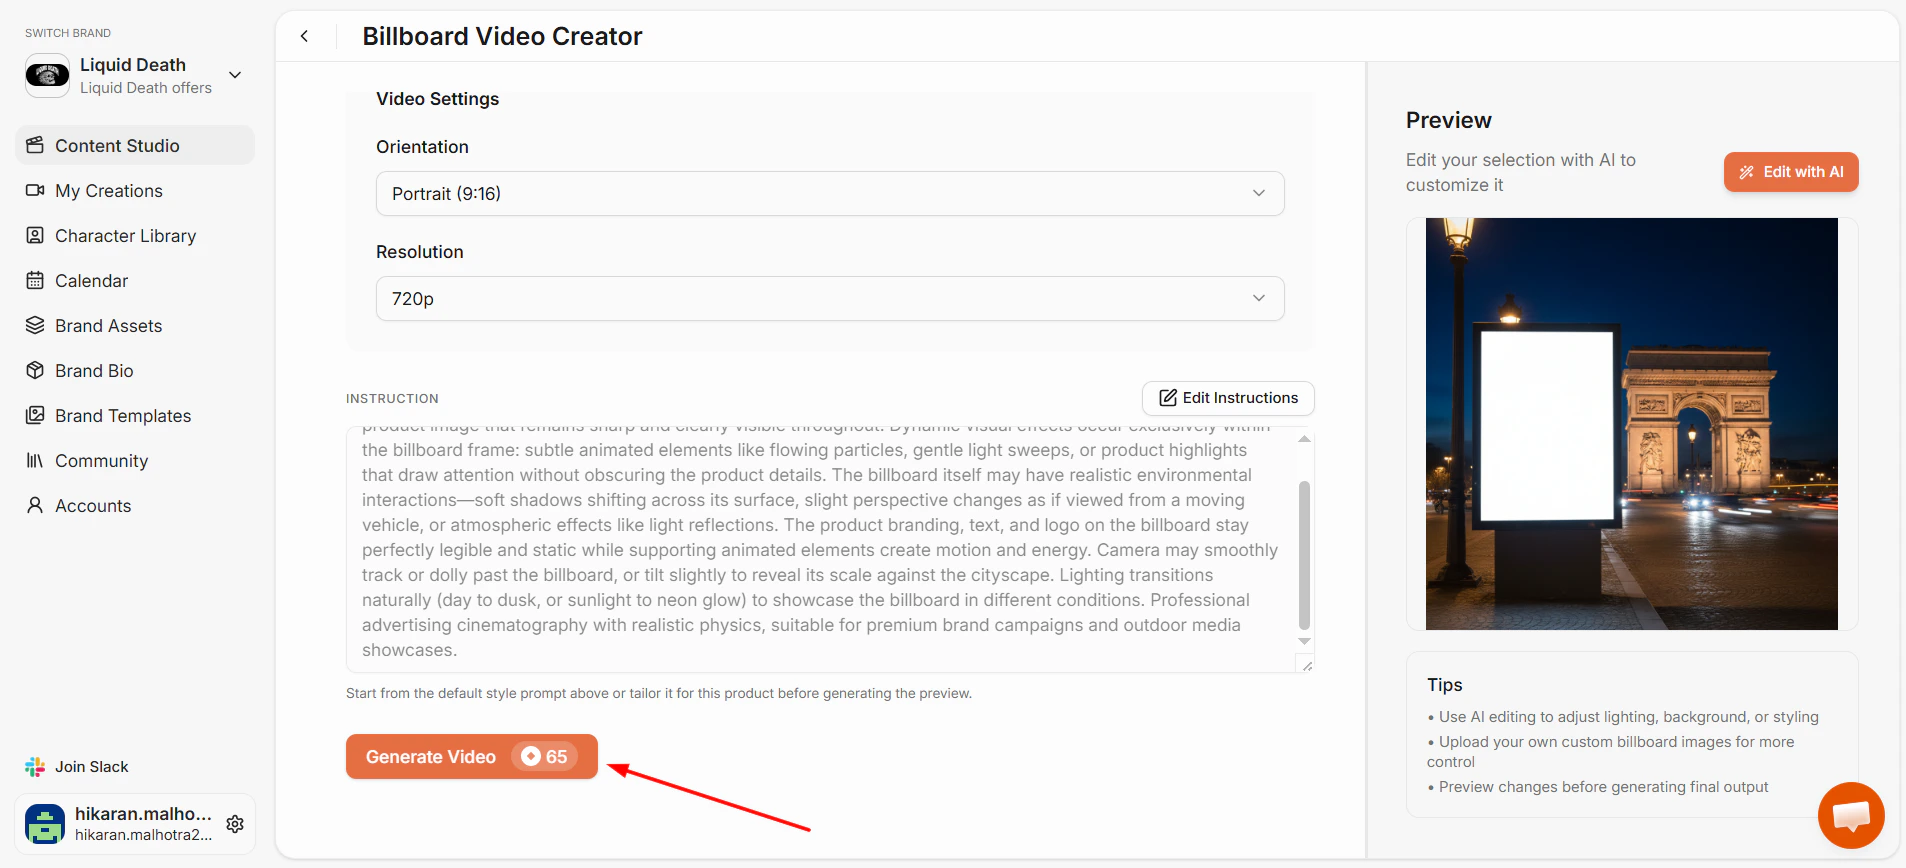
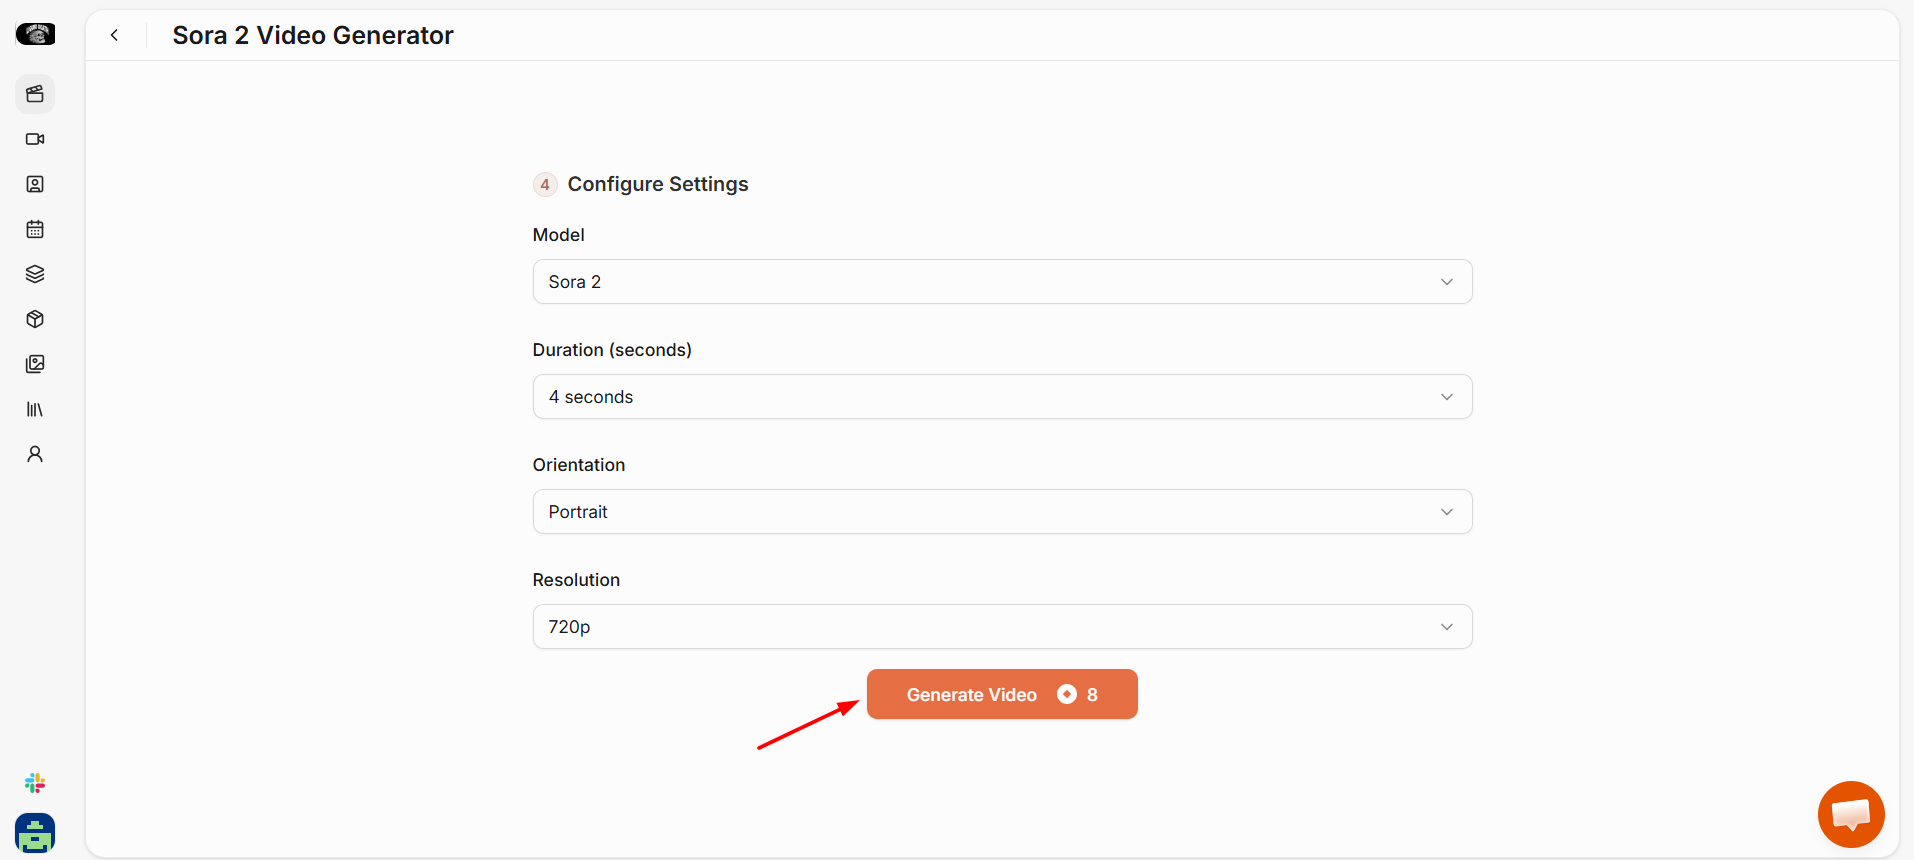
Choose your output orientation: Portrait, Landscape, or Square. Then select your resolution (720p or 1080p). Match these to where you’re planning to post. Portrait works for TikTok and Instagram Stories, Landscape for YouTube, Square for general feed posts.Step 8: Generate Your Video
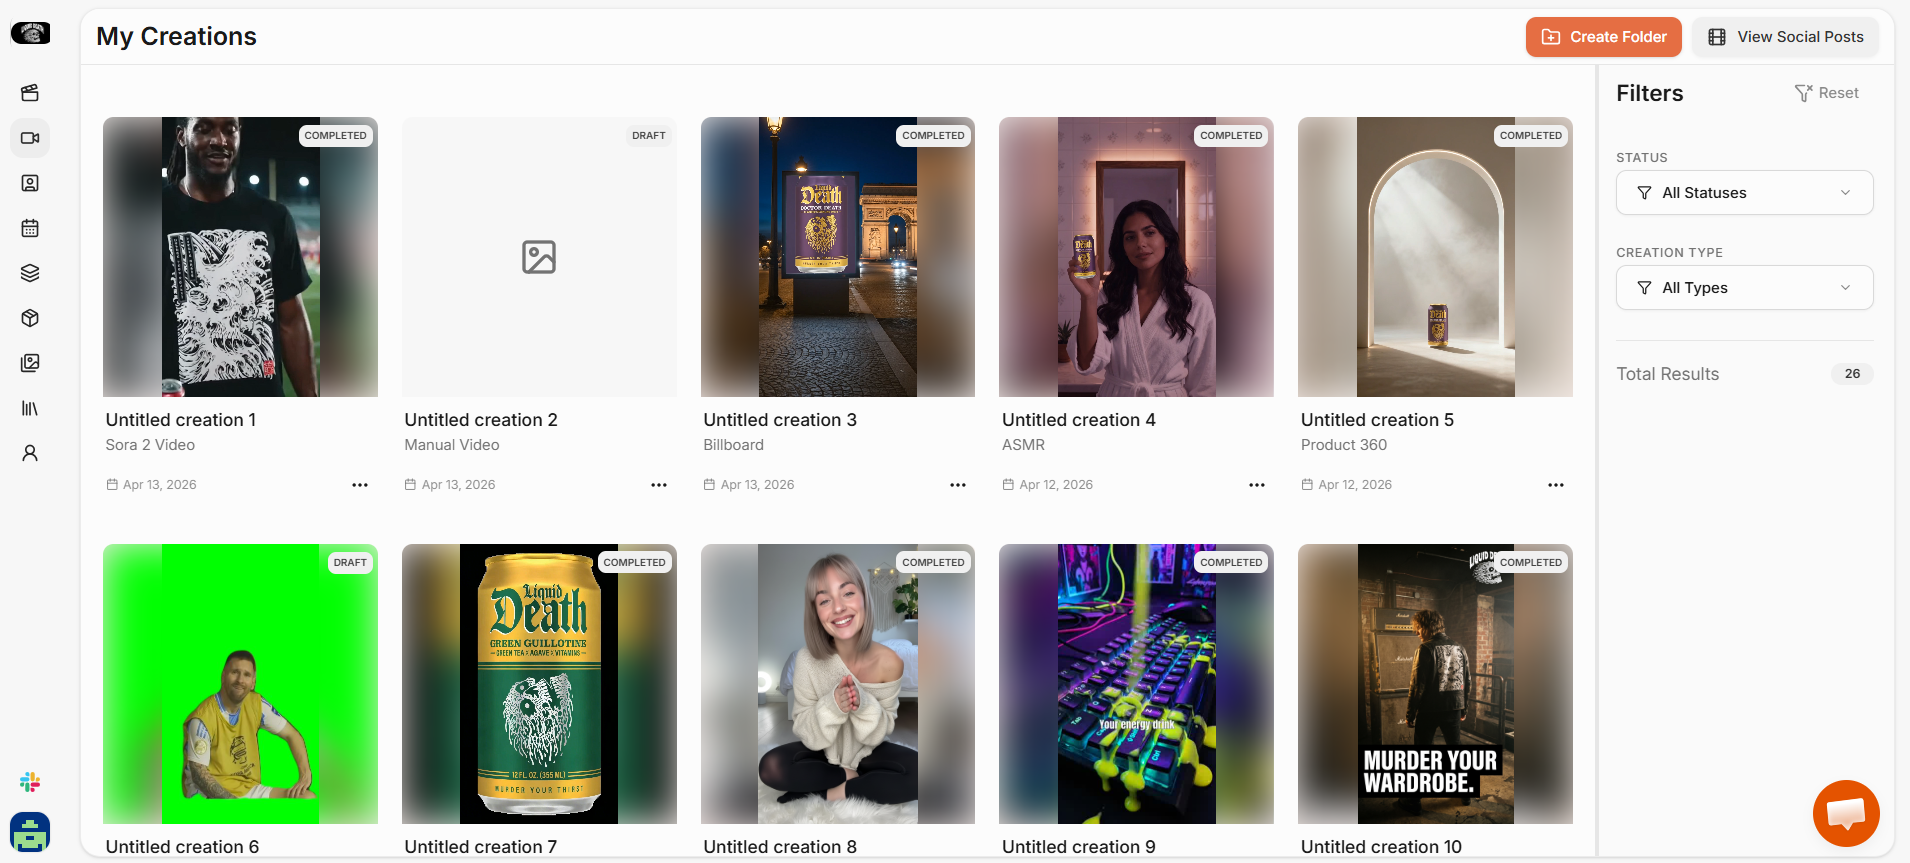
Click “Generate.” HeyOz processes the video and opens it in the Video Editor once complete.Step 9: Edit and Export
Inside the Video Editor you can fine-tune text overlays, transitions, visuals, and audio. Play through the video in real time to review before exporting. When satisfied, click “Re-export” to download the file or post it directly to your connected social accounts.Tips for Better Results
- The preview step is worth using. Skipping it and going straight to final generation means you might spend tokens on a result that has positioning or scale issues you could have caught early.
- Product images with clean or transparent backgrounds tend to produce cleaner effects. If your image has a cluttered background, use the background removal tool before generating.
- Try different environments for the same product. The effect stays the same but the environment dramatically changes the mood, and sometimes a less obvious choice produces a more interesting result.