How to Get There
Click “Template Library” in the left menu. This opens the Browse Templates screen where every available template is laid out for you to scroll through.Step 1: Browse and Pick a Template
On the Browse Templates screen, scroll through the available designs and find one that fits your product and the message you want to send. You can filter by category using the “Categories” dropdown in the top right. Use the “Library” tab to see all ready-made templates, or the “My Templates” tab to see ones you have saved. The toggle in the top right lets you switch between Image templates and Video templates. Video is marked as coming soon. Click the template you want to recreate.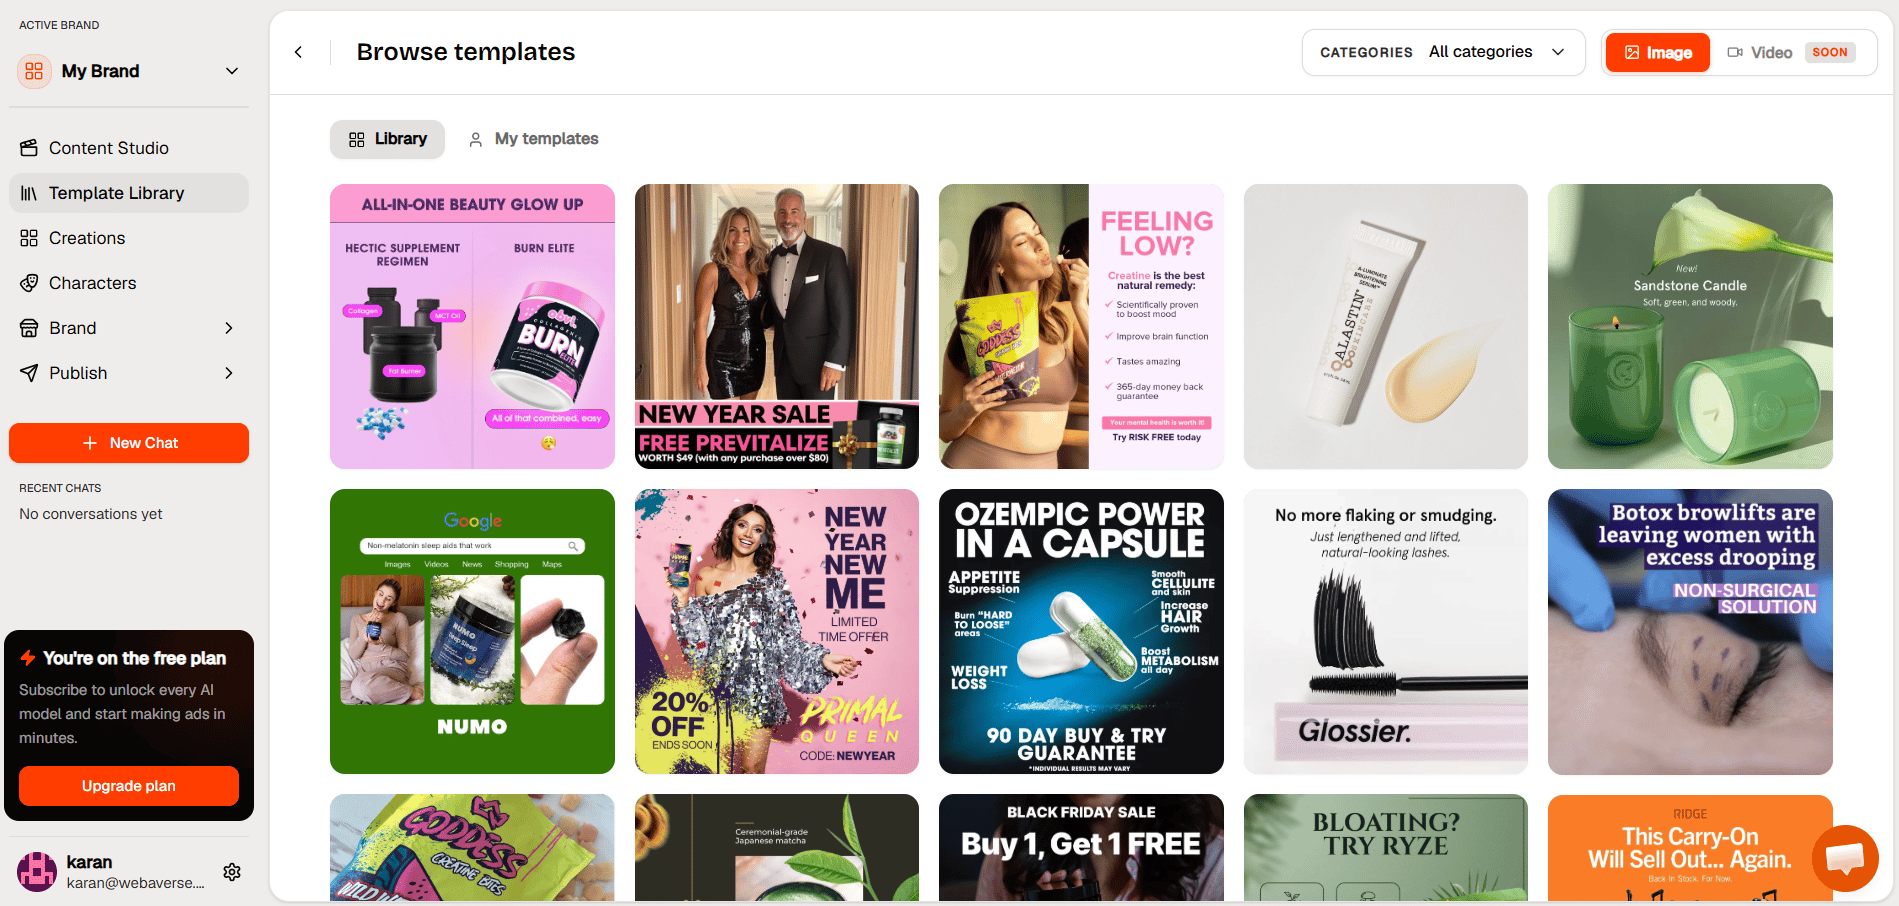
Step 2: Select a Product for Your Ad
Once you pick a template, you land on the first setup screen titled “Select a product for your ad.” If you have products saved to your brand, select the one you want to feature. If you see “No products found,” click “Add product” to add one before continuing. When your product is selected, click “Continue.” The preview panel on the right shows the template you are recreating so you can see the layout your ad will follow.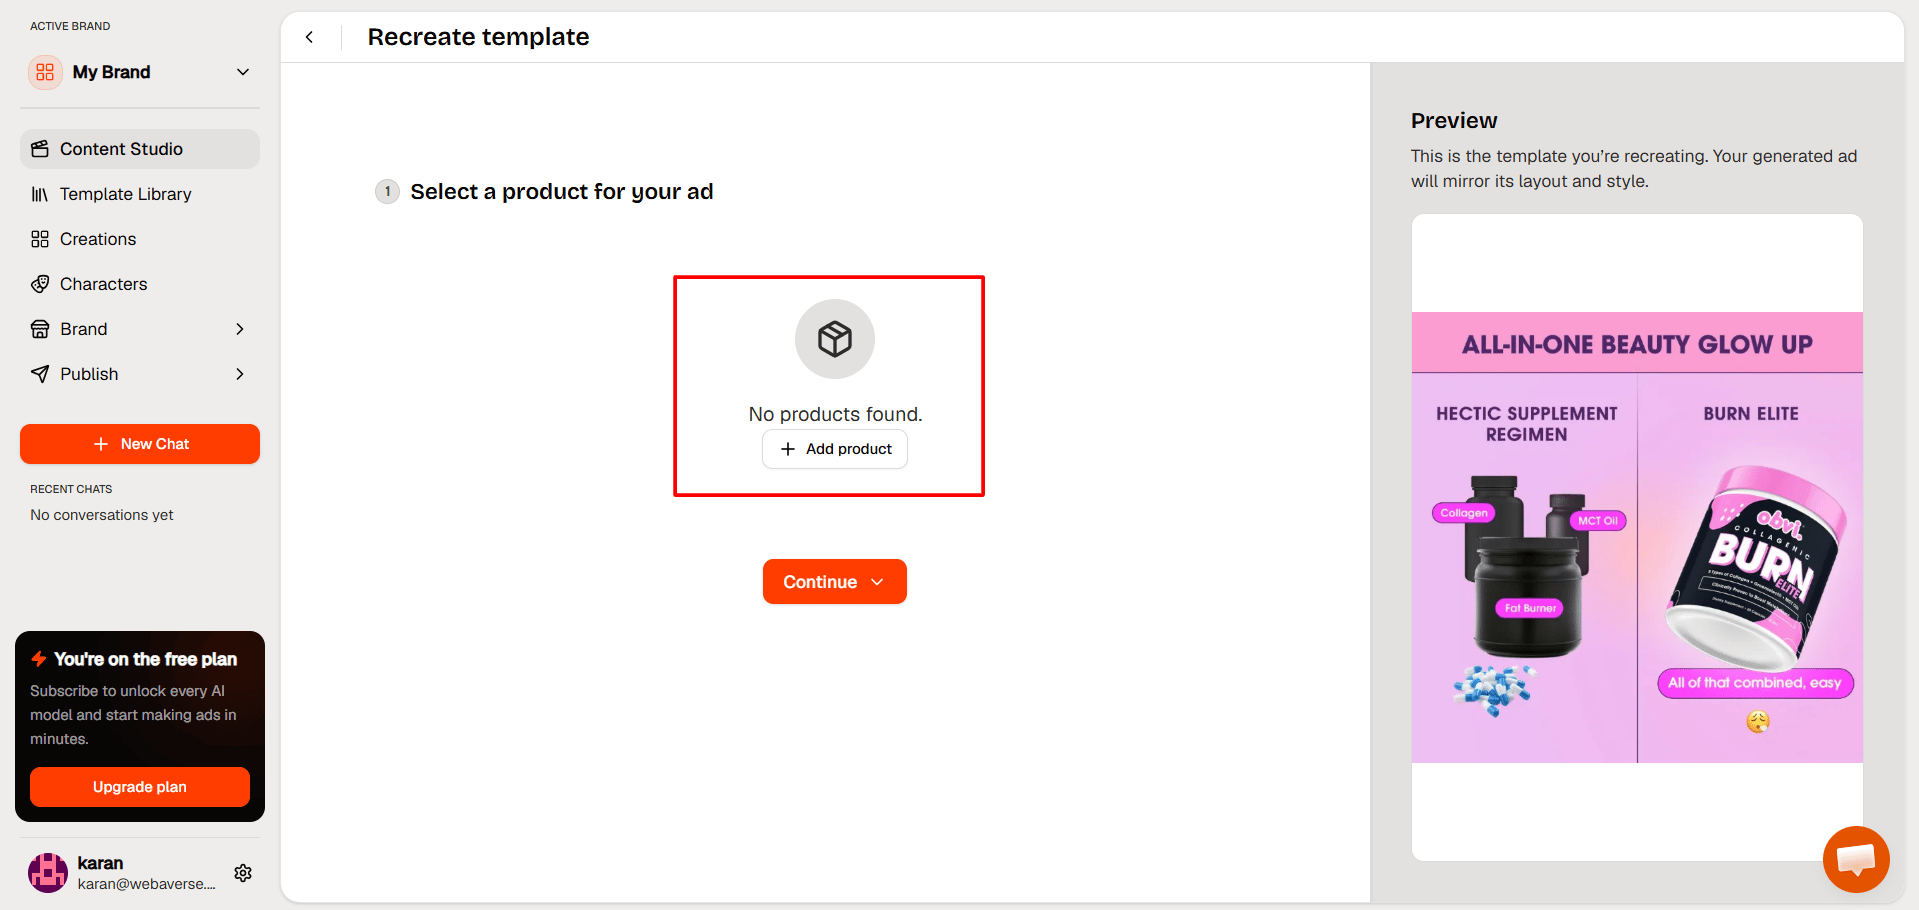
Step 3: Customize Your Template
This screen lets you replace the template text with your own. Each field maps to a part of the layout you saw in the preview. Fill in the fields shown, such as the headline, section titles, product names, and benefit text. As you type, the preview on the right updates to reflect your changes. To save time, click “Auto analyze & fill” in the top right. This reads your product details and fills the fields for you. You can edit anything it generates before moving on. When the text looks right, scroll down and continue to the next step.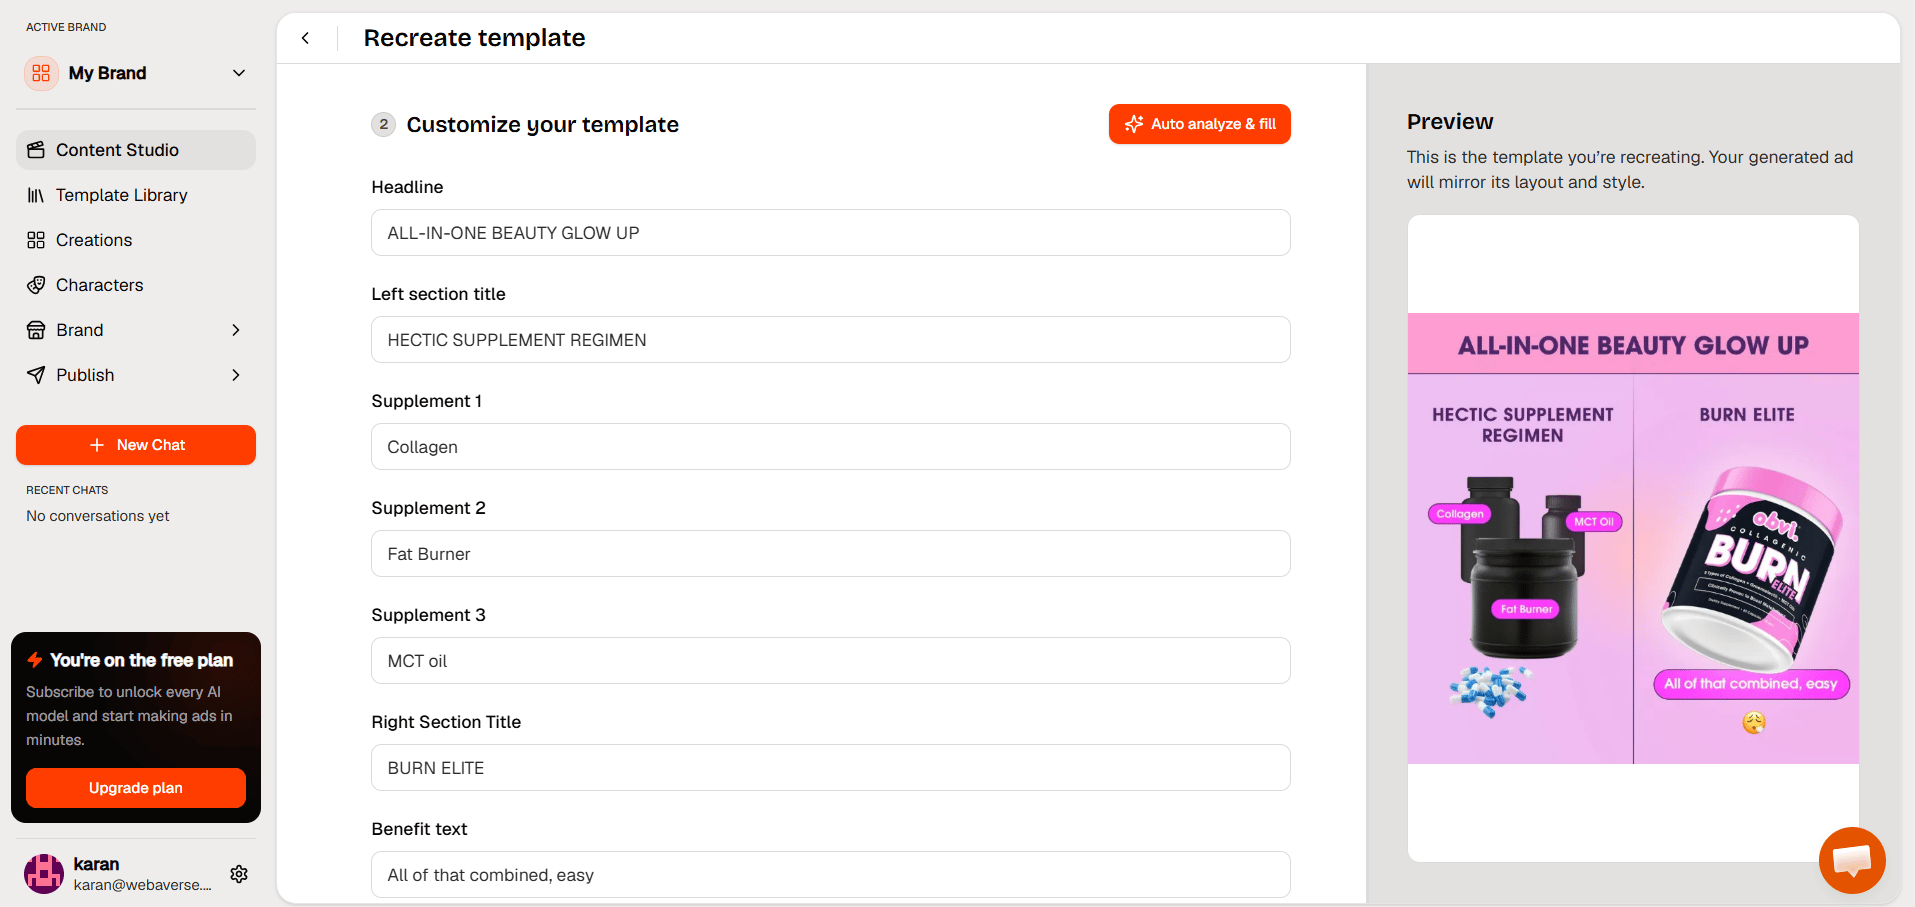
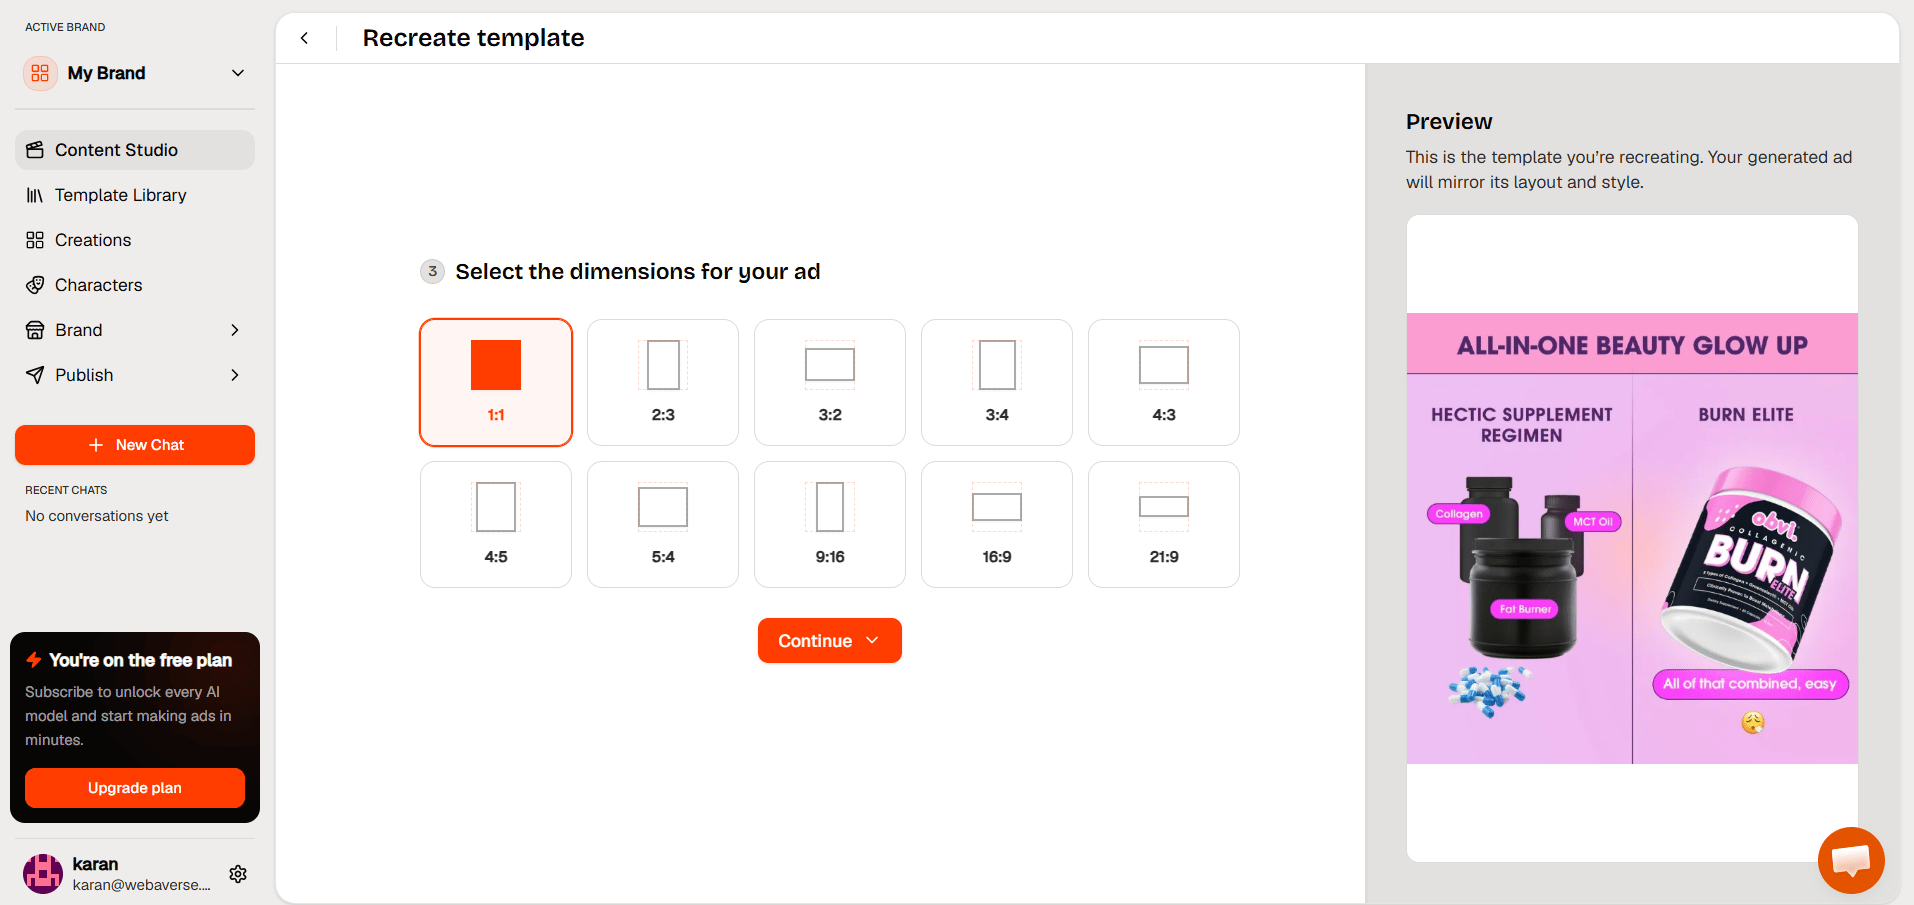
Step 4: Select the Dimensions for Your Ad
Choose the size and shape that fits where you plan to post the ad. The options range from square to portrait to landscape. Common choices include:- 1:1 for square posts on Instagram and Facebook
- 9:16 for vertical formats like Stories, Reels, and TikTok
- 16:9 for landscape placements like YouTube and product pages
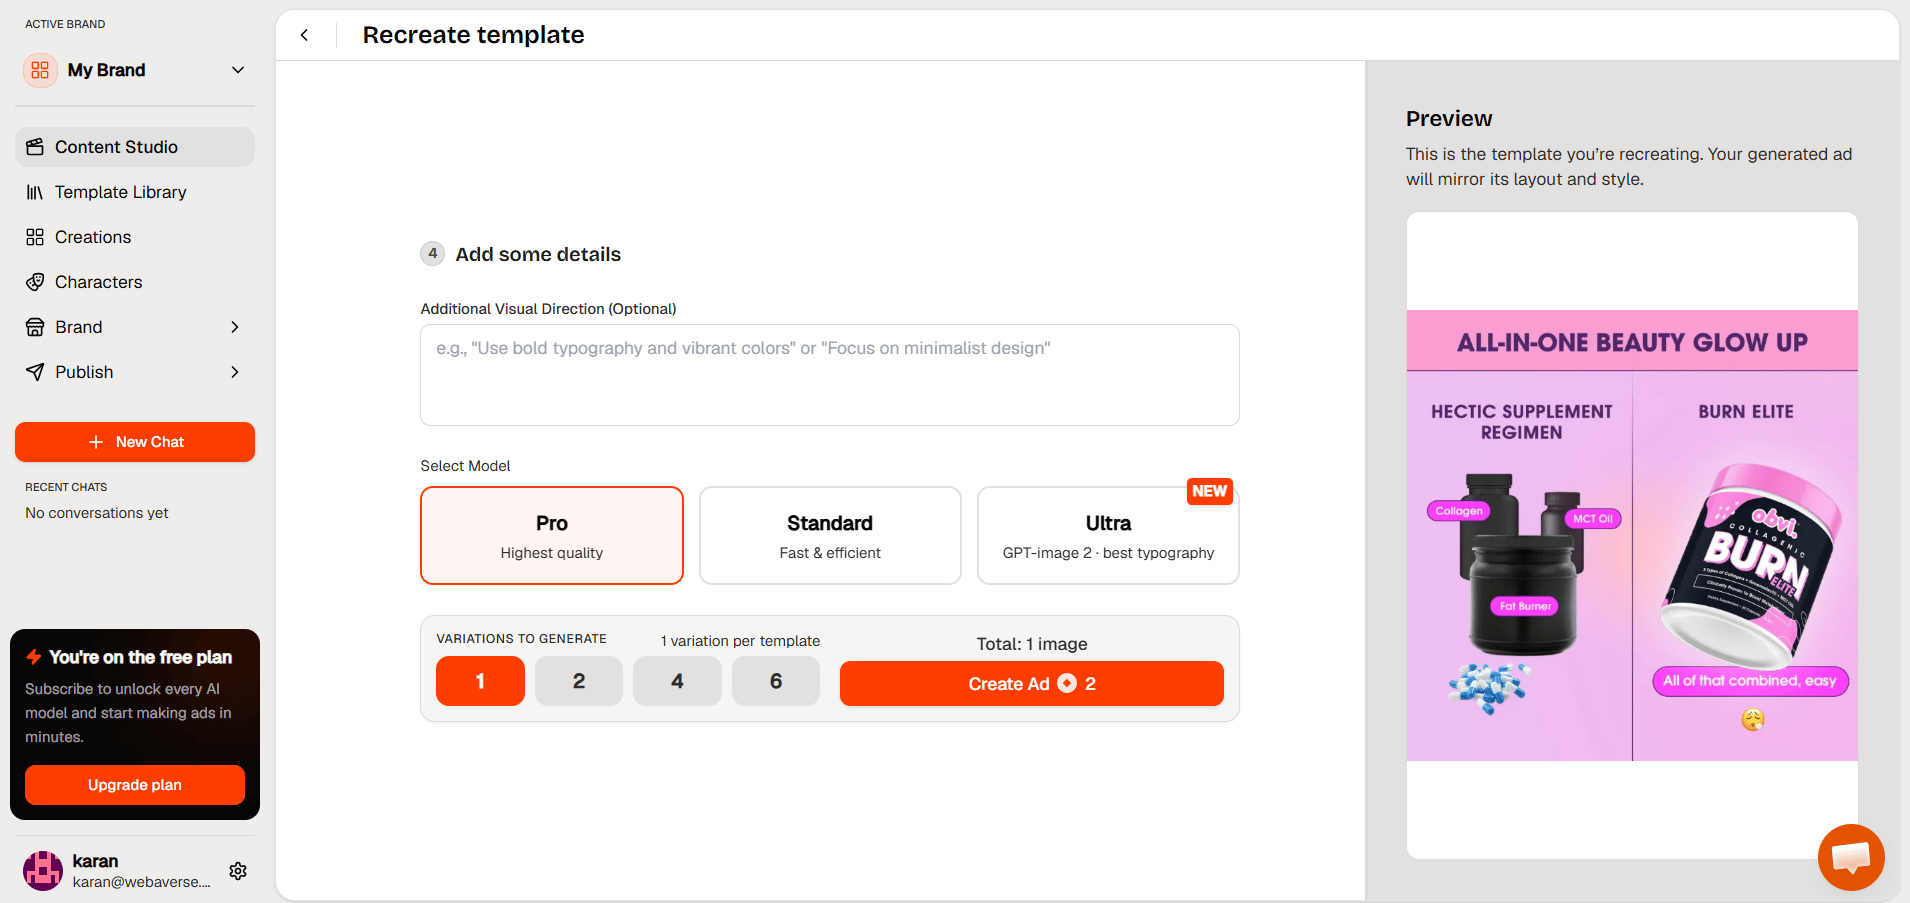
Step 5: Add Details and Create Your Ad
This is the final step before generation. You can add optional visual direction, pick a model, and choose how many variations to make. In the “Additional Visual Direction” box, type any styling notes you want the system to follow, such as bold typography or a minimalist look. This field is optional. Under “Select Model,” pick the quality and speed that fits your needs:- Pro for the highest quality output
- Standard for fast and efficient generation
- Ultra for the best typography results
Tips for Better Results
- Pick a template whose layout matches the number of products or messages you want to show. A two-product template works best when you have two products to feature.
- Use Auto analyze and fill to get a strong first draft, then tighten the copy by hand. Short, clear text reads better inside an ad layout.
- Match the dimension to the platform before you generate. Recreating the same ad in a different size later means starting the size step over.
- Generate more than one variation when you are testing. Comparing a few versions side by side helps you find the strongest option faster.
- Check the preview panel on the right at every step. It shows the layout your ad will follow so you can catch any mismatch before you create.