
How to Get There
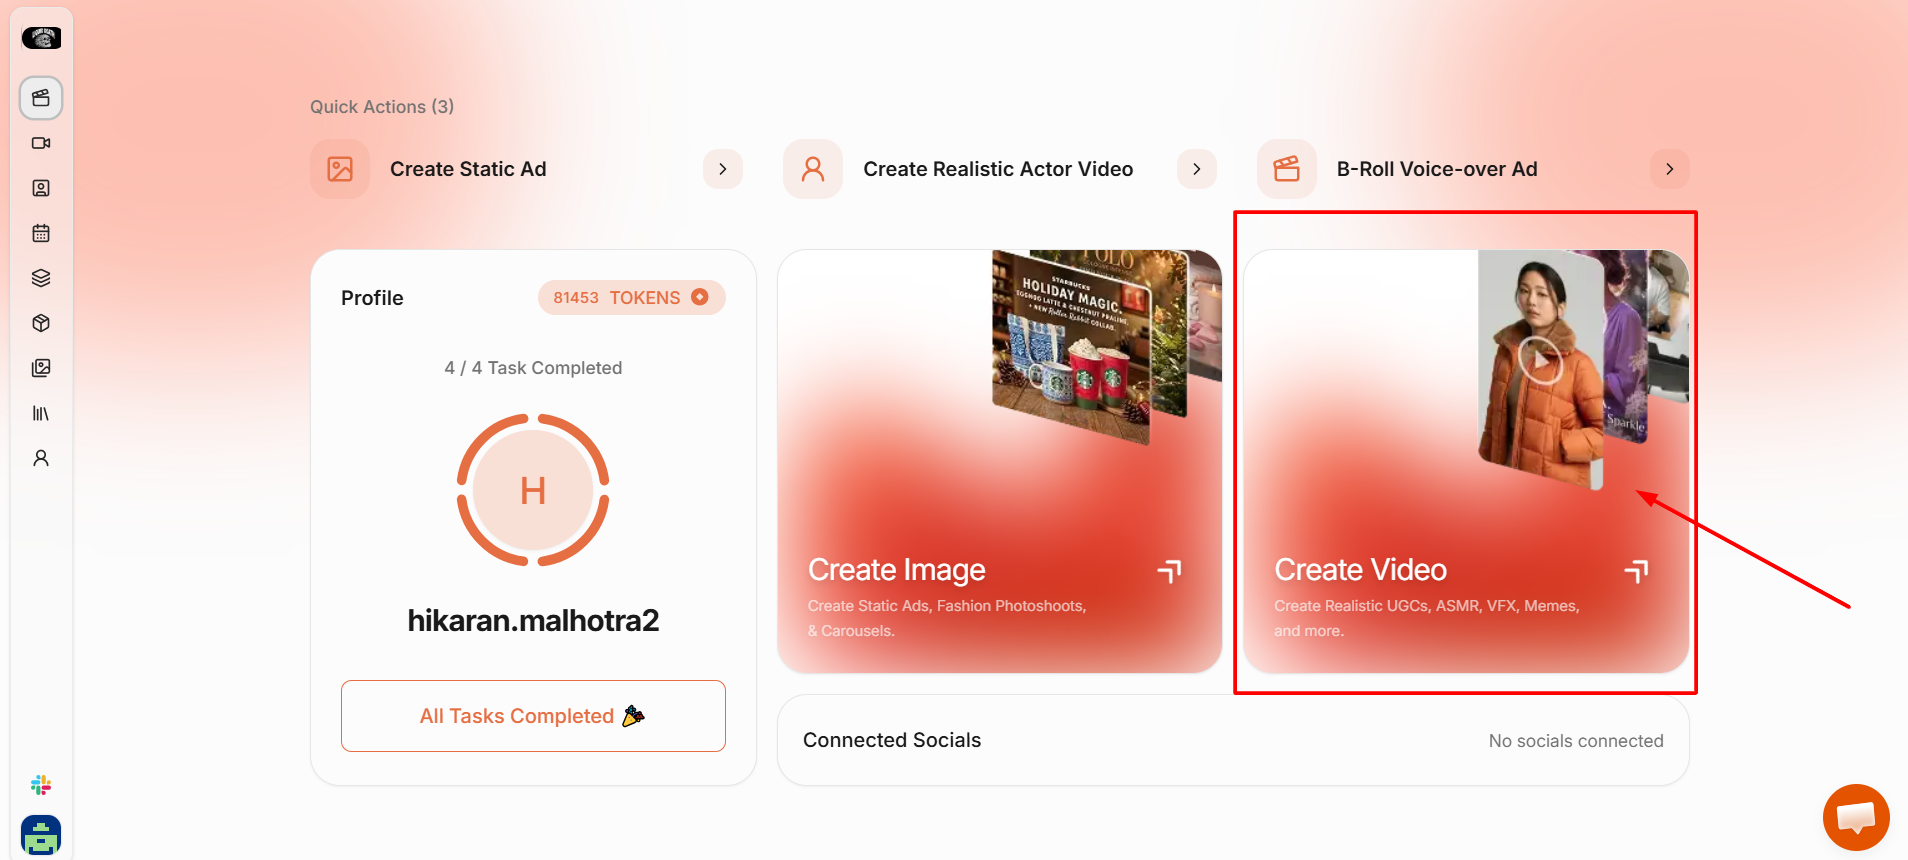
Click “Content Studio” in the left menu, then select “Product Photoshoot” from the format options.Step 1: Choose Your Photoshoot Type
You’ll see two options: Product Showcase — Creates professional product photoshoots. You choose a product, upload images, and get photoshoot results. Holding Product — Generates images of avatars or hands holding your product naturally. You choose an actor or hand closeup, position your product, and get a realistic result. Select the one that fits your goal and continue.Step 2: Choose Your Holding Style (Holding Product only)
If you selected Holding Product, you’ll be asked to choose a holding style: Actor Holding: A full-body or upper-body shot of an avatar holding your product. Good for larger products. You can choose from diverse avatars and position the product interactively. Hand Holding: A close-up shot of a hand naturally holding your product. Better for smaller products. You choose from hand closeup options and position the product precisely. Select whichever fits your product size and the visual you’re going for.Step 3: Select an Avatar or Hand
For Actor Holding: You’ll land on the actor selection screen with two tabs: “HeyOz Actors” and “My Actors.” Filter the actor library by product category: Beauty, Fashion, Food, Gadgets, Supplements, or Toys. Browse the results and click the avatar that fits your brand. You can also click “Upload Custom” in the top right to use your own actor image. A preview of your selected actor appears on the right side panel. Click “Edit with AI” if you want to adjust the look before moving on. Click “Continue” when ready. For Hand Holding: Browse the hand closeup options and select the one that fits your product. The same preview panel appears on the right.Step 4: Position Your Product on the Avatar
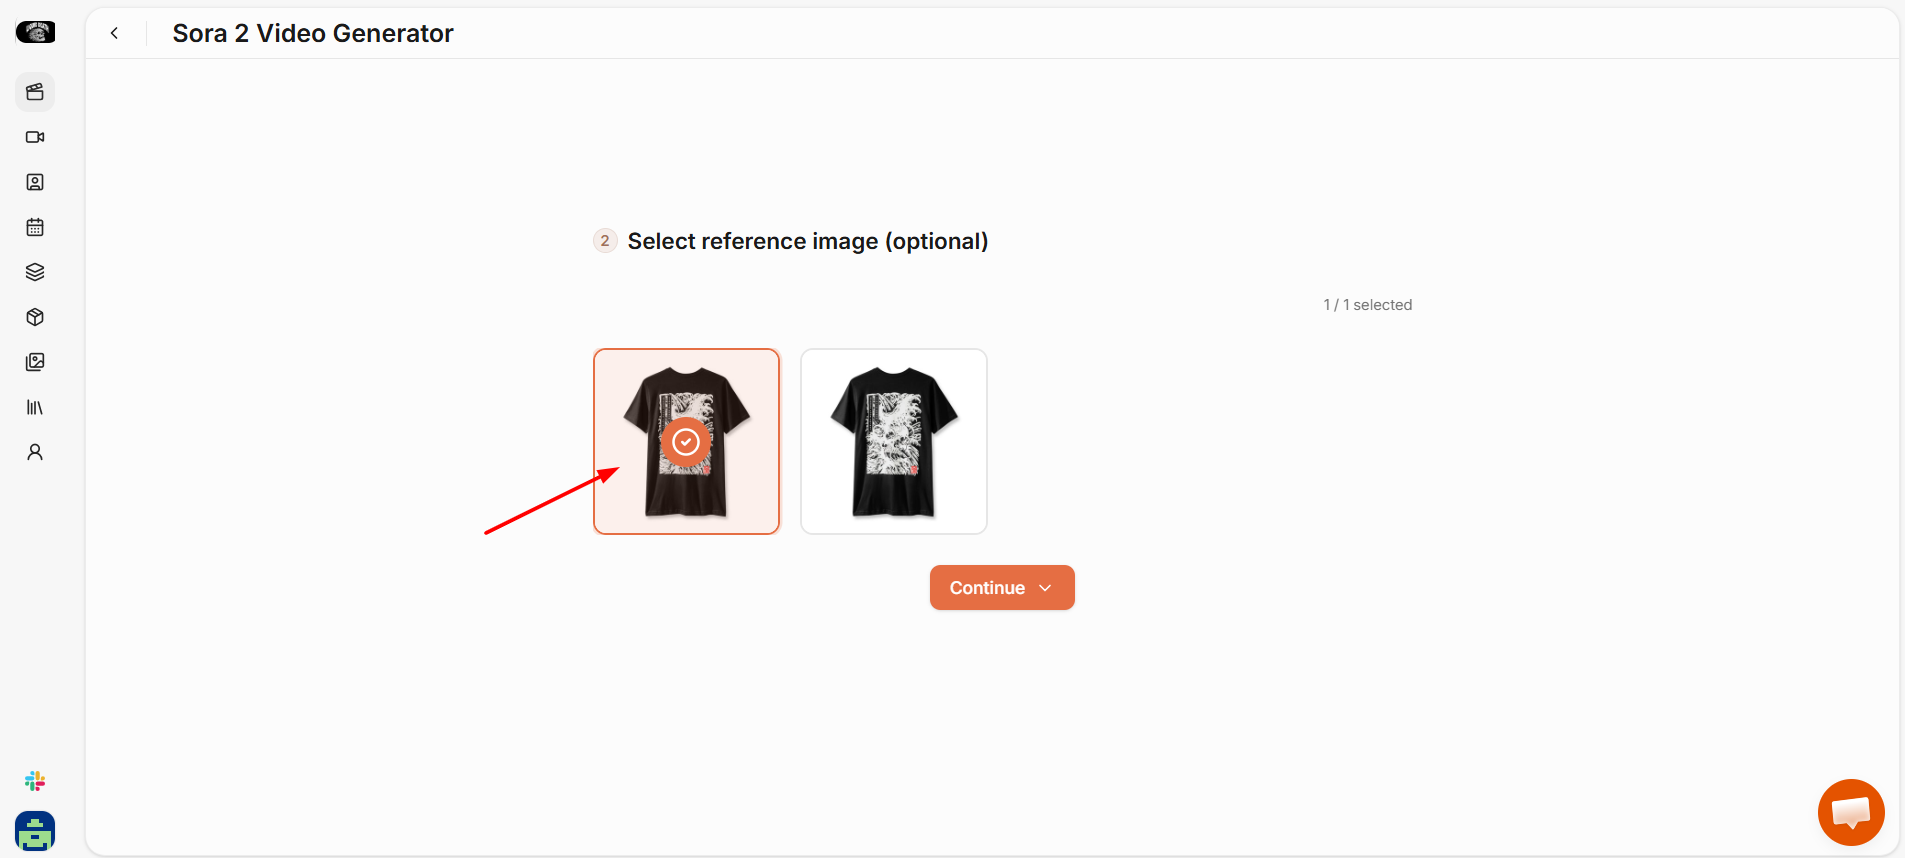
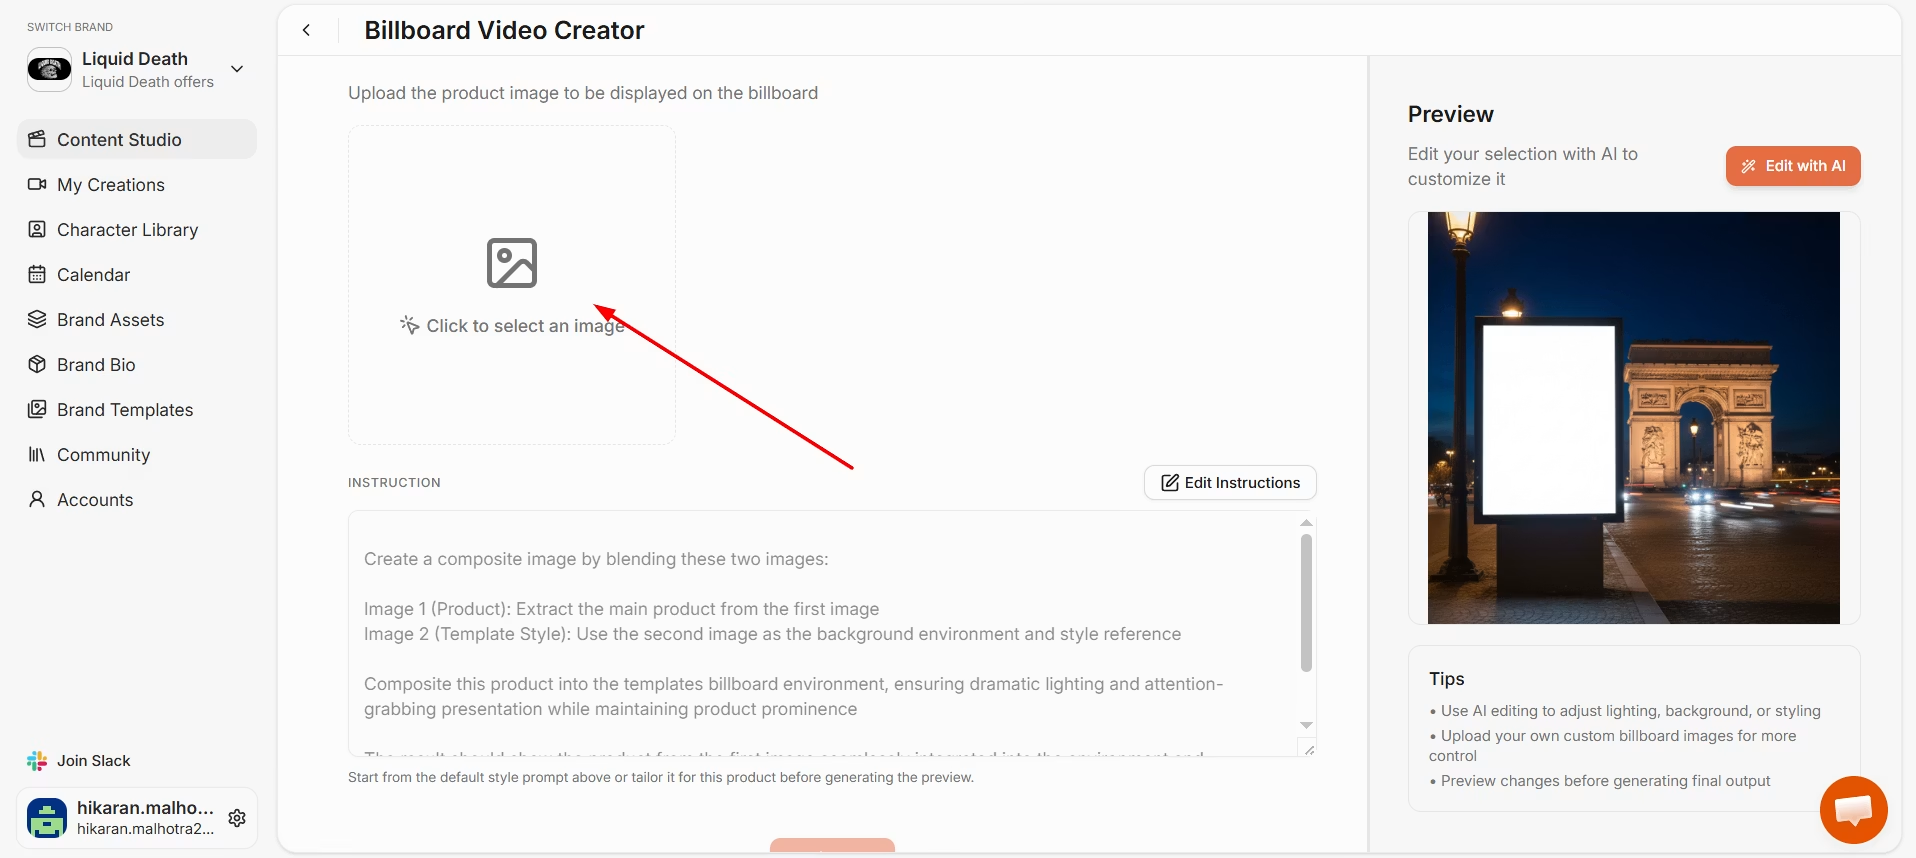
This step is where the actual composition happens. You’ll see two panels side by side: Left panel (Product Image): Click to upload your product image, or select one from your asset library. Your existing brand assets are organized by product folder. Select the image you want and click “Use Selected.” Once uploaded, your product image appears in the left panel. Below it, you’ll see “Product Image Guidelines” showing an example of good product positioning for reference. Right panel (Avatar with Product): As soon as your product image is uploaded, it appears placed on the avatar. You can drag it to reposition it, resize it, and adjust the placement until it looks natural. When the positioning looks right, click “Generate Image.”Step 5: Review the Generated Image
Generation takes around 30 to 60 seconds. While it processes, the preview panel on the right shows a loading state. Once done, you’ll see the full generated image in the left panel alongside a smaller preview on the right. A notice at the top of the screen reminds you that AI-generated images may contain inaccuracies. Review carefully before saving. From here you have two options:- Regenerate: Produces a fresh version using the same inputs. Worth doing if the product placement looks off or the result isn’t quite right.
- Save to Create: Saves the image to My Creations so you can edit, post, or download it.
Step 6: Edit, Post, or Download
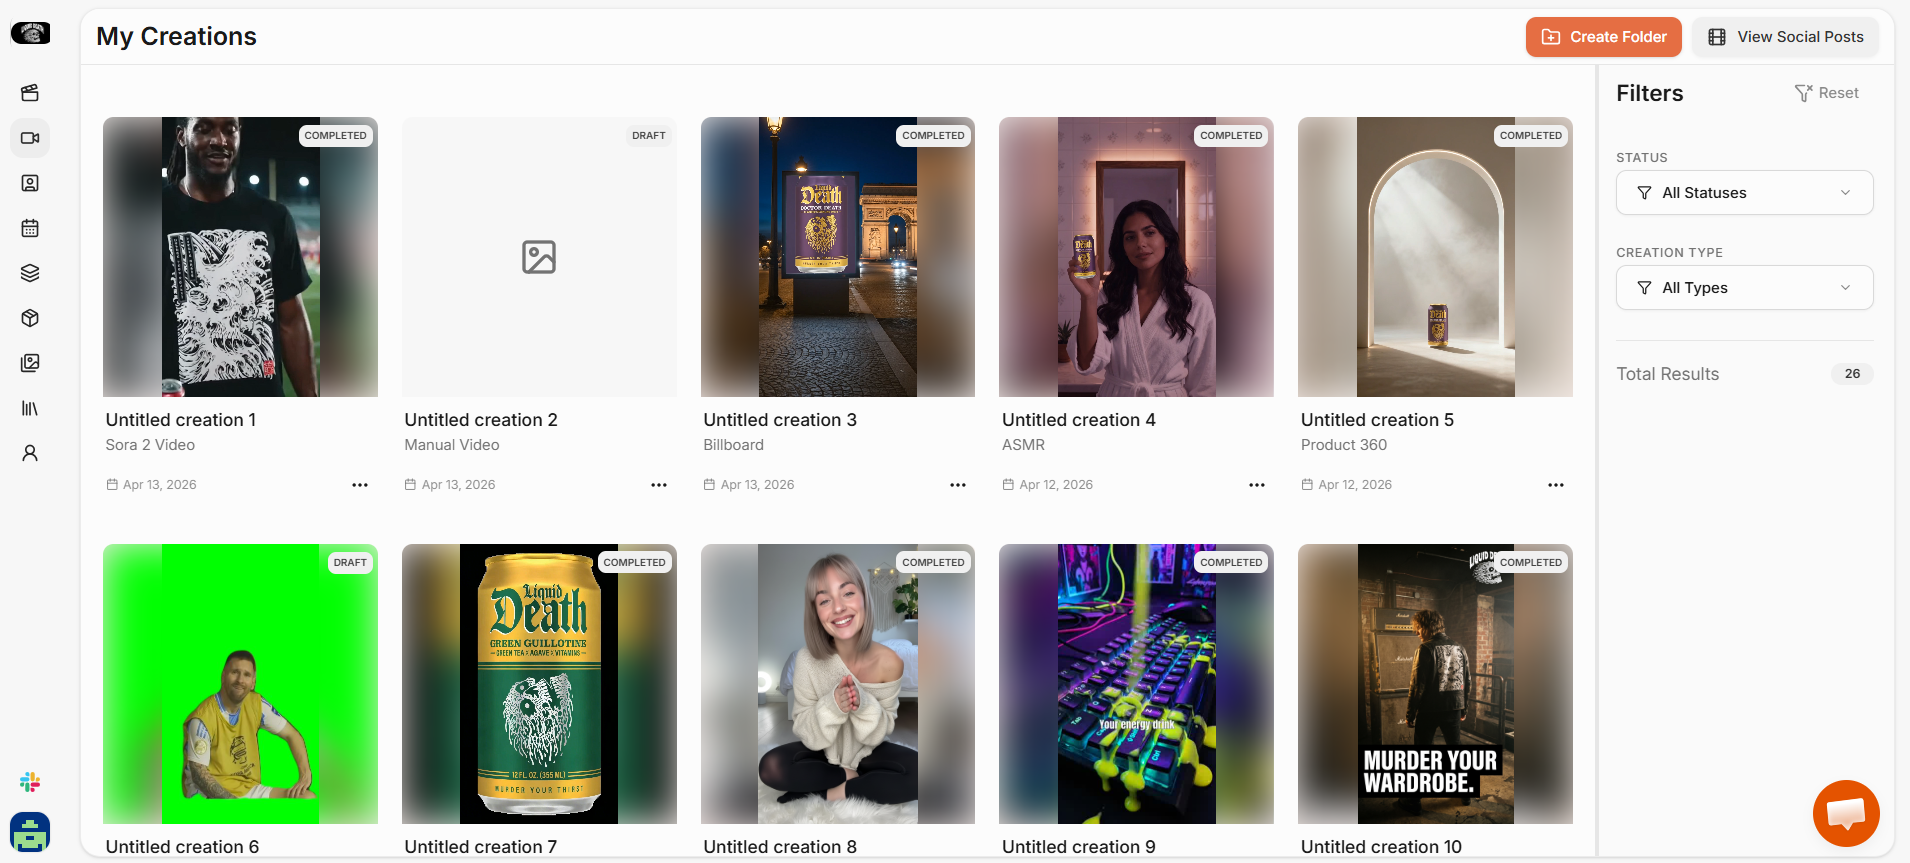
Once saved, find the image in My Creations and click on it to open the preview panel. From here you can:- Open Image Editor to adjust colors, crop, add text, or apply further edits
- Open Canvas Editor for layout-level changes
- Animate Creation to turn the image into a short animated clip
- Post Now to publish directly to your connected social accounts
- Download to save the file locally
- Delete to remove it
Tips for Better Results
- Use a product image with a clean background. Busy backgrounds make it harder for the placement to look natural on the avatar.
- Check the Product Image Guidelines panel before uploading. It shows the ideal framing and product orientation for that holding style.
- If the first result looks off, regenerate before saving. Small differences in how the product sits on the avatar can vary between generations.
- Actor Holding works best for products with some visual size to them. For small items like serum bottles or supplement capsules, Hand Holding usually produces a more realistic result.