
Documentation Index
Fetch the complete documentation index at: https://docs.heyoz.com/llms.txt
Use this file to discover all available pages before exploring further.
How to Get There
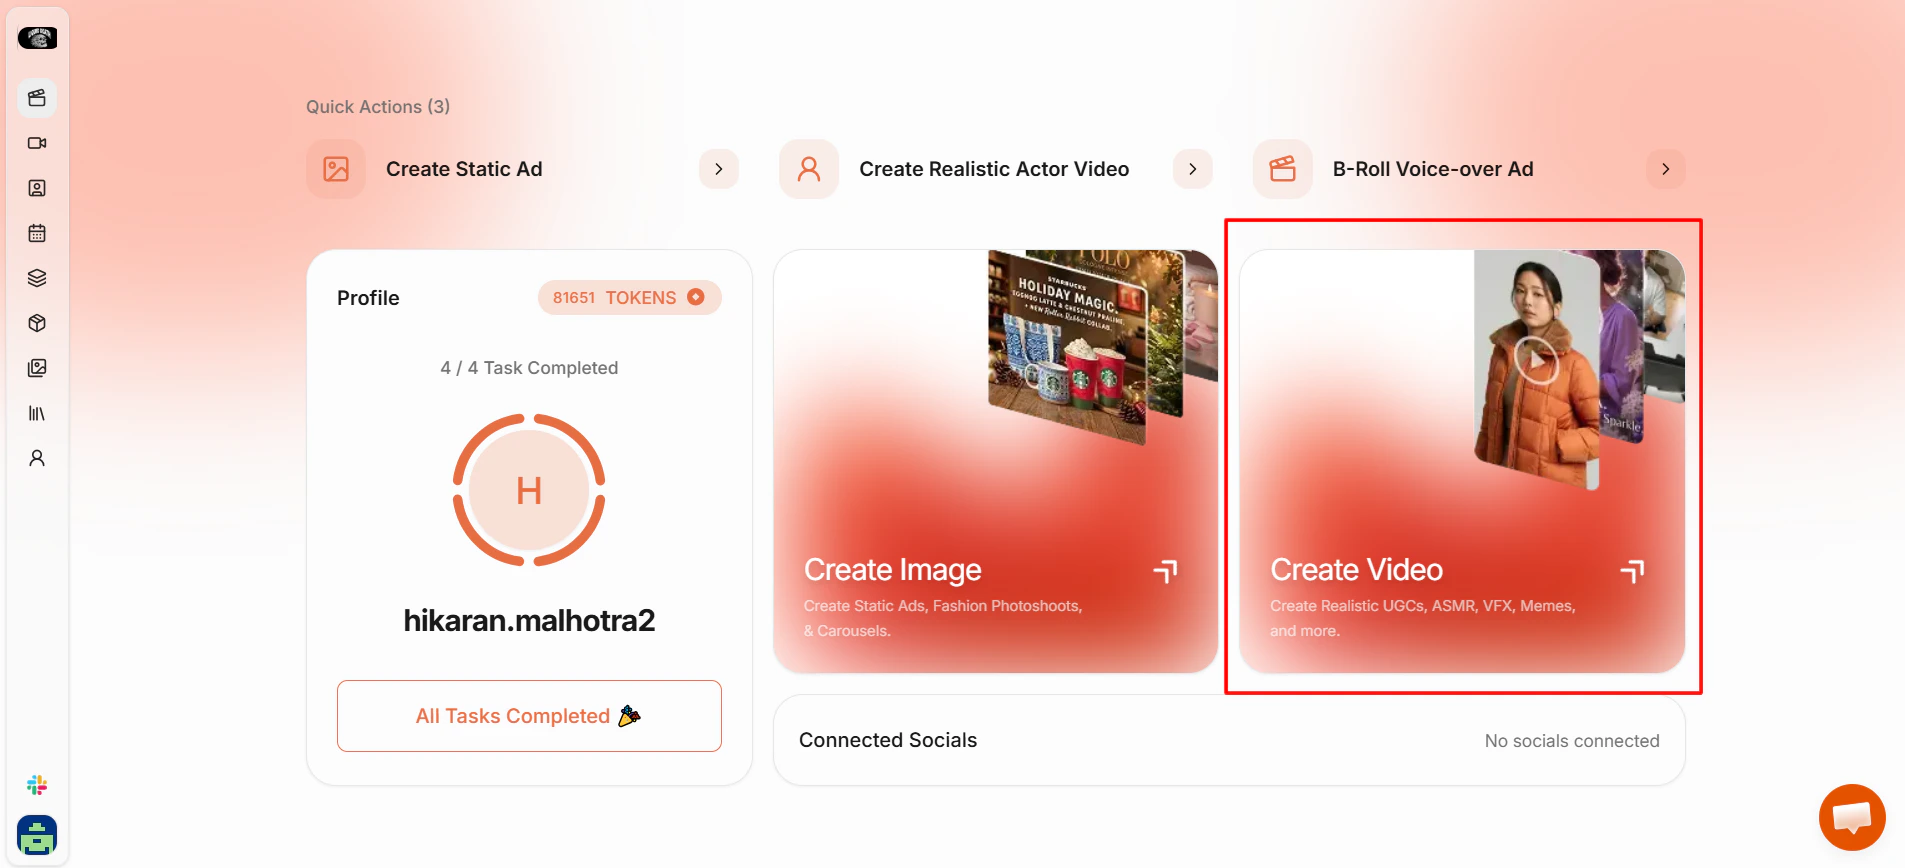
Click “Content Studio” in the left menu, then select “Fashion Photoshoot” from the format options.Step 1: Choose Your Photoshoot Type
You’ll see two options: Apparel / Clothing: Creates fashion photoshoots with models wearing your clothing products. You choose a model, upload your clothing images, and get 4 angle variations. Fashion Accessory: Generates styled product shots for accessories like watches, bracelets, and jewelry. You upload your accessory image and HeyOz generates styled shots without needing a model. Select the one that fits your product and move on.Step 2: Select a Model (Apparel) or Skip to Upload (Accessory)
For Apparel / Clothing: You’ll land on the model selection screen. There are two tabs: “HeyOz Models” and “My Characters.” HeyOz Models is the default. Use the filters to narrow down your options:- Gender
- Ethnicity
- Body Type
- Shot Type: Upper Body, Lower Body, or Full Body
- Background Color: All, Beige, Light Grey, Off White, or Cream
Step 3: Upload Your Product Image
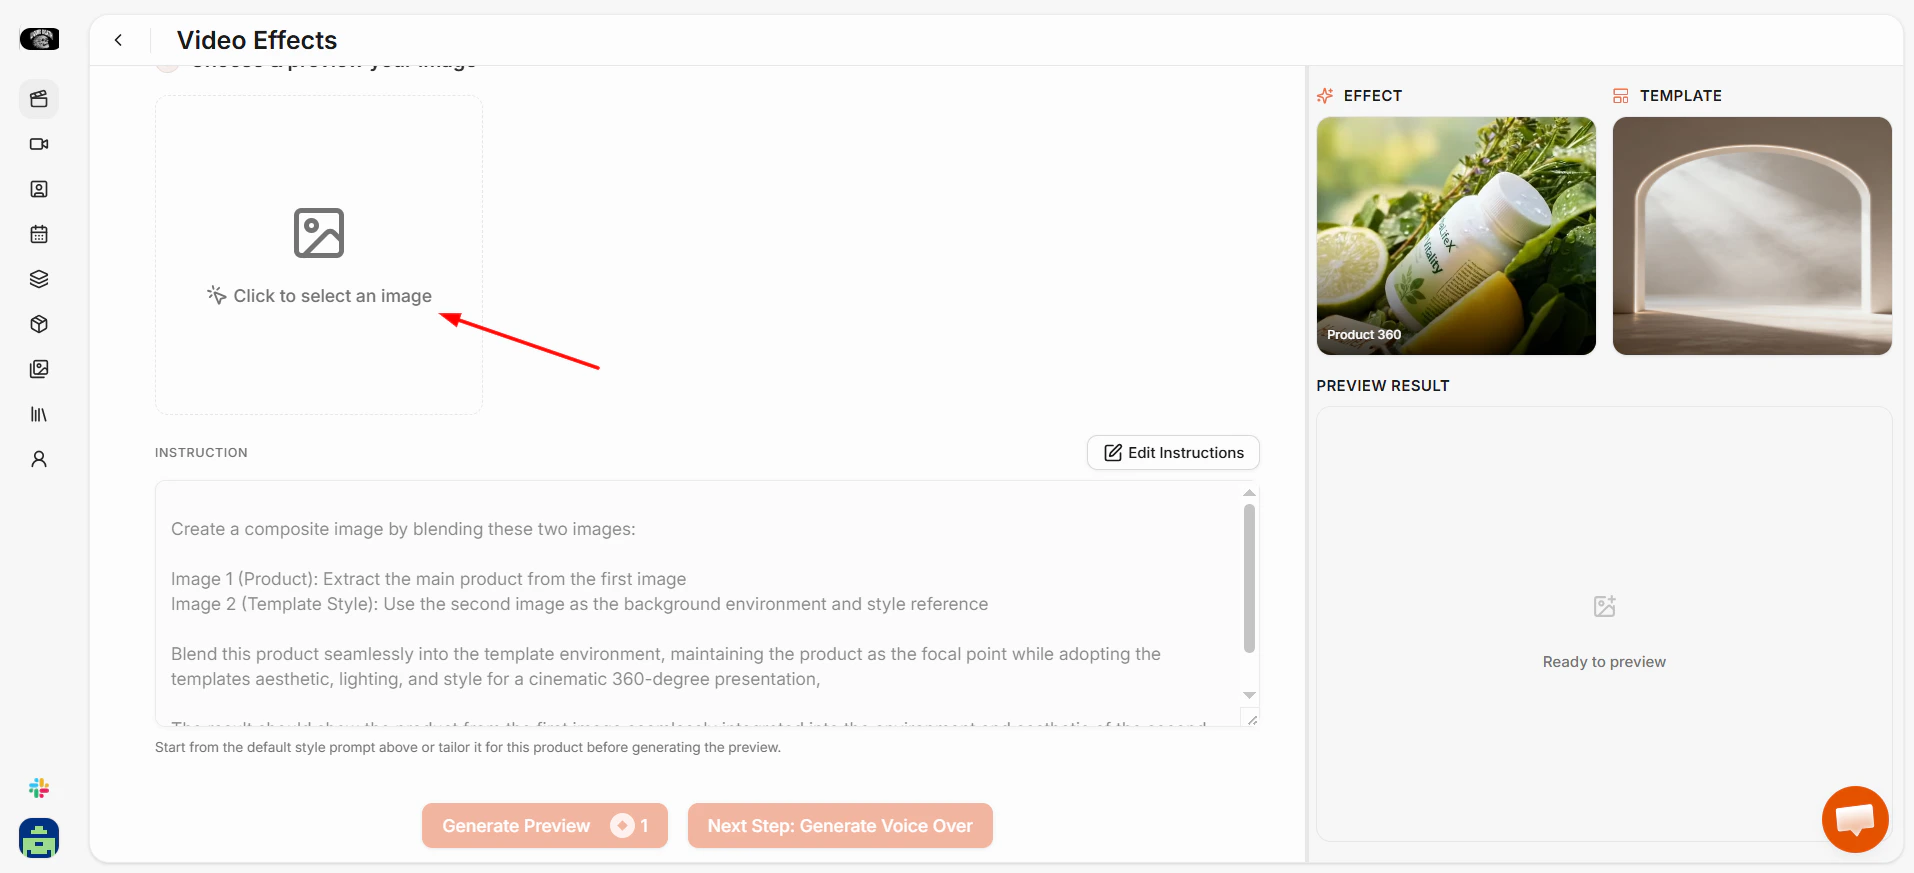
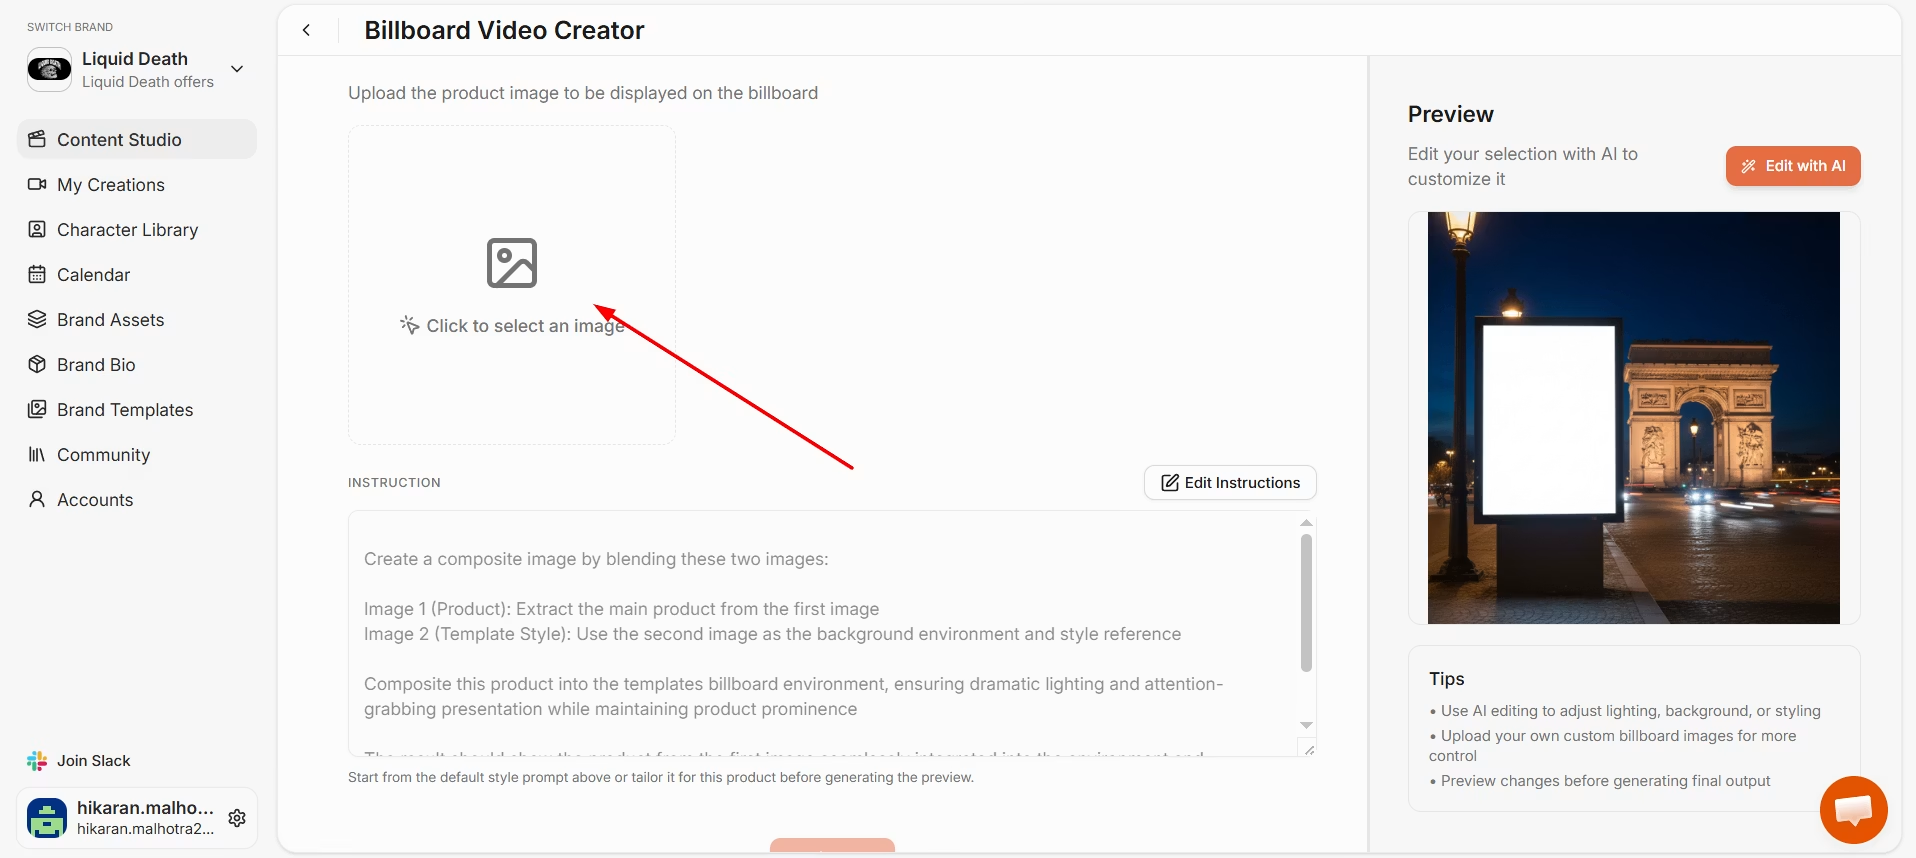
For Apparel / Clothing: An asset library window will open showing your existing brand assets organized by product folder. Select the clothing image you want to use, or drag and drop a new file to upload it directly. On the right side panel you’ll see options to crop the image or edit it with AI before confirming. Once you’re happy with the selection, click “Use Selected.” For Fashion Accessory: You’ll see an upload area with tips for best results:- Use a high-quality image with a clean background
- Make sure the accessory is well-lit and clearly visible
- Avoid blurry or low-resolution images
Step 4: Select Aspect Ratio
Choose the output dimensions for your images. Available options are: 1:1, 2:3, 3:2, 3:4, 4:3, 4:5, 5:4, 9:16, 16:9, 21:9 Pick based on where you plan to use the images. Square works for Instagram feed, 9:16 for Stories and TikTok, 16:9 for banners or website headers. Click “Continue.”Step 5: Select Your Shot Types (Accessory only)
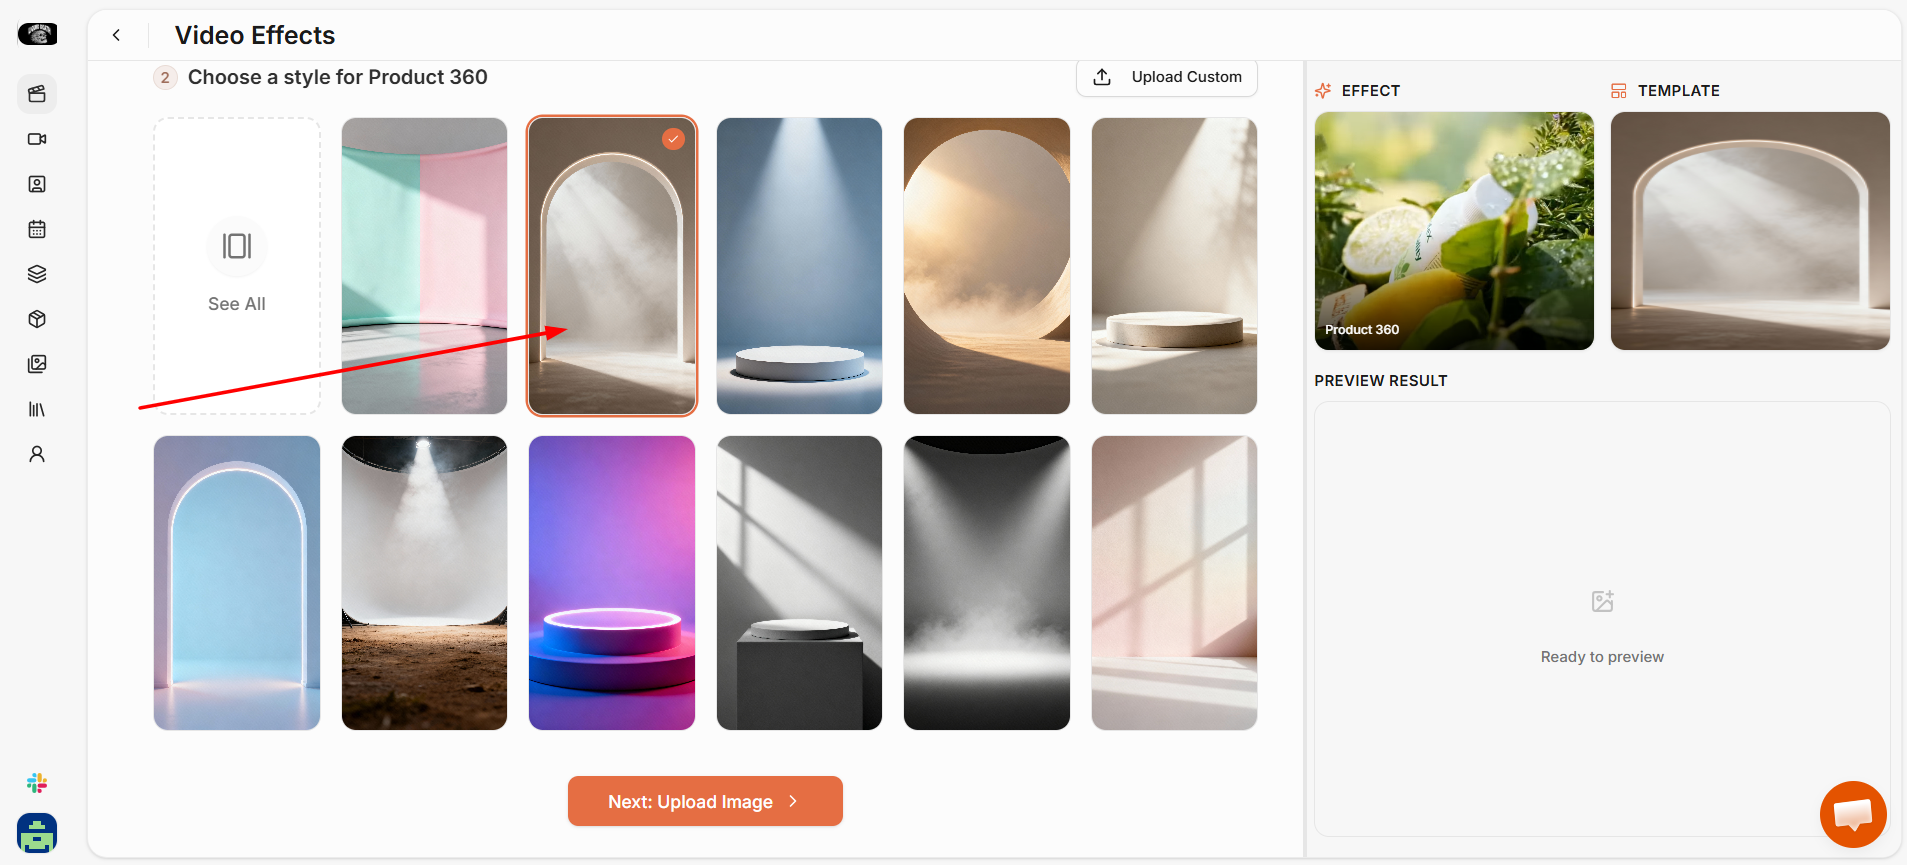
If you chose the Fashion Accessory path, you’ll see an additional step to pick your shot type:- Lifestyle Worn: Shows a person wearing or holding the accessory in a styled editorial environment
- Studio Product: A clean product shot on a styled surface with professional lighting
- Detail Macro: An extreme close-up that highlights craftsmanship, texture, and material quality
Step 6: Review Your Results
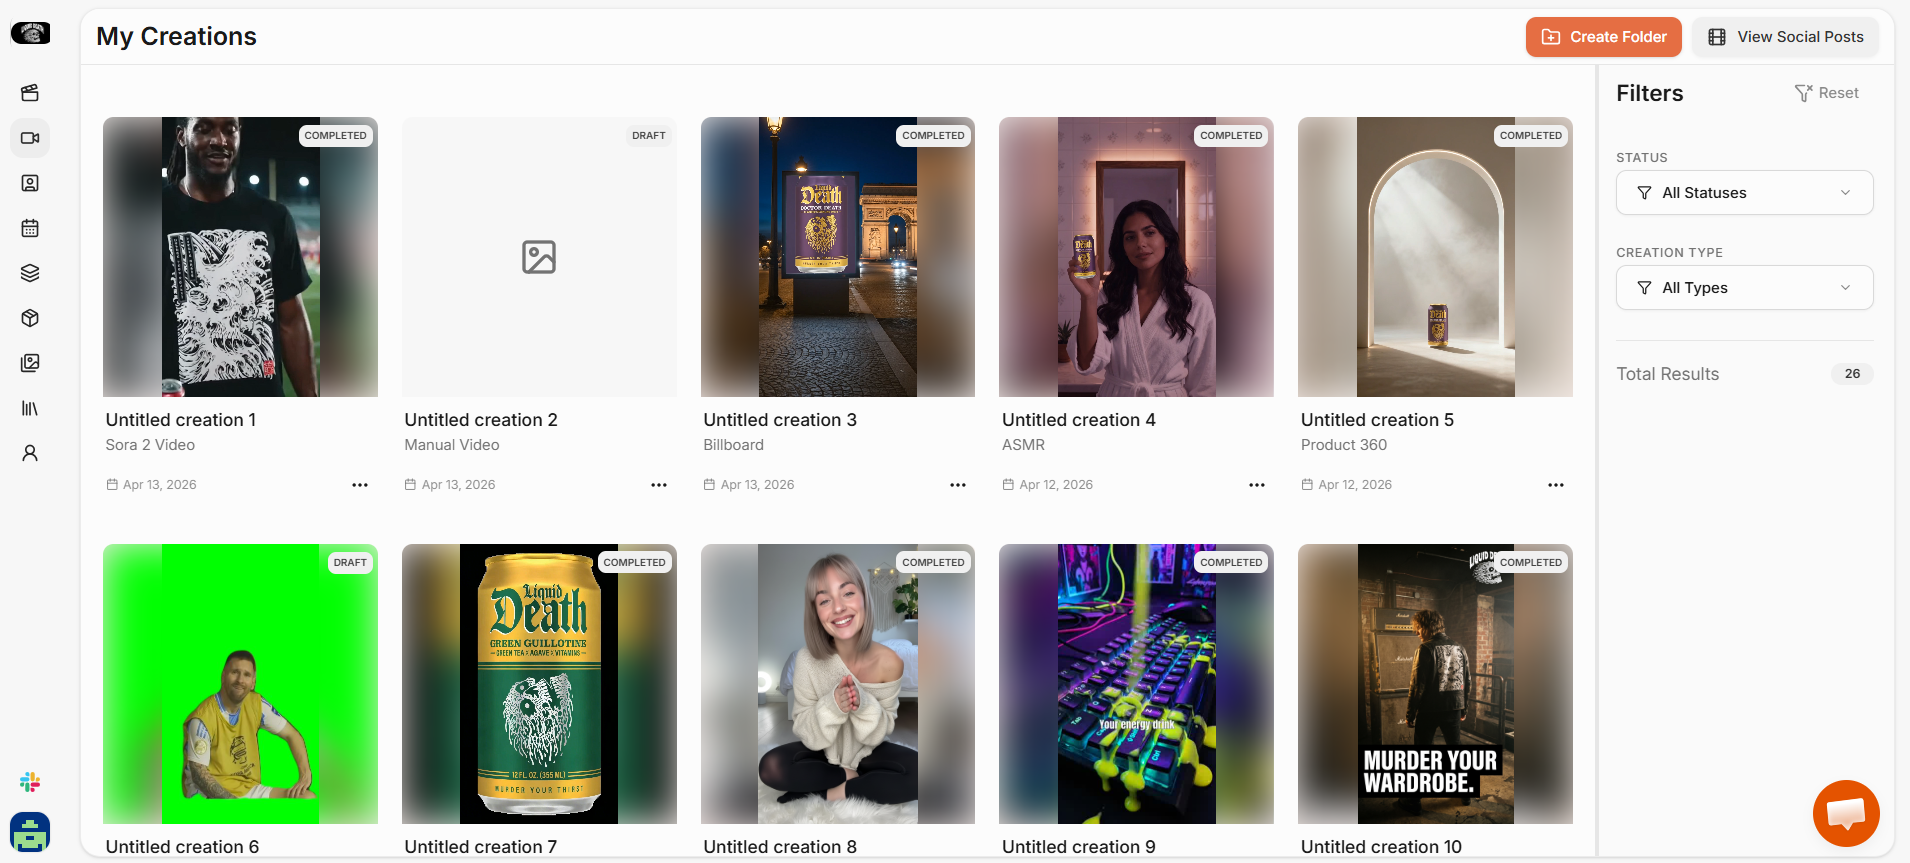
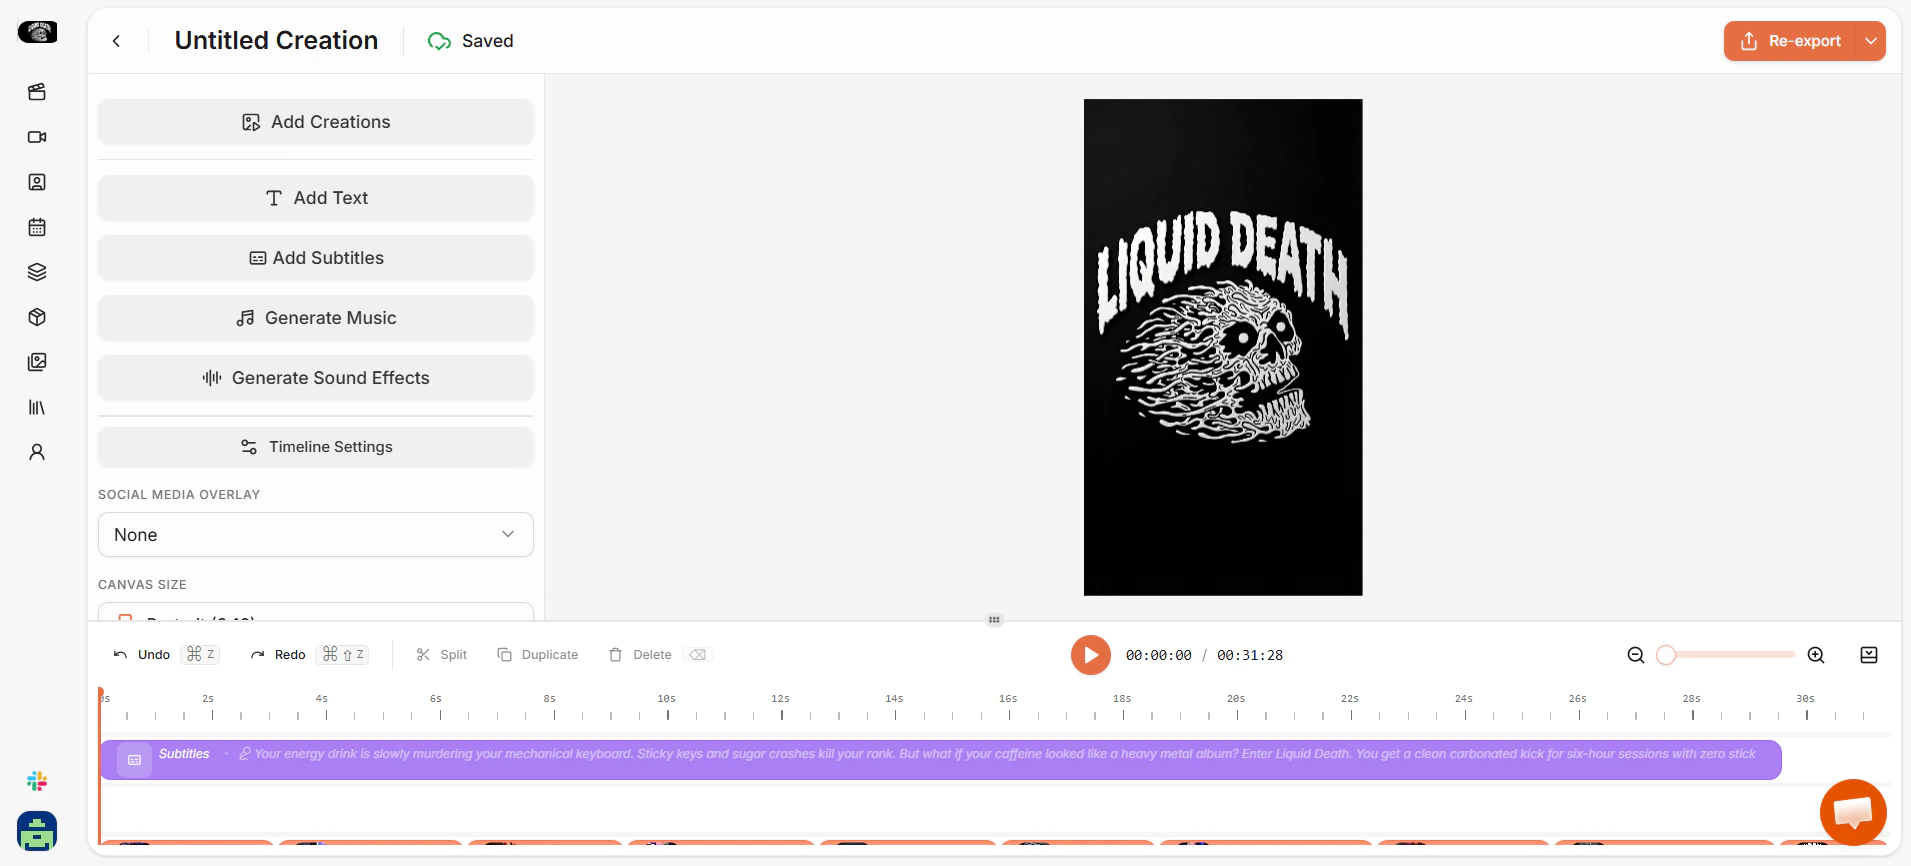
HeyOz redirects you to My Creations. You’ll see a notification confirming generation has started. The new creation appears at the top of the list with a “Processing” status and a progress percentage. Once complete, click the image to open the preview panel. From here you can:- Open Image Editor to adjust colors, crop, reposition elements, or apply further edits
- Open Canvas Editor for layout-level changes
- Redo Creation to generate a fresh version
- Animate Creation to turn the image into a short animated clip
- Post Now to publish directly to your connected social accounts
- Download to save the file locally
- Delete to remove it
Tips for Better Results
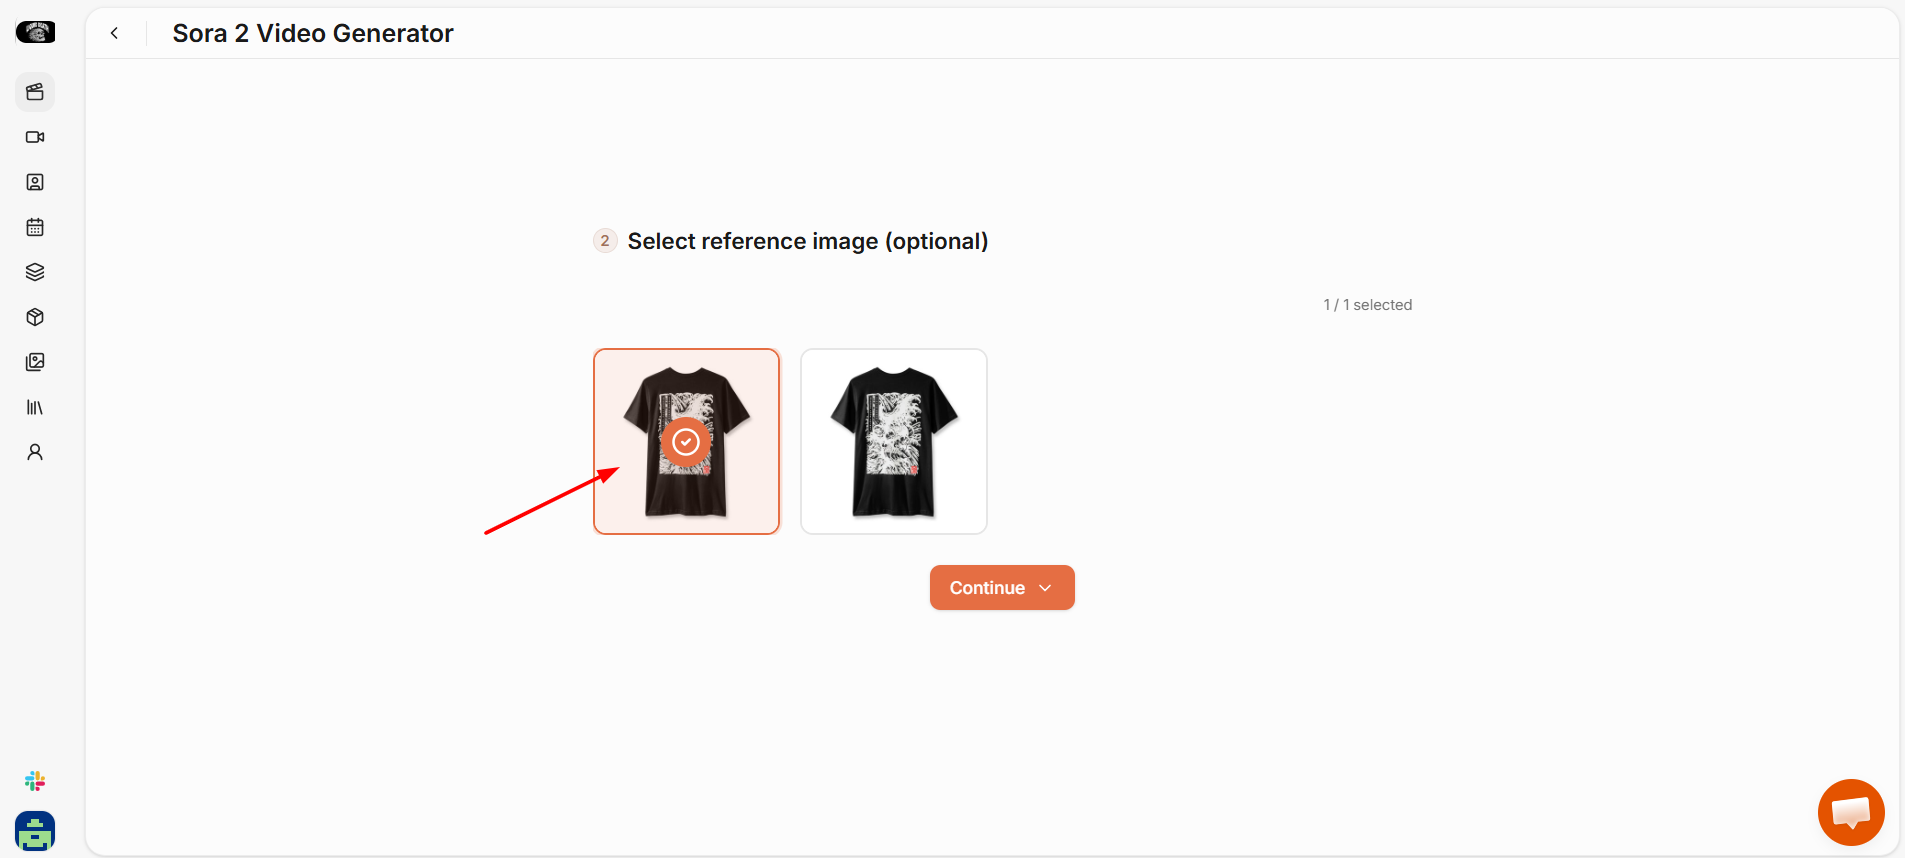
- For clothing, upload both a front and back image of the garment. It gives the model more to work with and produces more accurate results.
- Use product images with clean backgrounds. Busy backgrounds can interfere with how the clothing or accessory is rendered on the model.
- If the preview looks off before generating, use the “Edit with AI” button to clean up the image first.
- Try different shot types for accessories. A Detail Macro and a Lifestyle Worn shot of the same product serve very different purposes and are both worth having.