
Step 1: Open the Content Studio and Select Sora 2
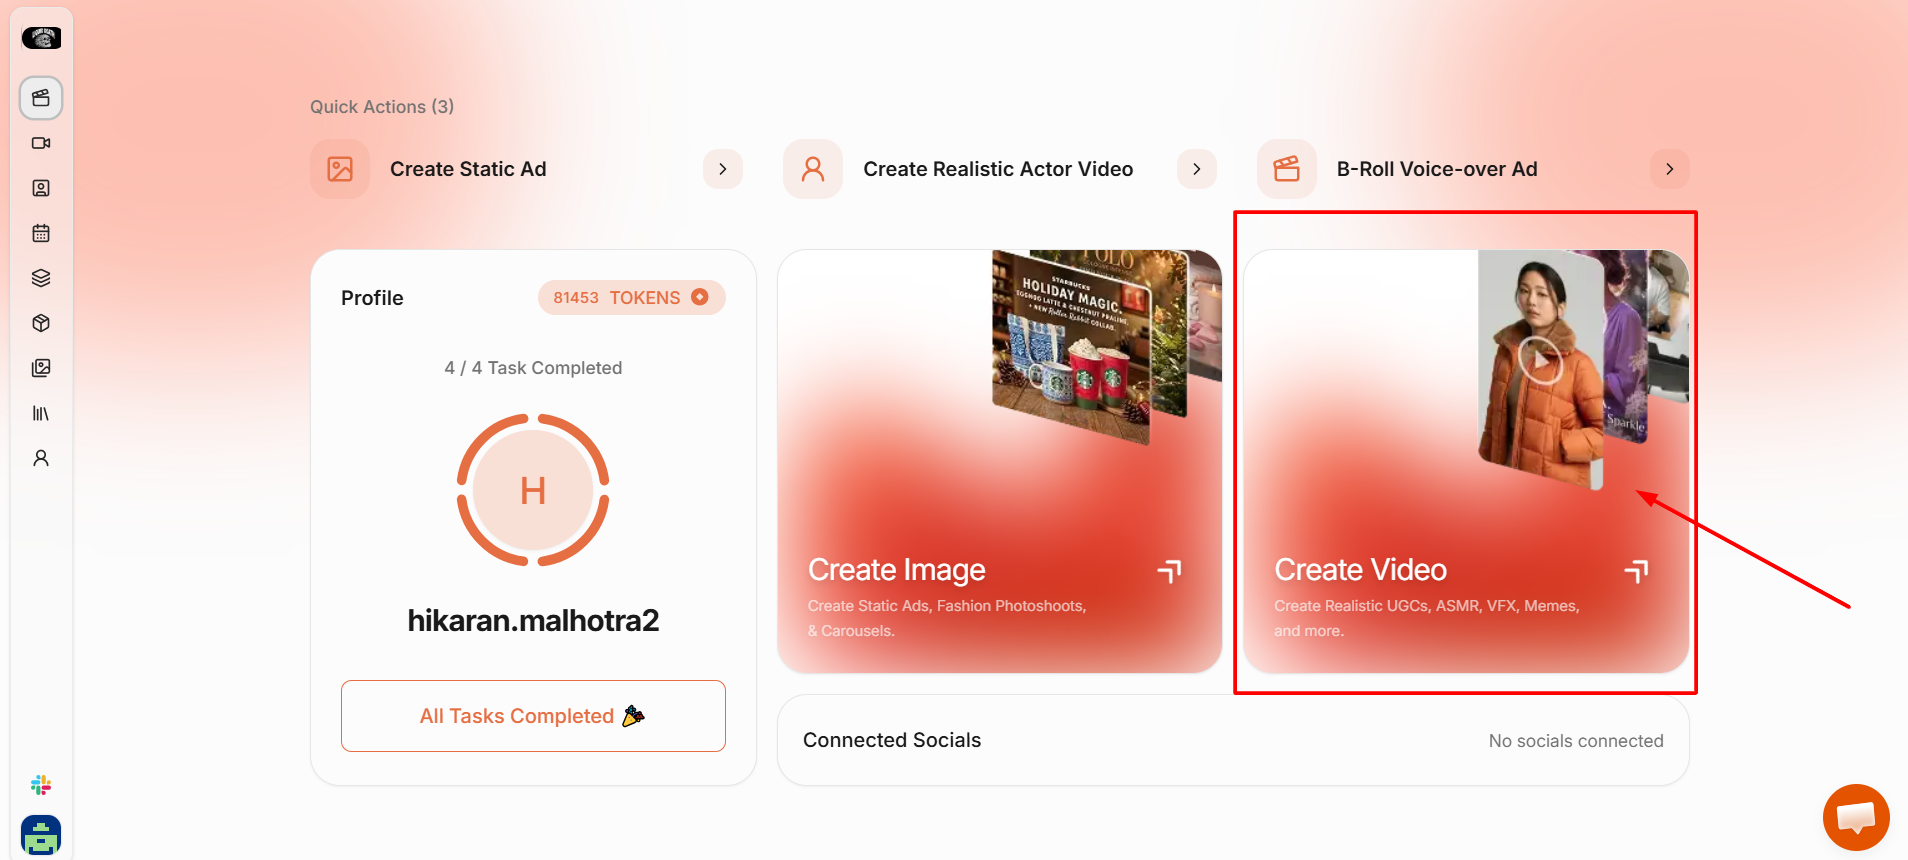
- Log in to your HeyOz account.
- From the dashboard, click Create Video to go straight to the video formats.
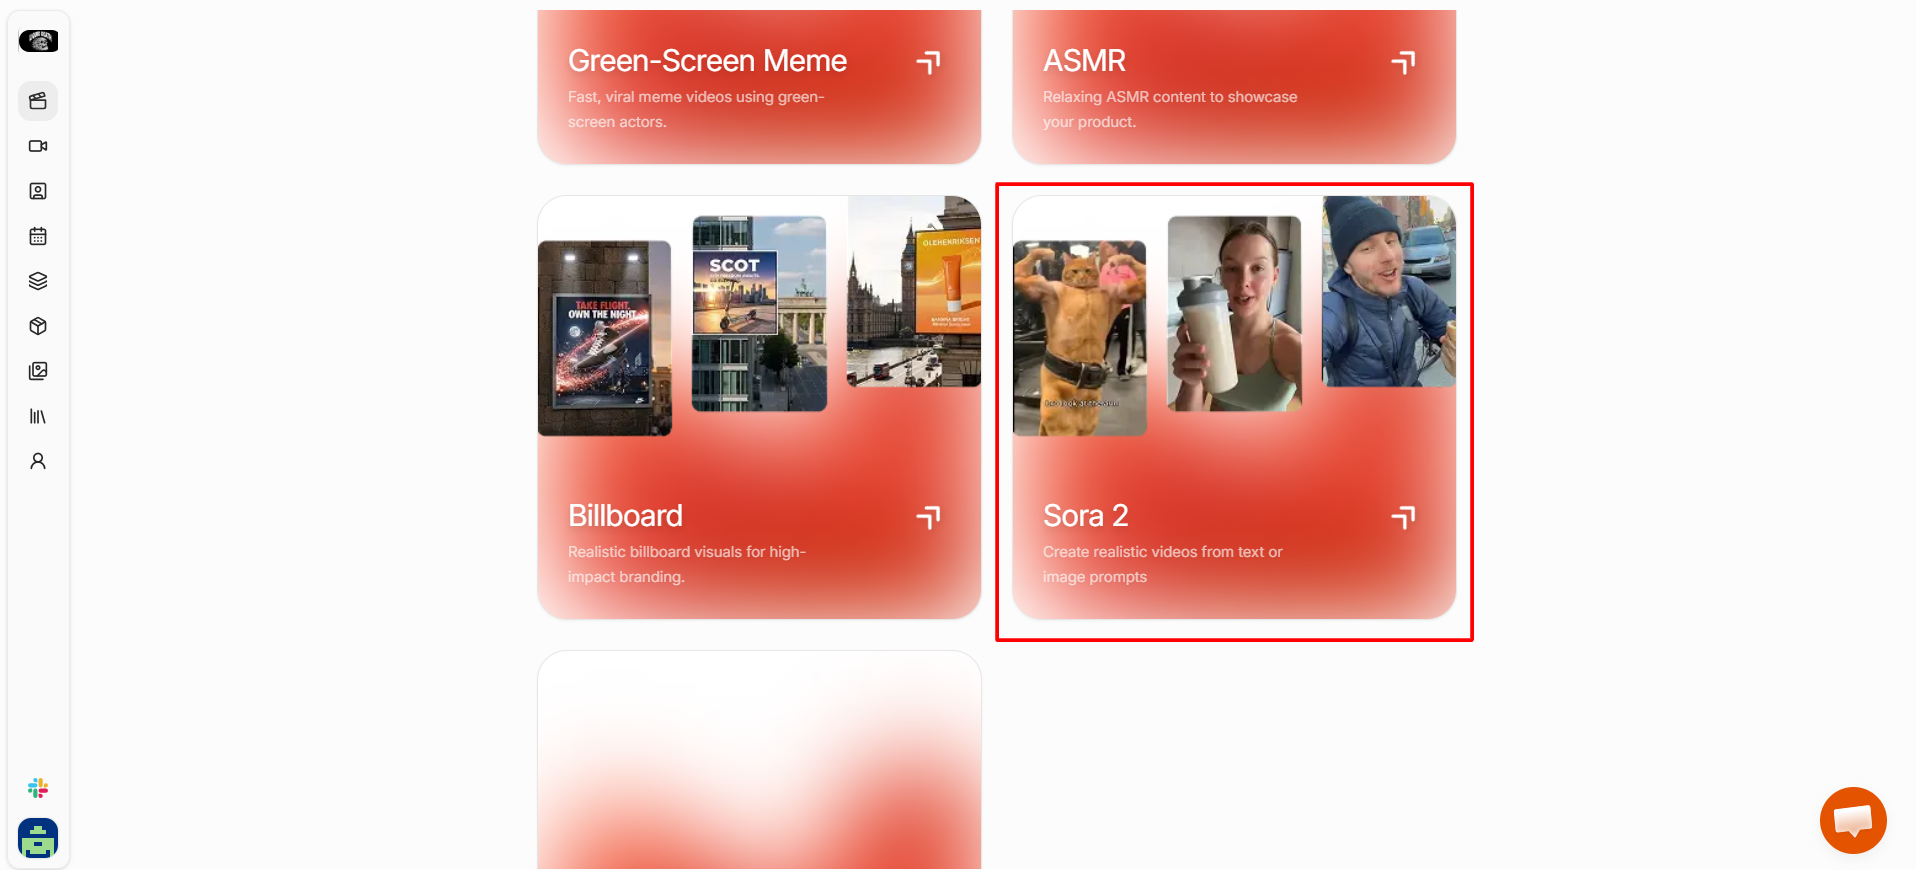
- Scroll through the format cards until you see Sora 2.
- The card reads “Create realistic videos from text or image prompts.”
- Click on Sora 2 to open the Sora 2 Video Generator.
Step 2: Choose a Product (Optional)
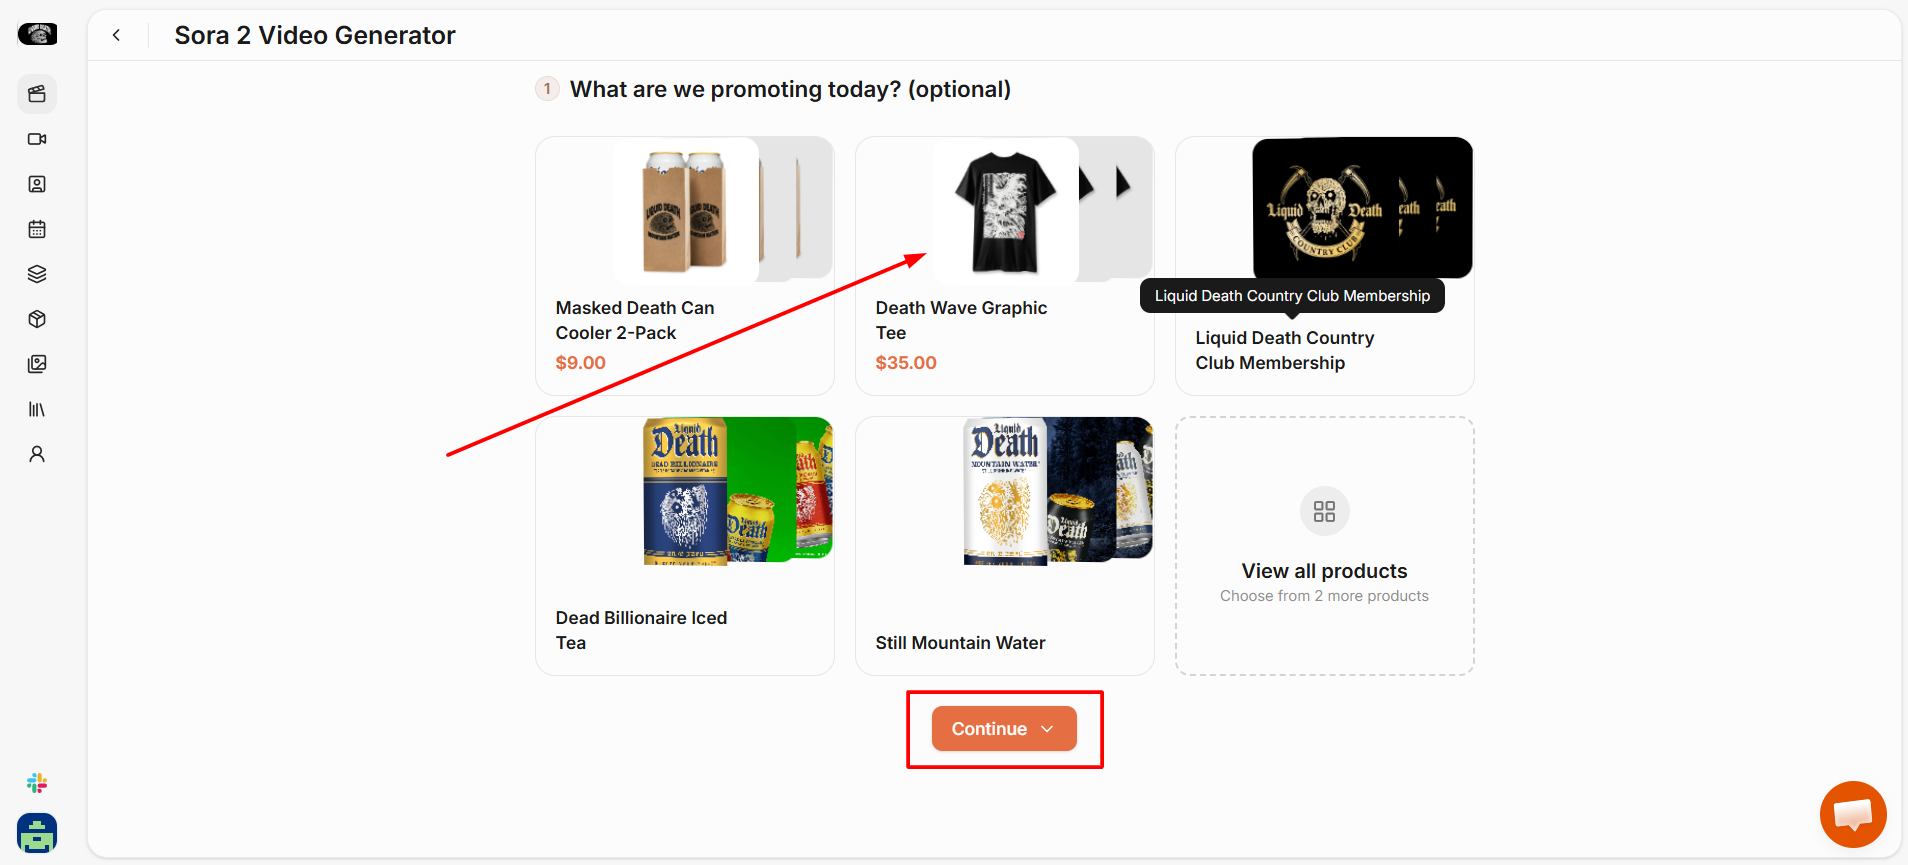
- The first screen asks “What are we promoting today?” This step is optional.
- If you want the video tied to a specific product, click on one of the product cards shown.
- Your connected products will appear here with their names and prices.
- If you have more products than what is shown, click View all products to see the full list.
- If you are not promoting a specific product and just want to generate a scene from a prompt, skip this step and click Continue.
Step 3: Select a Reference Image (Optional)
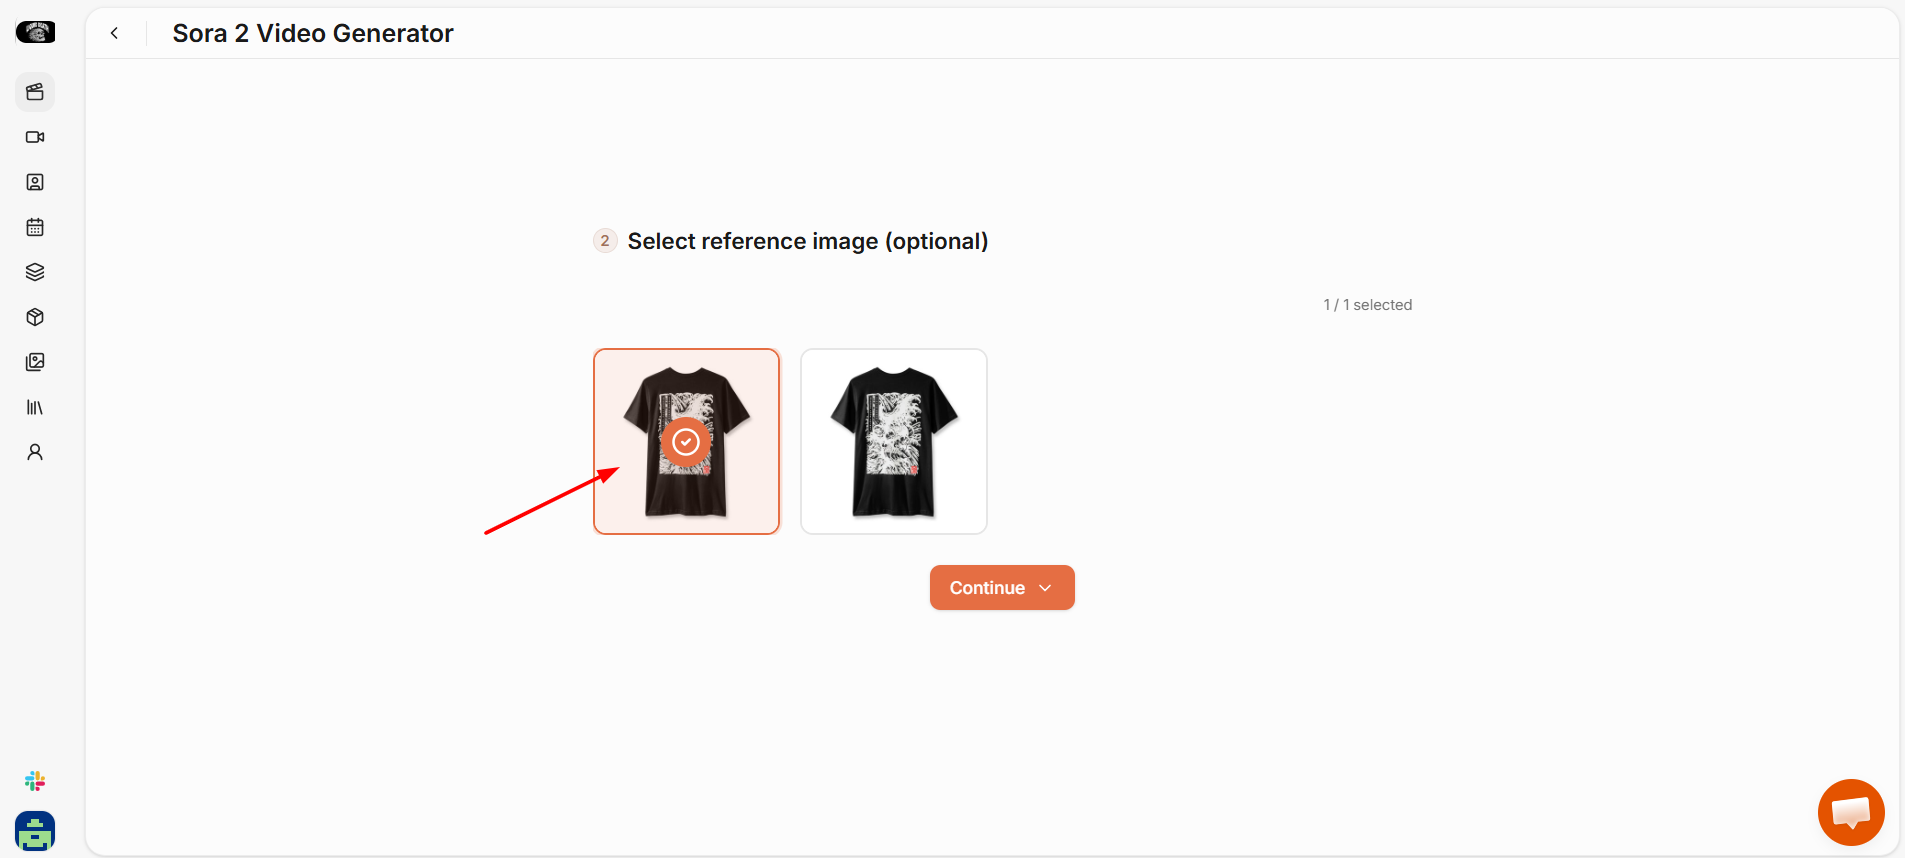
- The next screen asks you to select a reference image. This step is also optional.
- If you selected a product in the previous step, its associated images will appear here.
- Click on an image to use it as a visual reference for the video.
- A red border will appear around the selected image.
- The counter in the top right will update to show how many images are selected (e.g., 1/1 selected).
- If you do not want to use a reference image, skip this and click Continue.
- Without a reference image, Sora 2 will build the scene entirely from your text prompt.
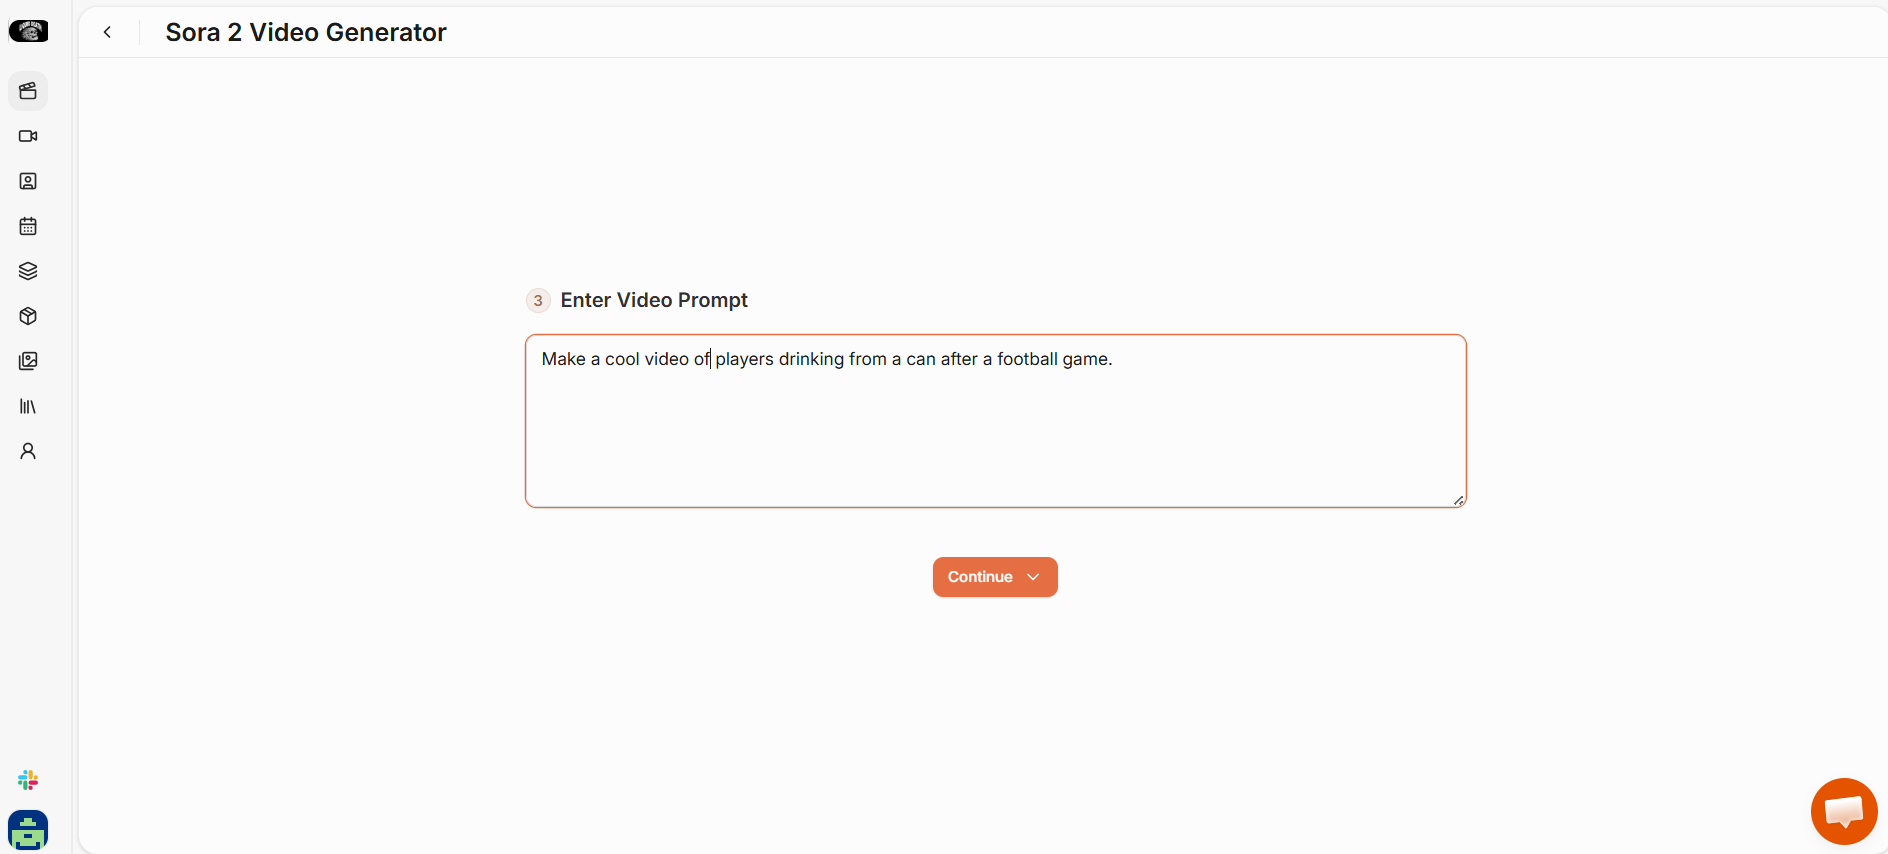
Step 4: Enter Your Video Prompt
- Type your scene description into the prompt field.
- Be specific. Include:
- What is happening in the scene
- Who or what is in the frame
- The setting or environment
- Any camera movement or mood you want
- Example: “Make a cool video of players drinking from a can after a football game.”
- The more detail you include, the closer the output will be to what you had in mind.
- Click Continue.
Step 5: Configure Settings and Generate
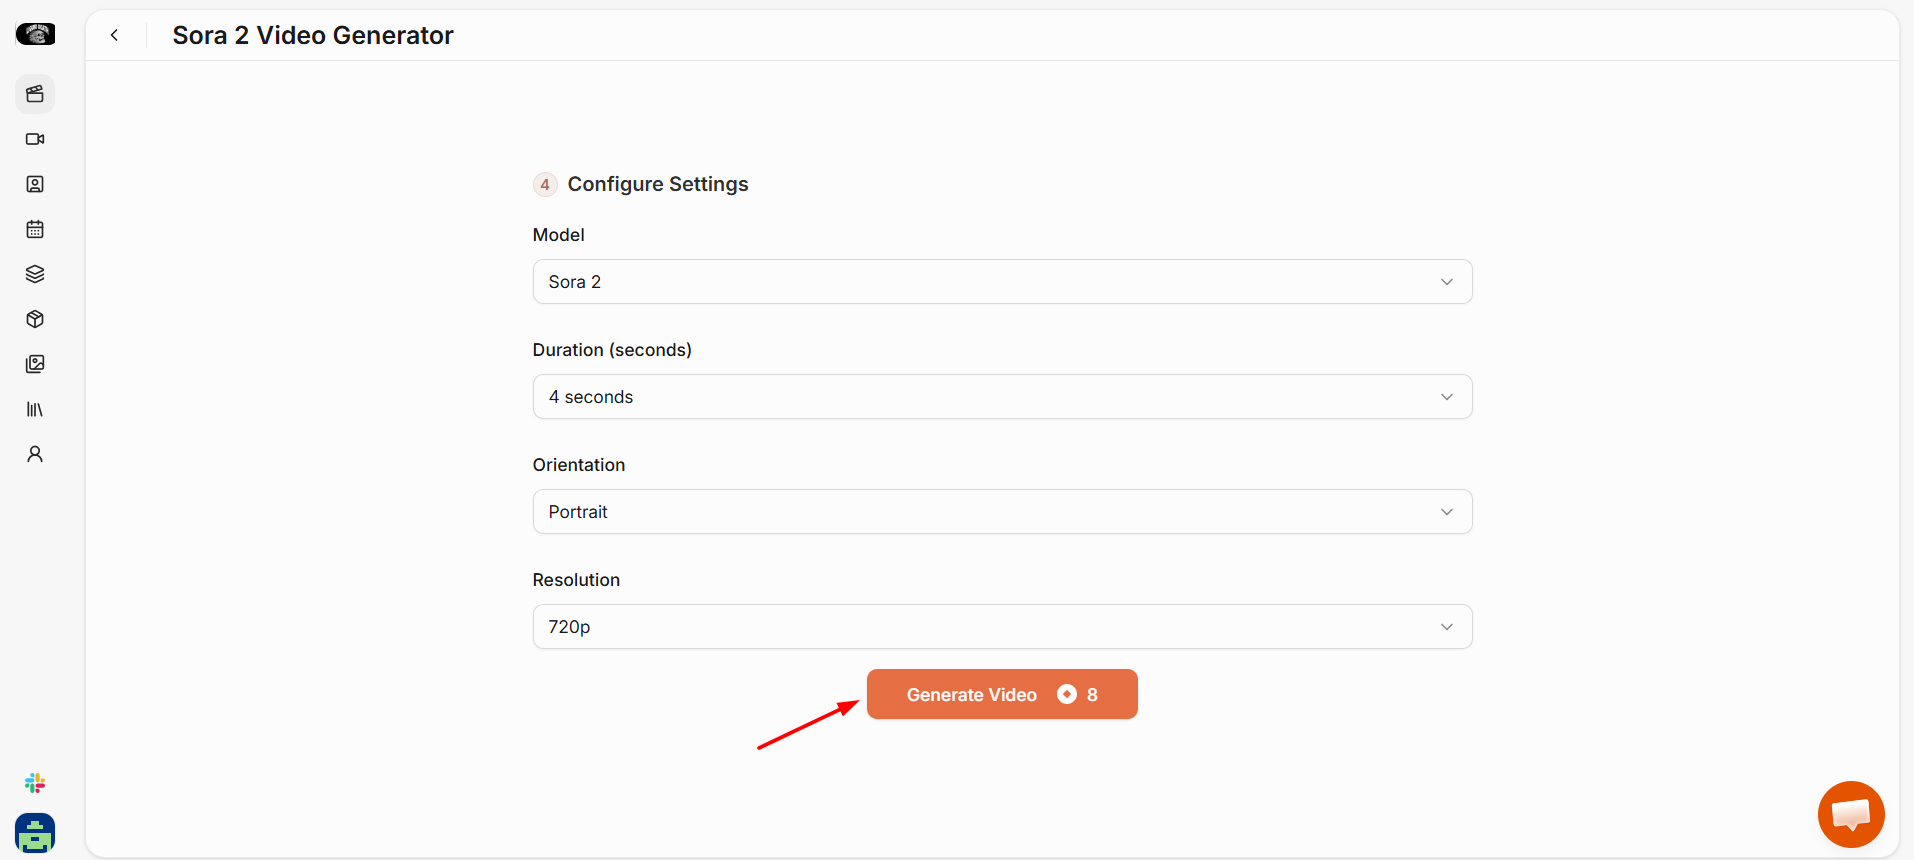
- The settings screen shows four options:
- Model: This will be set to Sora 2 by default.
- Do not change this unless you want to switch to a different video model.
- Duration (seconds): Choose how long the video should be. The default is 4 seconds.
- Orientation: Portrait is the default. Switch to Landscape for YouTube or widescreen placements.
- Resolution: 720p is the default. Select a higher resolution if you need sharper output.
- Once your settings are confirmed, click Generate Video.
- The token cost is shown on the button before you confirm.
Step 6: Review Your Creation in My Creations
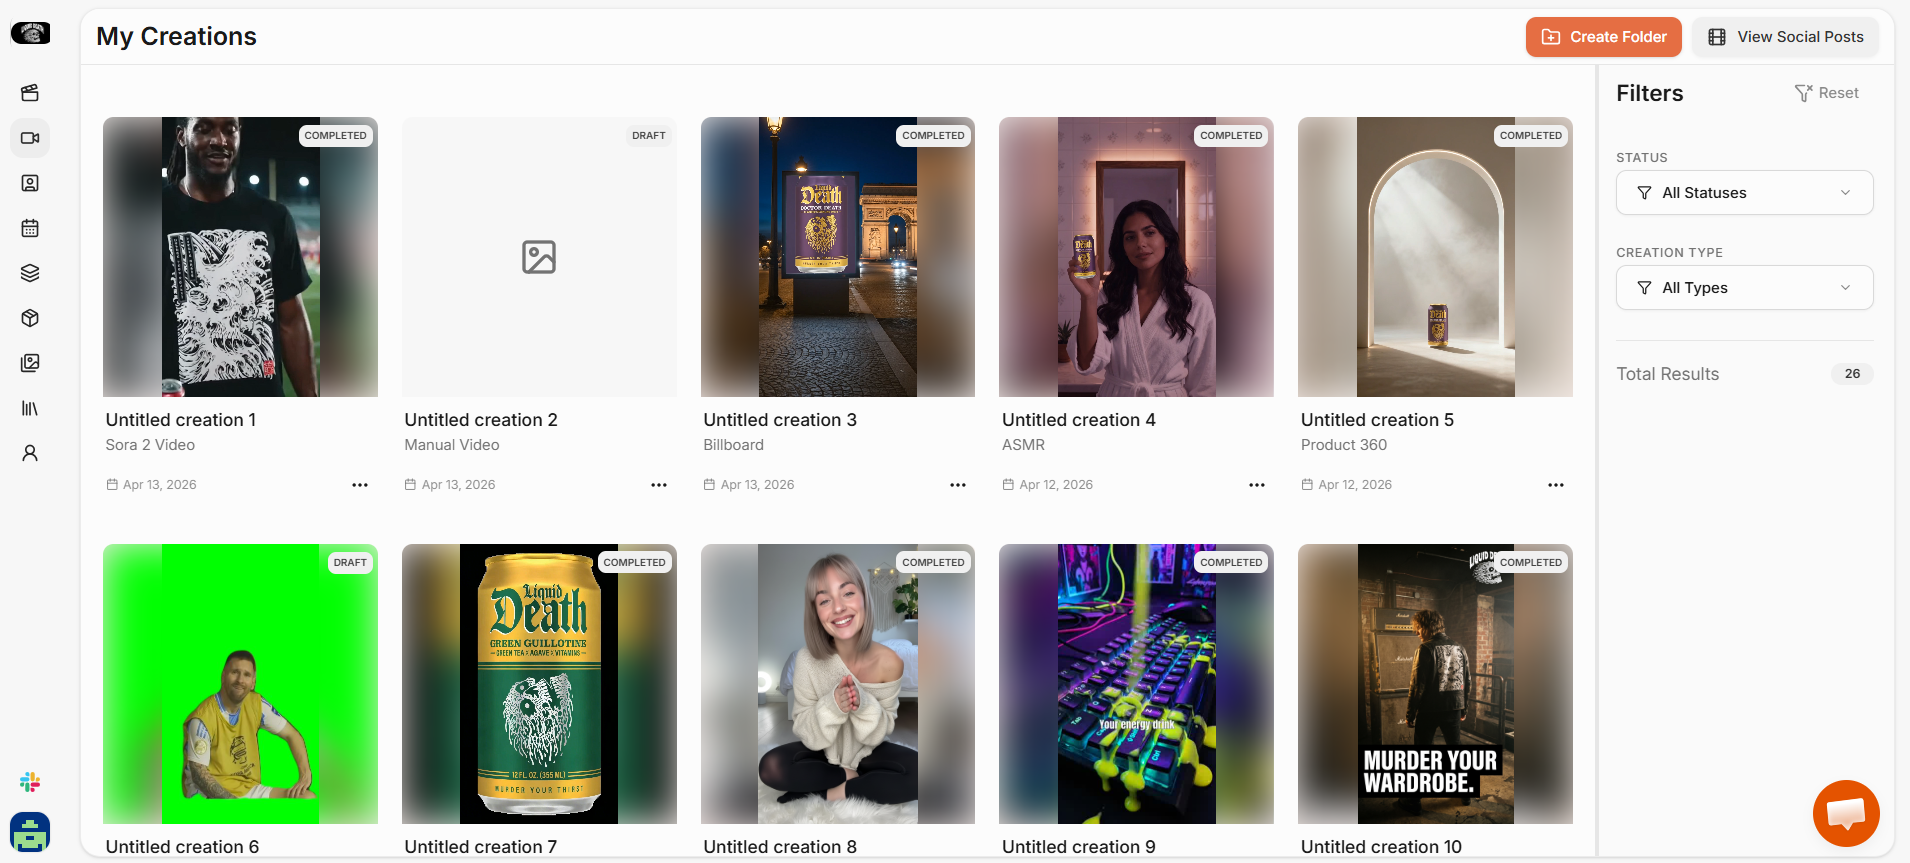
- After generating, your video will appear in My Creations labeled as a Sora 2 Video.
- Creations can have different statuses:
- Draft: The creation was started but not fully generated.
- Completed: The video is ready to view, edit, or export.
- Click on your creation to open a preview.
- From the preview you can:
- Open it in the Video Editor to trim, add text, or adjust the output.
- Post it directly to a connected social account.
- Download it to your device.
- Click Redo Creation to go back and regenerate with different settings.
Tips for Better Results
- Sora 2 works best with specific, visual prompts. Vague inputs like “a cool product video” will give you generic results.
- If you upload a reference image, Sora 2 uses it as a visual anchor for the scene. This helps when you want your actual product to appear in the video rather than a generic stand-in.
- 4 seconds is a good starting point for social content. If you need a longer clip, adjust the duration in the settings before generating.
- Portrait orientation works best for TikTok, Instagram Reels, and YouTube Shorts. Use Landscape for product page videos or YouTube uploads.